The example in the user guide shows how the process is done on the Enrollment Page, however you can apply these steps to various student/staff pages in the system.
- Search for Student
- Click Student’s Name
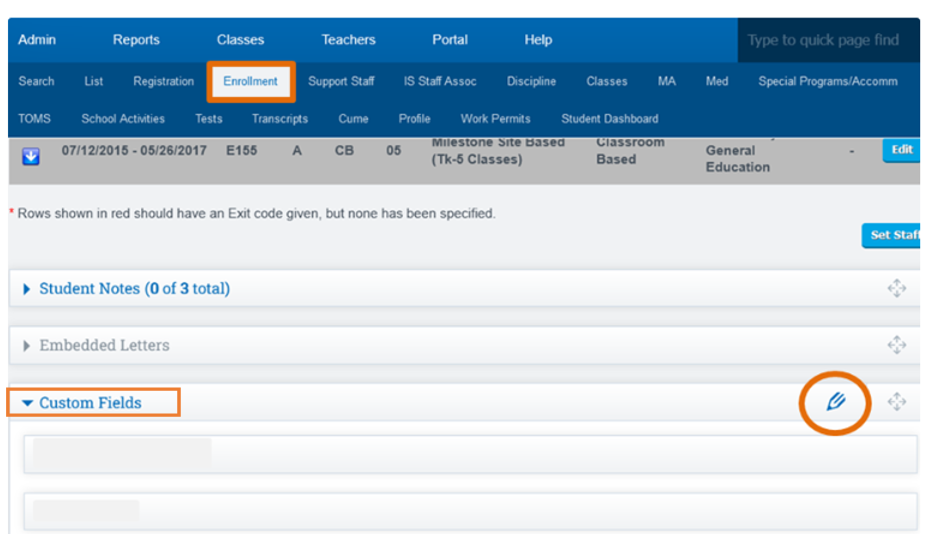
- Click on Enrollment Tab
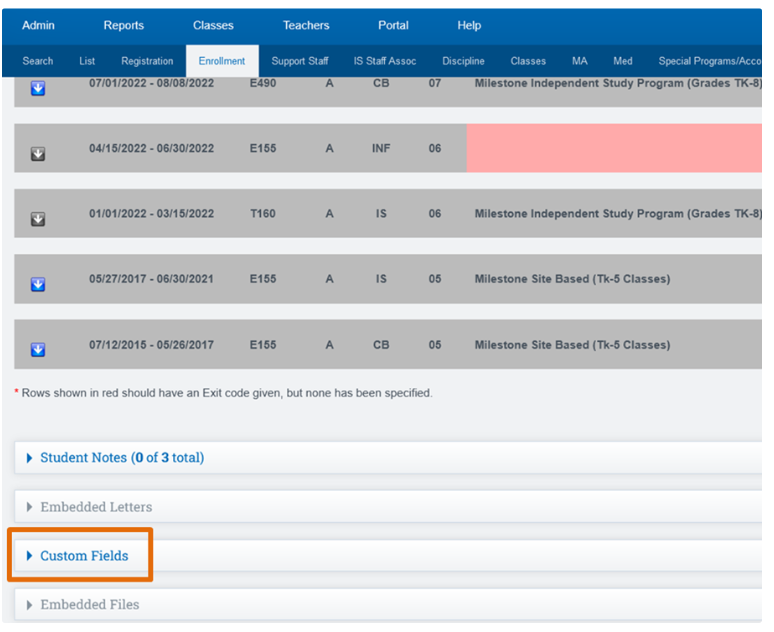
- Click the arrow next to Custom Fields in the bottom left corner of any student or staff page.
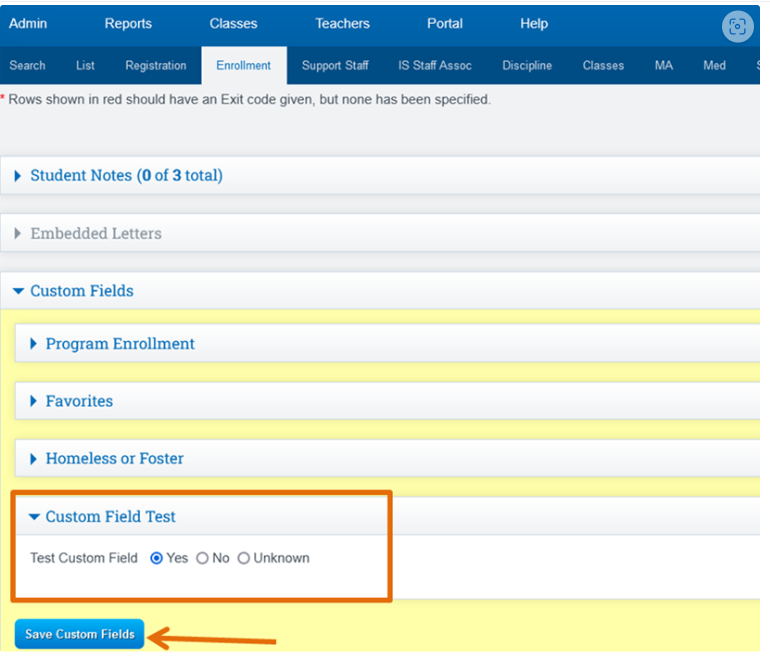
This example is on the student enrollment page.
- Click Pencil Icon Next to Custom Fields
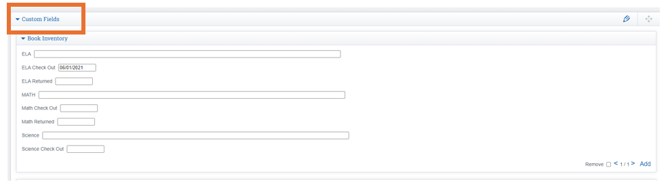
- Or you can use our prebuilt fields (there is a page policy to turn on in order to see the data below)
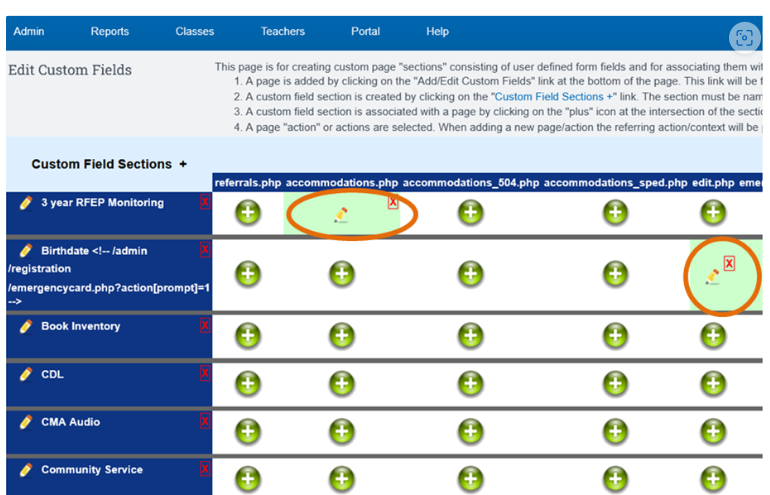
Page Layout Information:
-
The pages where custom fields have been added are listed across the top of the chart.
-
The custom fields that have been added are down the left side.
Example: The student accommodations page has an editable field called “3 year RFEP Monitoring.”
Adding a Custom Field
-
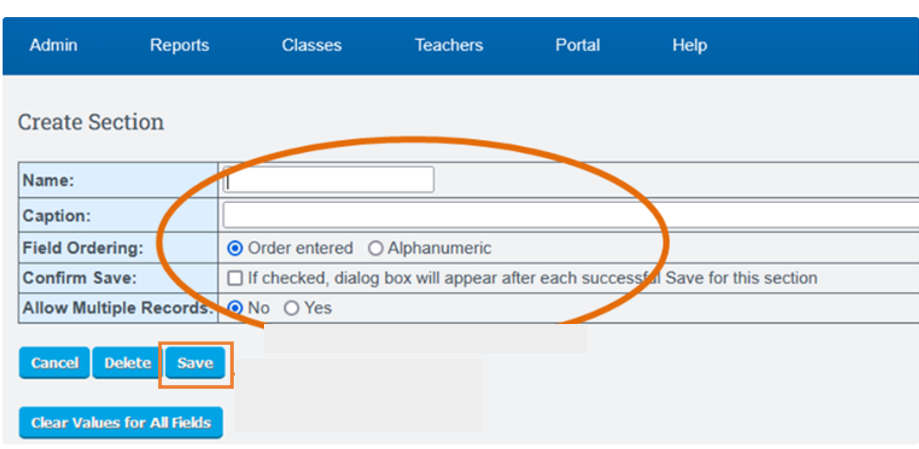
Click on the “Custom Field Sections +” link in the top left column
-
Fill in the Section boxes and click the Save button
-
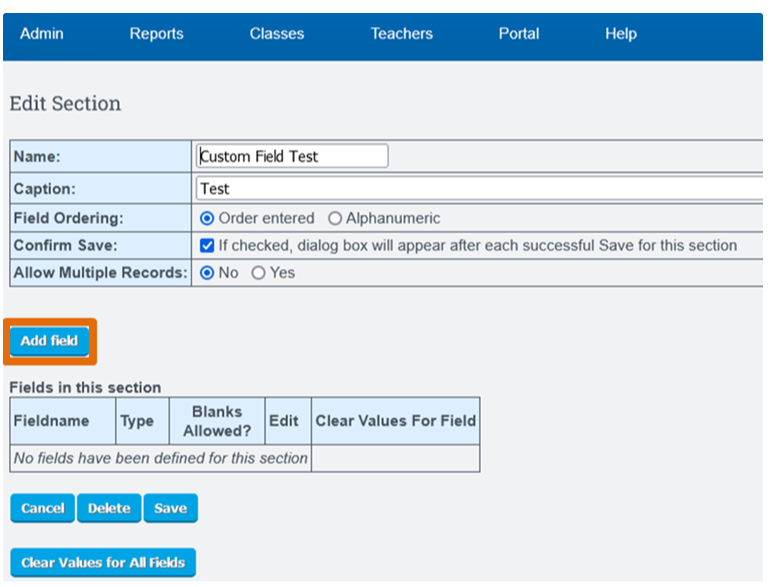
Click the Add field button on the Edit Section page.
Enter
- Fieldname
- Type
- Style and select if you would like to see blanks.
Click the Save button.

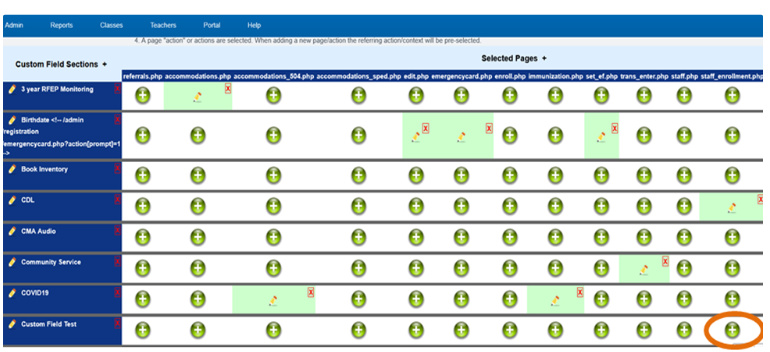
If the pages listed in the image below are not visible, you can go back to the dashboard where you want the custom field to be displayed. From there, you can access the custom field dropdown and add it to the main area, as shown below.
-
You can then add more fields as needed.
-
Select the plus symbol for any area you would like the custom field to appear.
- A box will appear, you will select the “Prompt” checkbox and click the choose actions button to save. The page will reload and you will then see a pencil highlighted in green with a red X to the right to deselect.
How to Pull any Student’s Enrollment Page
- Scroll to the bottom of the page and select the Custom Field created,
- Select/enter the student’s information needed
- Click the “Save Custom Fields” button.