
Table of Contents
Create Group
Navigation:
-
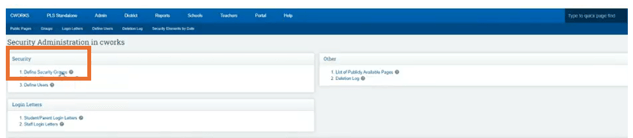
Go to: Admin > Security > Security
-
Click Define Security Group
-
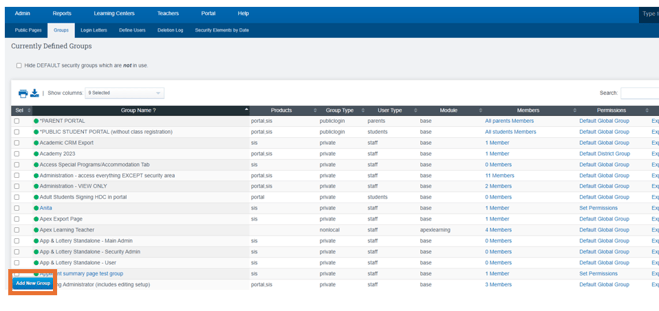
Click Add New Group
-
-
Title: Name this permission
-
Group Type: Choose from the dropdown (Private is used in most cases)
-
User Type: Who will need the permission?
-
-
Click Save

Defining Elements:
-
Go to "Currently Defined Groups Page"
-
Search for the Group you just created
-
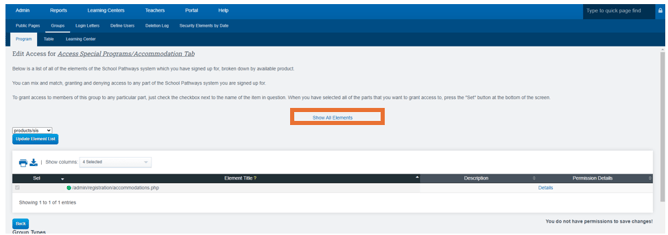
Click Show All
-
Click on the Default Global Group under " Permissions" subtitle

-
Click Show all Elements
Copying and Exporting from a Default Permission Group
-
Navigate to: Admin > Security > Security> Define Security Groups
![]()
-
Select Export Permissions next to the default group to download the permissions.
- Navigate back to your newly created Custom group and select the hyperlinked name/title.
Custom created groups are hyperlinked. Default groups are bold and are unable to be selected.
![]()
- From here, select the upload file, and upload the previously exported permissions from the Default group you'd like to copy.

-
Select Import Permissions, then you will receive a message saying the import was successful.
- To edit these permissions, navigate back to your Custom Group and select Set Permissions to remove or add permissions.
- Select Set.
To Define Users
- Add Group to the individuals who need it by selecting the Members section.

- Go Back to Define Users and Assign the Groups
- View this Guide to review Defining Users in Depth: