Overview:
-
Informational attendance can currently be tracked for students and staff in many situations such as campus attendance, class attendance, and field trip attendance. School Pathways is currently developing parent attendance and assets management.
-
SB740 Funding: Most charter schools are required to spend 80% of their funding on students, and can only spend 20% on administrative overhead. Most of the time, these schools have to count building costs as administrative overhead. Tracking time that students spend at the campus receiving instruction allows schools to deduct building costs as education delivery costs (in the 80% column), rather than as administrative costs. Coordinate with your auditors for the specifics of how to do this. Our SB740 report provides the raw data for this process.
-
Attendance taken with this software can only be used for advisory purposes, as the California Department of Education requires ADA attendance to be taken by the teacher.
-
To view a list of suggested scanners and badge printers, go toHelp > Recommendations > Hardware in the SIS menu.
- You have the option to lock the scanner to a specific Learning Center. On a Learning
Center’s Management page, the Management section now has a "Barcode Location"
toggle at the bottom. This sets the location to the Learning Center for the Online
Scanner instead of a class. This feature only appears if the barcode attendance module is enabled and the user has permission for the /lc/bc_setclaim.php page. - Their is a widget on the class dashboard page, to lock the scanner
location to that class.
Setup Process
First setup your Policies:
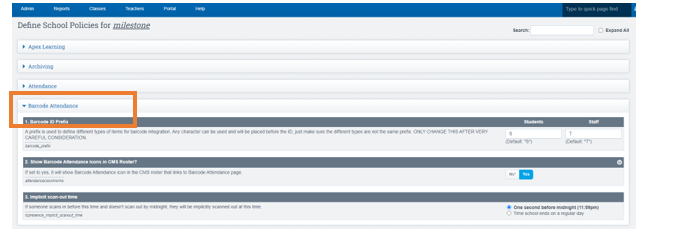
Policies:
- Set your prefix for both Student ID and Staff ID (this will show at the beginning of each student's barcode badge number)
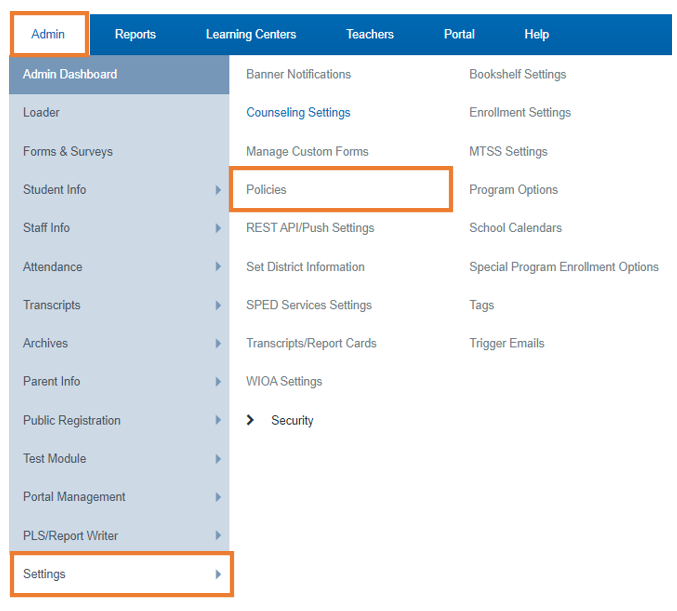
Polices Second Set:
Options Cogwheel>Page Policies:
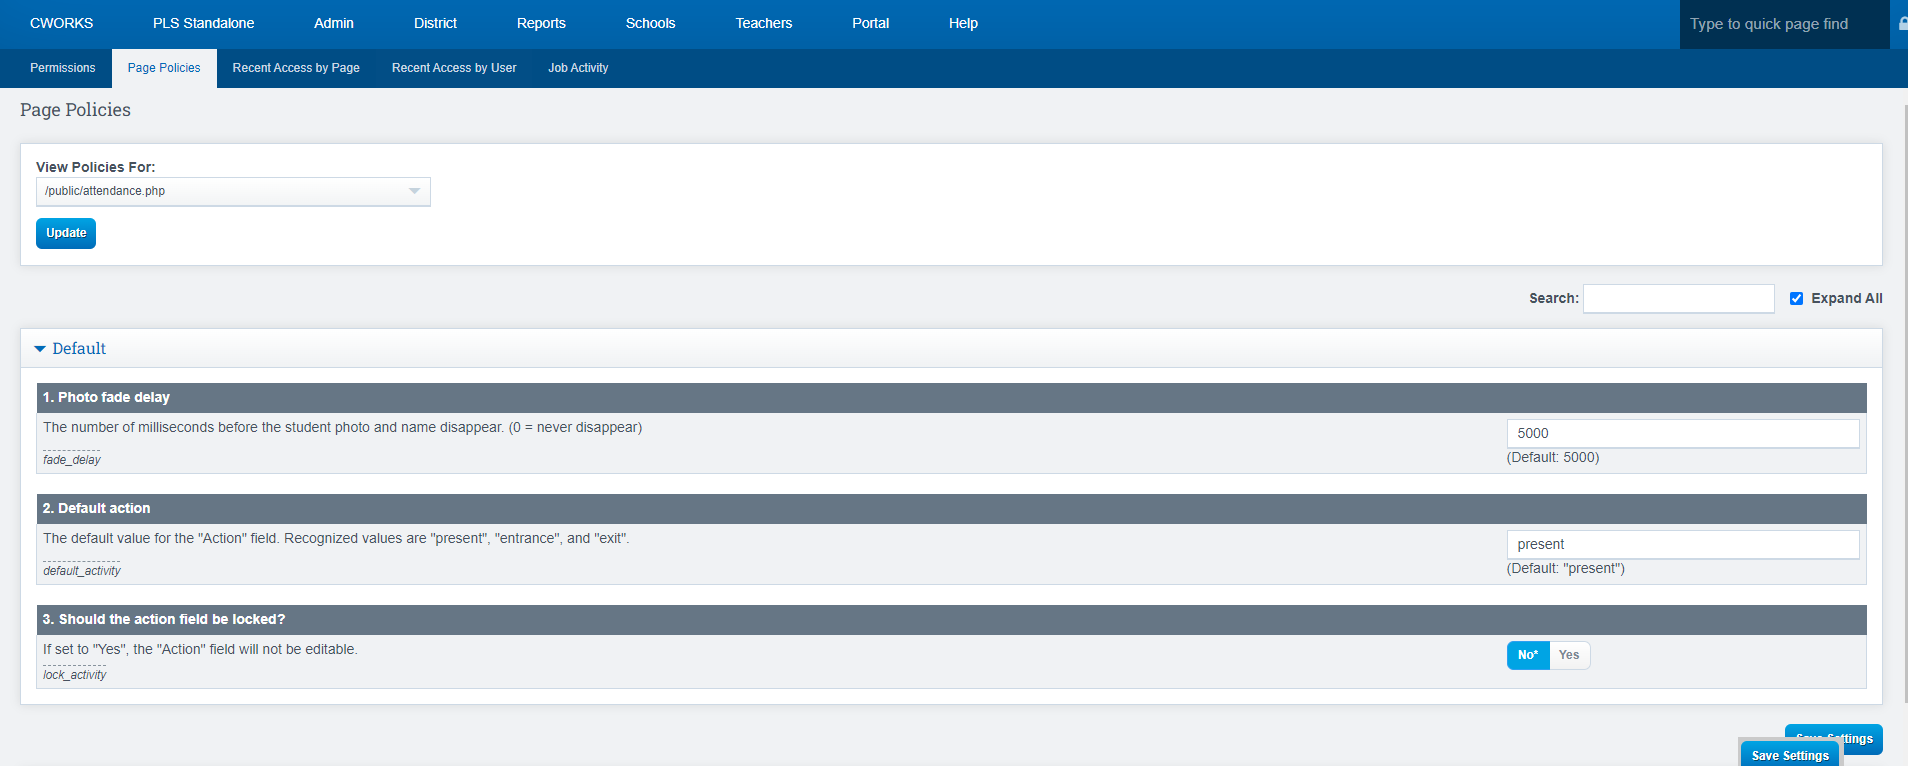
public/attendance.php
- Default action: This defines what value to use for the "Action" field by default.
The default value for this field is "present". - Should the action field be locked?: If set to "Yes", the "Action" field
will be locked, so students can't edit it.
Note that the "Action" field locking mechanism is scope-wide, but the location locking
mechanism is specific to the staff account. That is, different staff members can lock the scanner to different locations, but the "Action" field policies apply to everyone
Setup Badges:
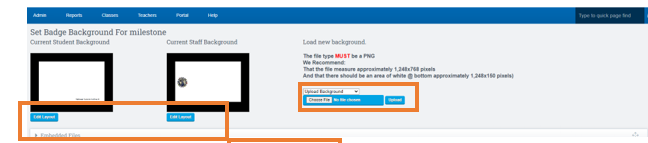
OPTIONAL: Setting up a background for your badges:
If you would like a background for your badges,
Administration > Attendance > Badges > Badge Settings: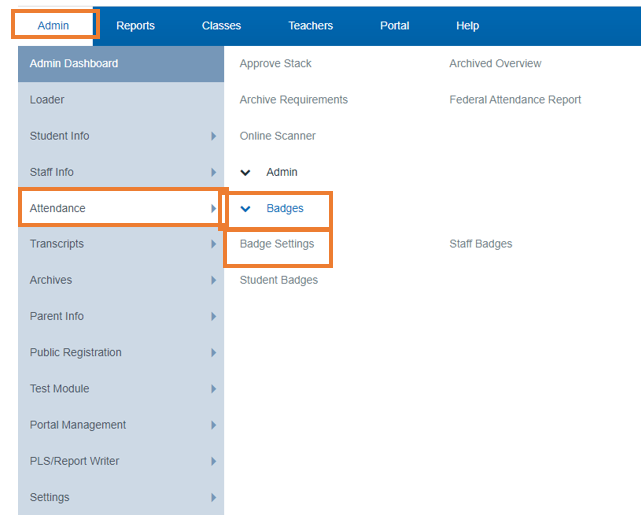
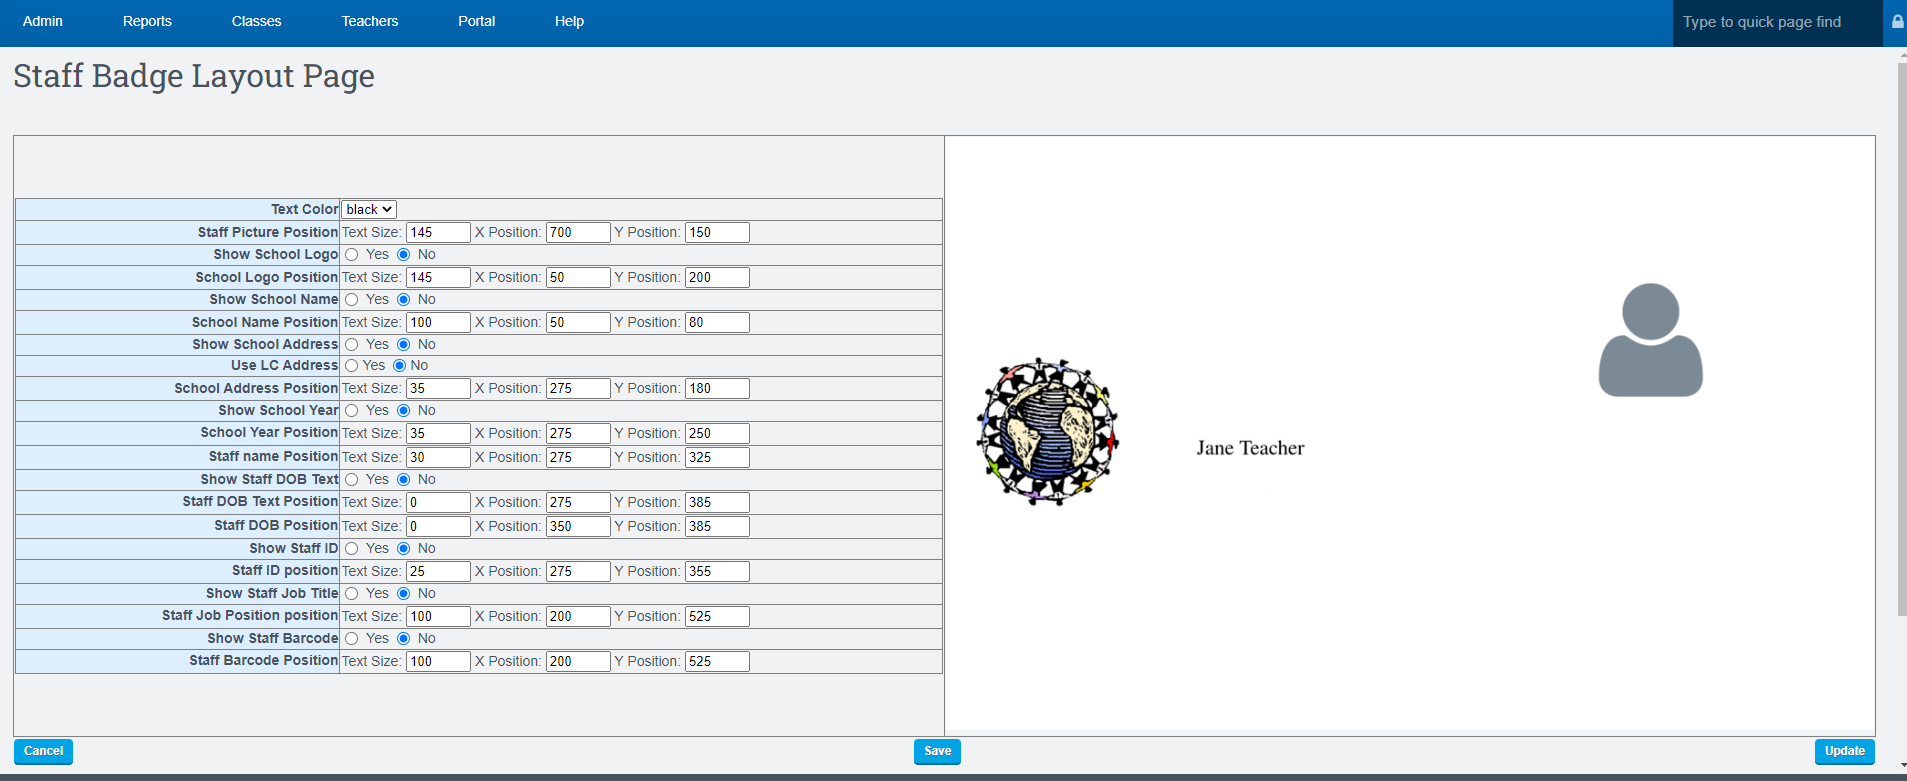
- Click on “Edit Layout”:
Printing Badges: For Students
If you are going to use badges, you can print them by going to
Admin > Attendance > Badges > Student Badges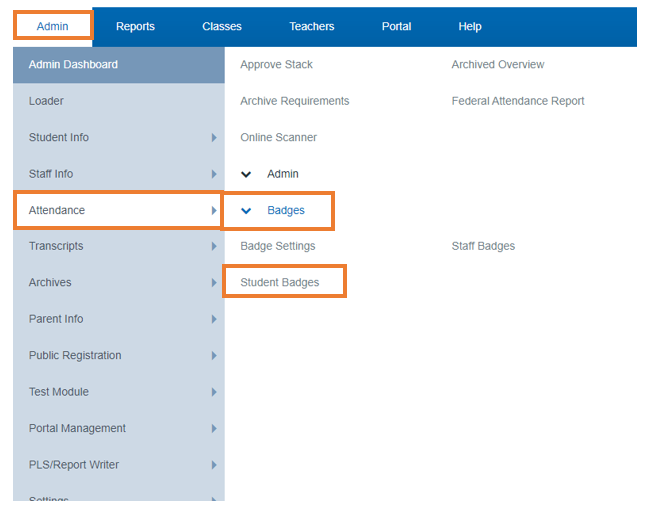
Make sure to choose your badge style before printing:
- One-sided - will print one per page, horizontally, in a .pdf format. Best for sending to badge printer or outside badge printing sources.
- Two-sided - will print vertically in a .pdf format. Each badge will be two pages (front and back).
- One sided multiple - will print up to 5 horizontal badges per page, centered.
- Two sided multiple - will print 2 vertical badges per page, centered.
- One sided eight per page - will print up to 8 badges per page, one sided.
- One sided thirty per page, barcodes only - this will print ONLY barcodes and names of each student.
- One sided QR - will print one per page, horizontally, with a QR code instead of a barcode. Best for sending to badge printers or outside badge printing sources.
- One sided w/ badge backgrounds - will print one per page, horizontally, with your uploaded badge background. Best for sending to badge printers or outside badge printing sources.
- One sided eight per page w/ badge backgrounds - this will print 8 badges per page horizontally using your badge background (if one is uploaded).
-
Make sure the ENROLLED Filter says YES
You also need to choose your badge style. If you are using backgrounds, make sure the option with “Badge Backgrounds” is chosen
When finished, choose “Print Selected”.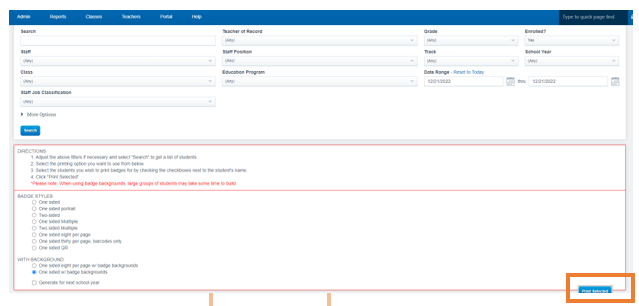
-
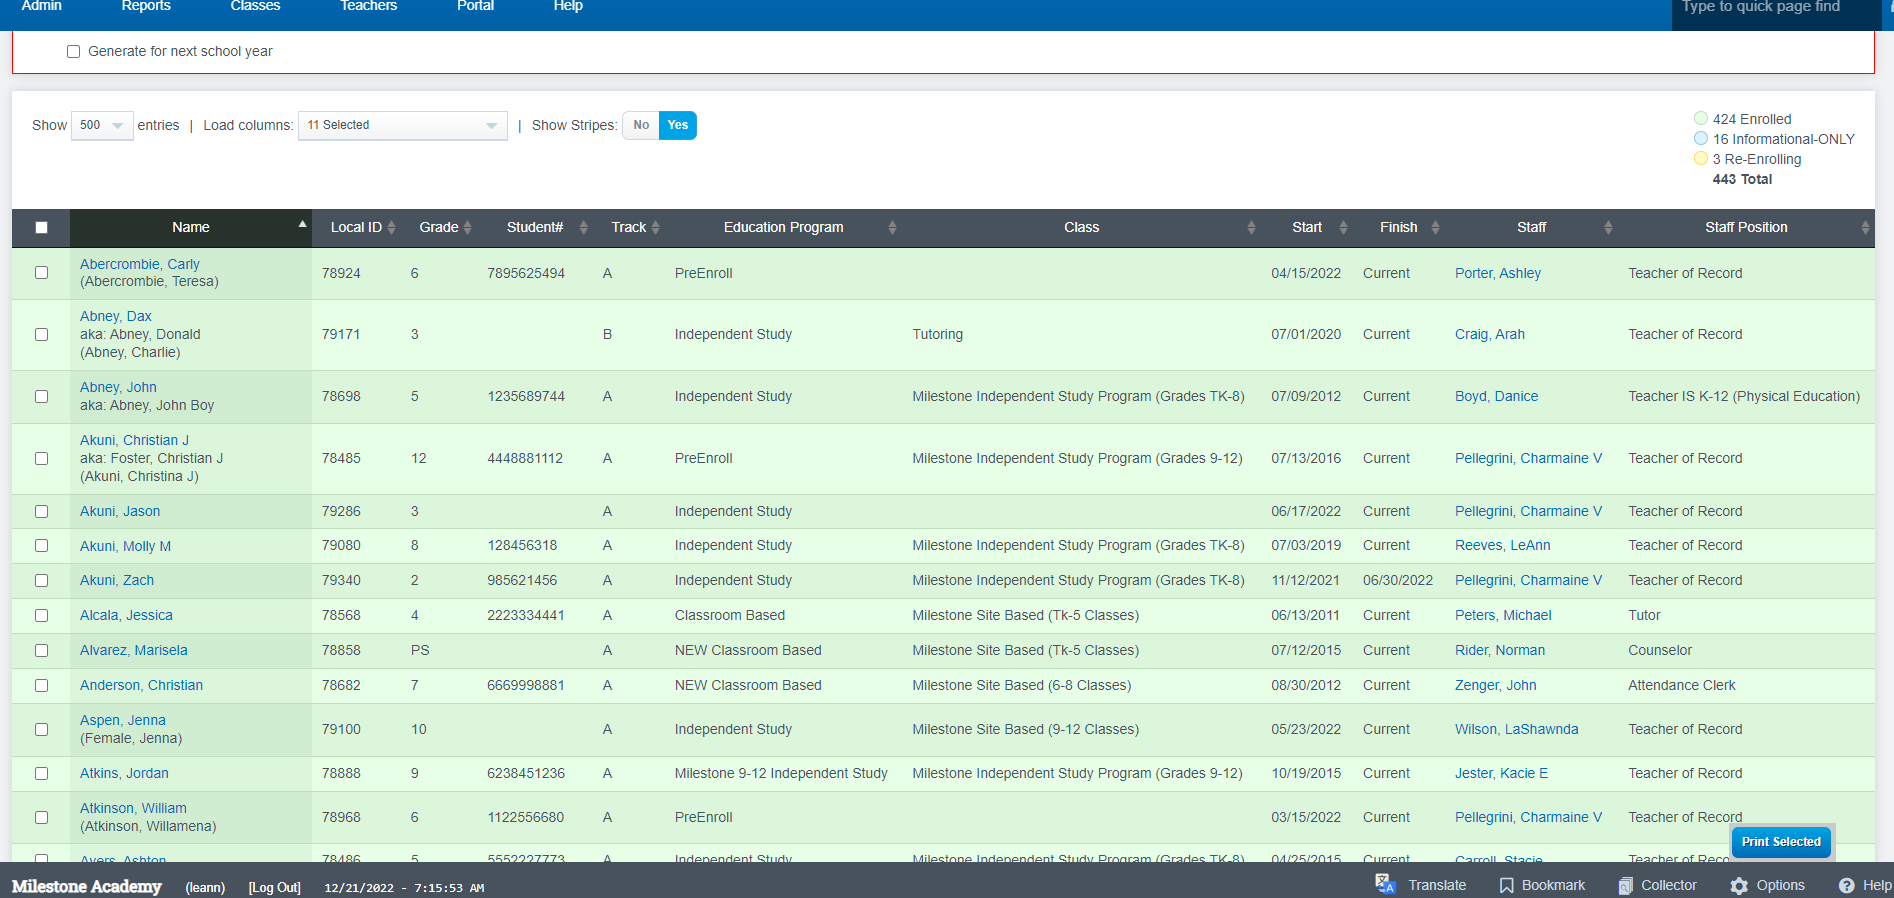
Scroll to the bottom of the page to view your selected studentsPlace a Check Mark next to each students name you desire to print a badge for
-
These will appear in a .pdf format - you can either print on your own paper, send to a badge printer, or outsource to a badge-printing company.
-
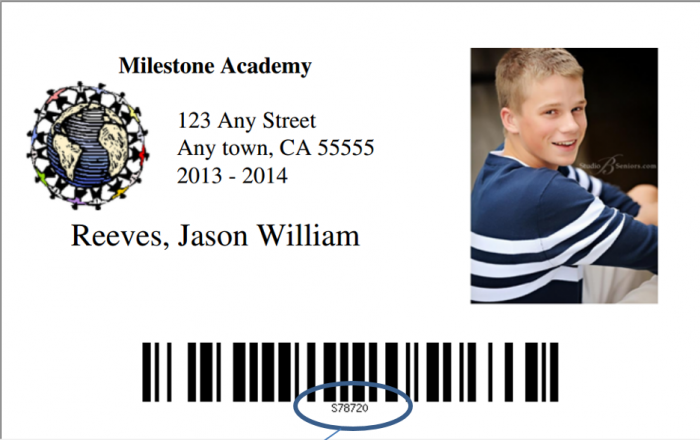
The number at the bottom of the barcode follows the following format: the letter is the prefix you set in the policies area.This alerts the staff whether they are a student or a staff member.
-
The numbers are the student's local number.
Campus Attendance
(Note: If you are taking campus attendance, you will need a scanner setup at each entrance and exit to the building.)
Barcode attendance can also be taken either online or through ReportWriter (Offline Attendance).
Online Attendance through the SIS:
Setup the Barcode Management Area:
Learning Centers>Learning Center choice>Management:
Anyone who has access to the Management page as well as barcode scanner, can turn this on and off per location, meaning the lock will be user specific.
How to Lock the scanner to a specific Learning Center.
Scroll to the Bottom of the Page
Toggle “Barcode Location:
Unlocked/Active”
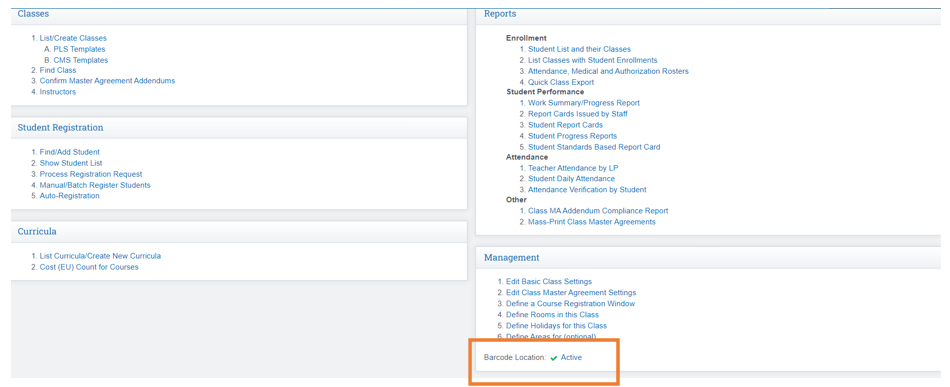
This feature only appears if the barcode attendance module
is enabled and the user has permission for the /lc/bc_setclaim.php page.
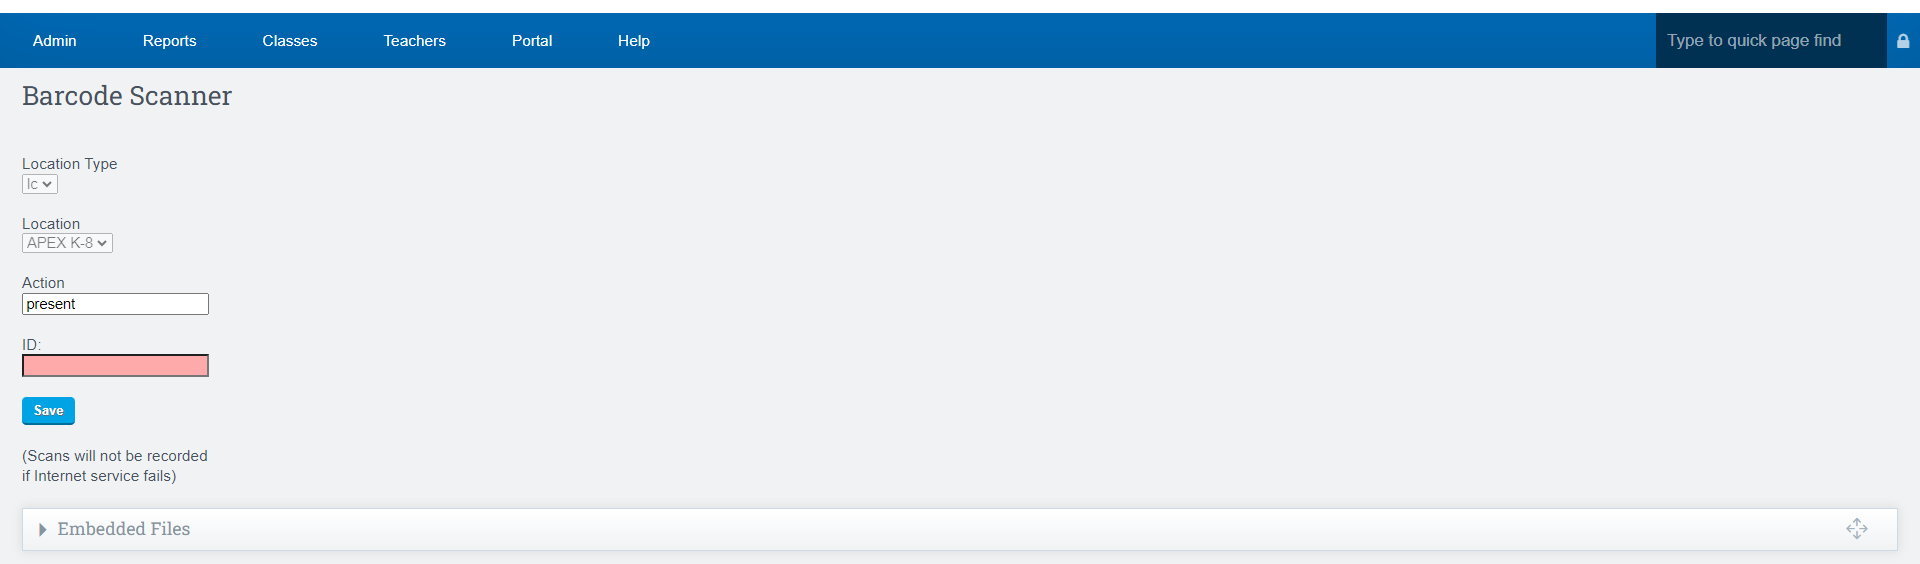
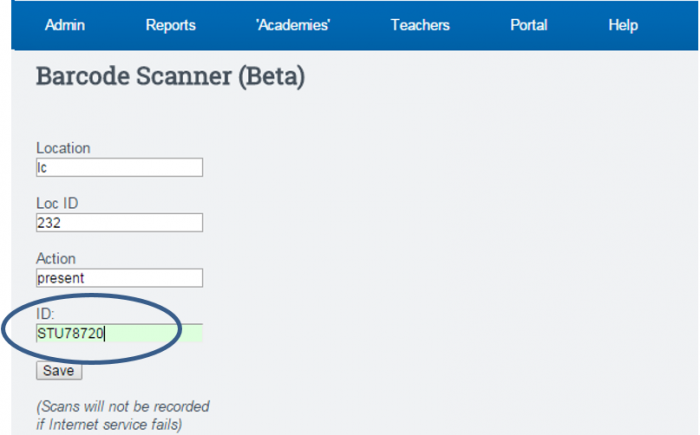
Campus Scan
Be sure the cursor is in the ID box
Students can scan their badge as needed.
Or you can choose this option if you are taking CMS Class Level Attendance:
Class Level Attendance Process
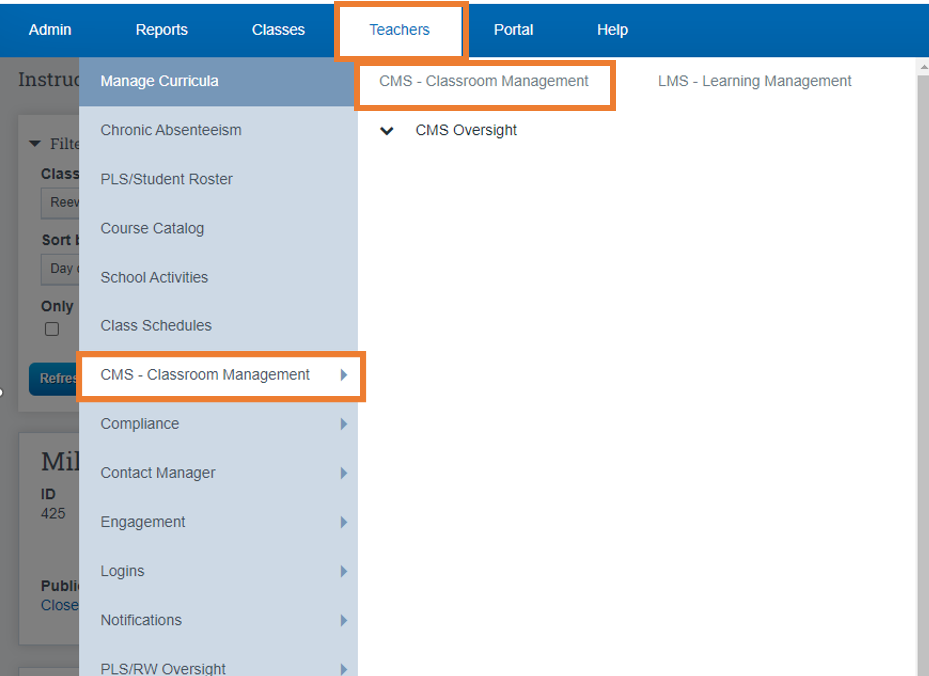
Teacher Class List
Teachers > CMS Classroom MNGT > CMS Classroom MNGT
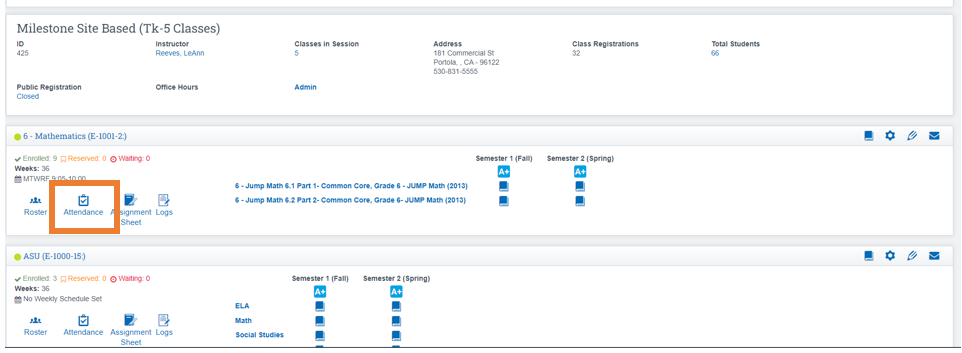
Checking the Setup is Correct:
Make sure the Barcode set Button has a green checkmark next to it, if it doesn't
Click the Word Set so it changes to Green (this will allow you to take barcode attendance for that class)
Once the Word changes to ACTIVE, you can begin scanning for the class attendance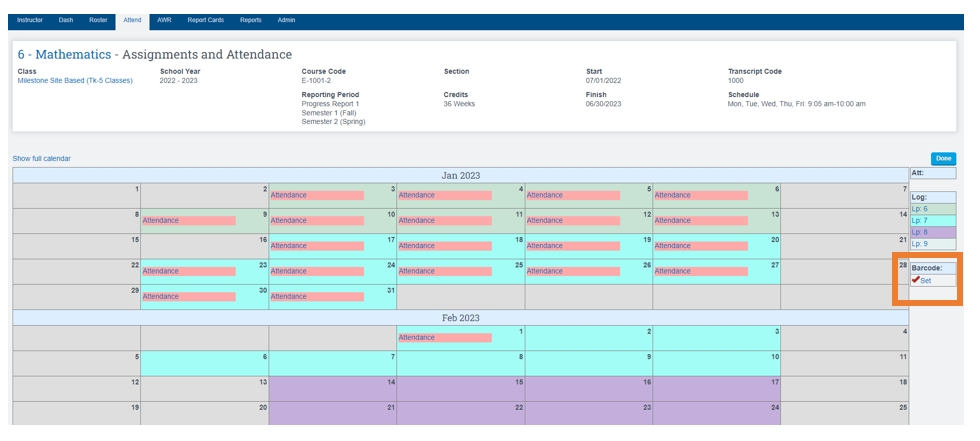
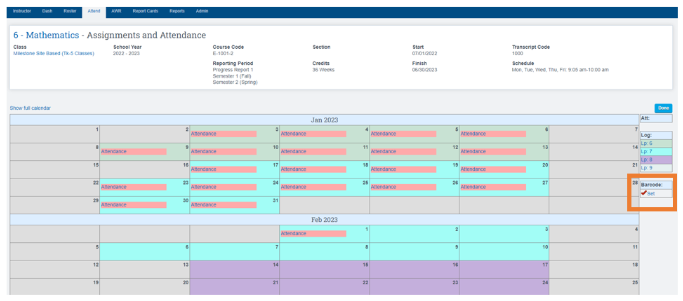
If your Scanner is Locked and you want to Unlock it, follow the steps below.
1. Teachers > CMS > CMS Classroom Management >Class Dashboard
2. Locate the class click Attendance Icon
3. Where you see Barcode Set, make sure it's RED
4. Return to Online Scanner to take attendance now
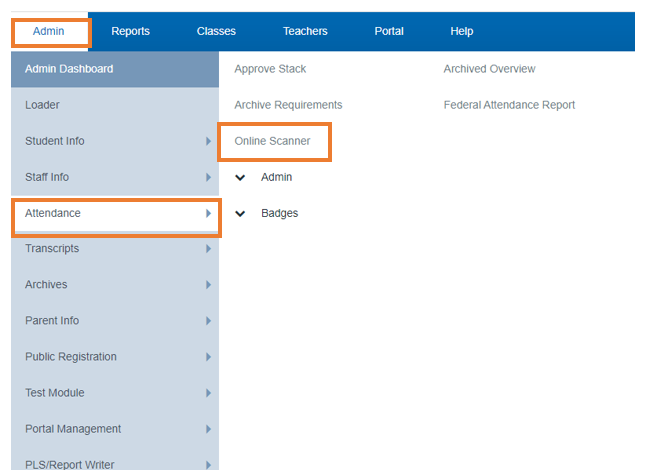
Admin > Attendance > Online Scanner

You will now see that the Location is set to that particular class to take attendance,
or
Scan the piece Paper you have with all Barcodes printed out on
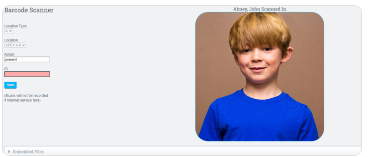
If you get this image on your screen it means you had a bad scan 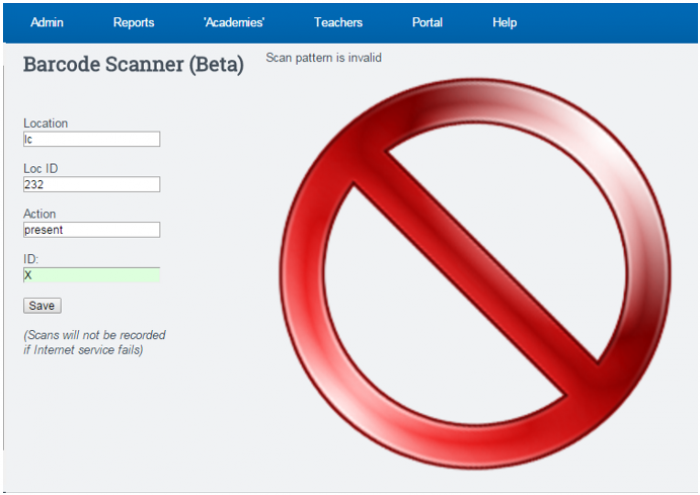
As with the campus attendance, the first scan shows the student in the class, and the second scan shows the student out of class.
- At midnight each night the system will auto scan them out if the student forgot to scan out But, you have to go into your Barcode Scan Log Report and adjust the scan times.
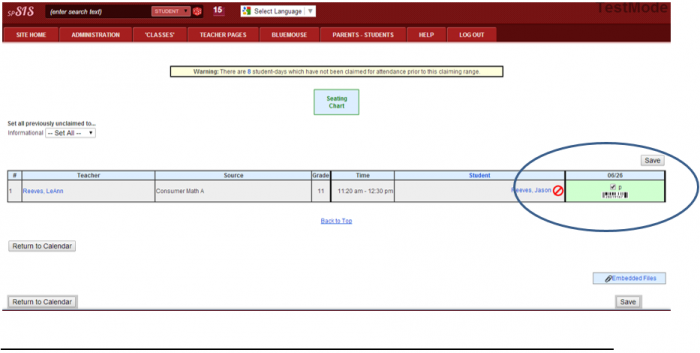
Once a student has been scanned into the class, a barcode symbol will show in the teacher's attendance for the day. - This will help the teacher decide whether to claim the student with ADA Present Attendance.
- There is also an icon that will show the student as either on campus (green circle) or off campus (red circle with line through it).
Other Useful Info:
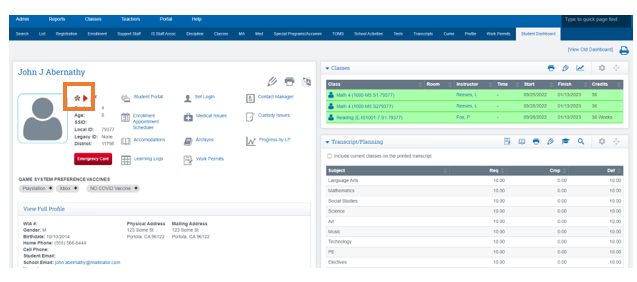
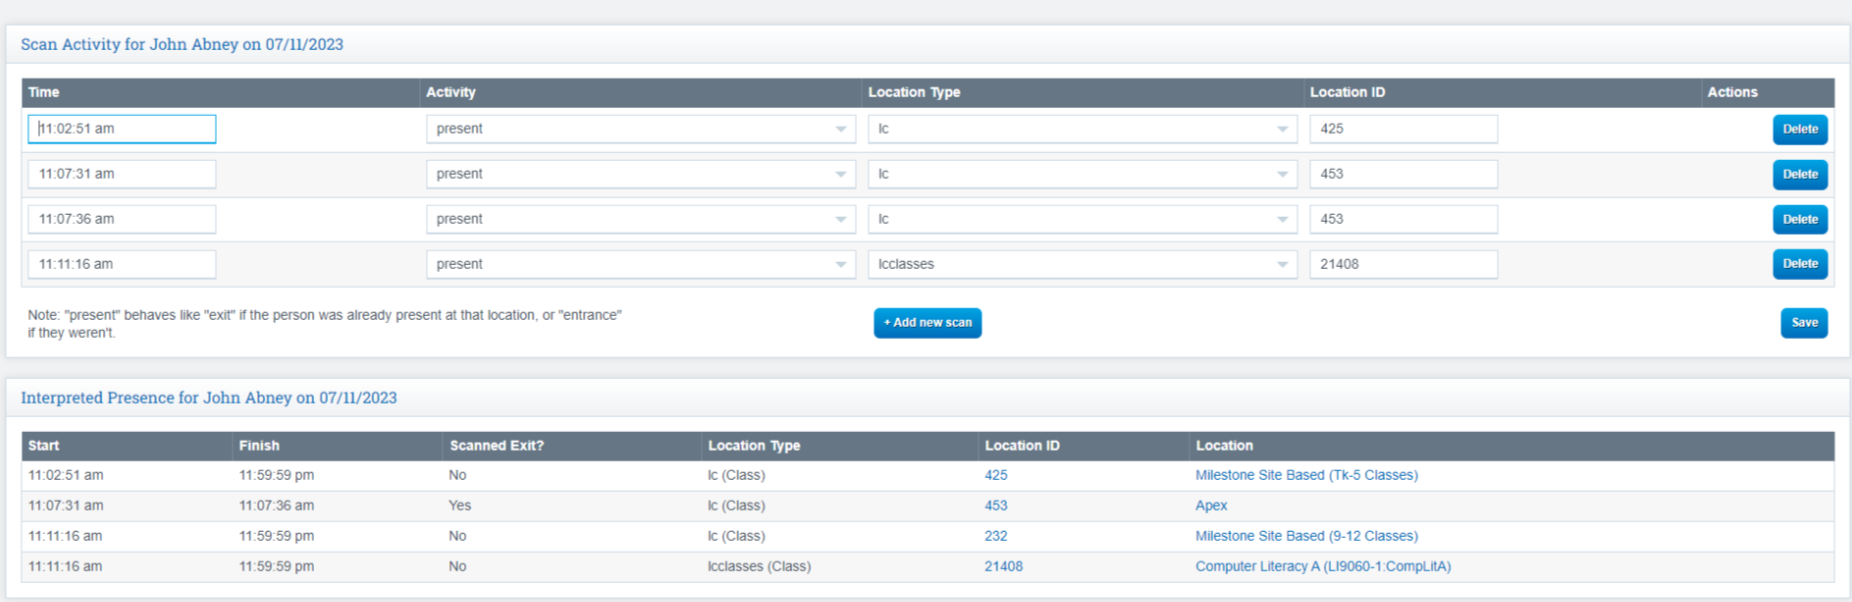
Click on the Icon for more detailed information:
You can click on the Green Links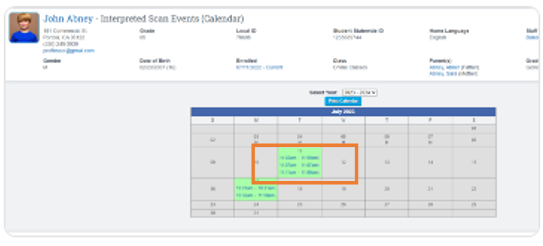
Detailed Scan information on a student
If you Click Edit Scan on the top of the page, you can edit the scan