
Table of Contents
Step 1: Setting up Groups
- Go to Admin > Settings > Tags
- You can set tags for 4 different areas of the SIS.
-
CMS Classes
-
Parent Records
-
Staff Records
-
Student Records
-
- To Add a Group, scroll down into the specific category, ex: Students.
- Select Add Group
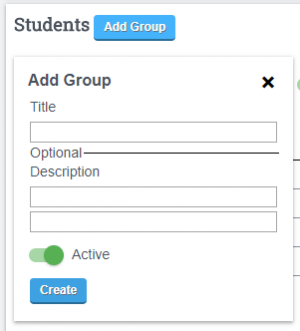
- This gives you the ability to create a title and a description. Descriptions are not required.
- Click CREATE.
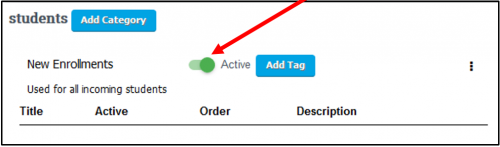
- Once your category is titled, you can add Tags to the category.
- You can also make the category inactive by clicking on the Green Active Button
To Delete Tag Groups:
-
- Select the three dots next to an existing group of tags
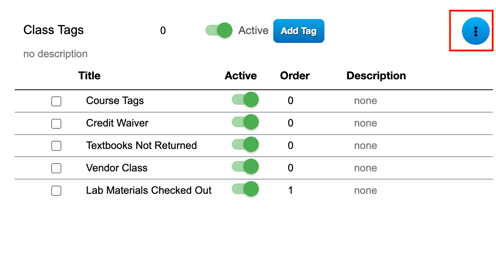
- Select Delete Group
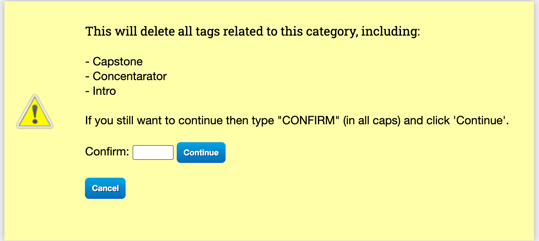
- A Warning "Confirm box" will appear, type confirm to delete the group and acknowledge all tags in this category will be deleted as well.
- Select the three dots next to an existing group of tags
Step 2. Add Tags
- Click the Add Tag button to add Tag titles.
- Tags can have names, descriptions and can be ordered.
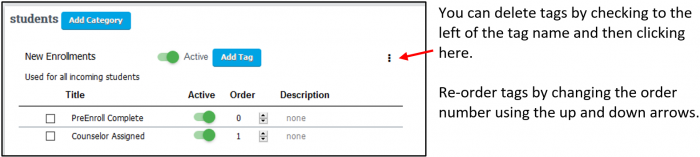
Re-order tags
- Hover over the order number and using the up and down arrows.
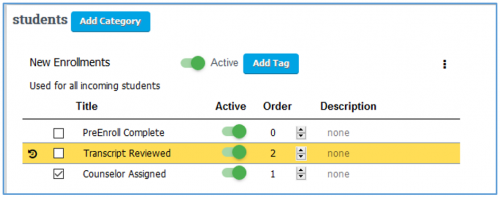
- When an item has been edited, it is highlighted yellow.
- Click Save All on the bottom right of the page to save edits.
- Click the Circular Arrow to revert back to its last saved state.
Step 3: Using Tags
- Using Students as an example, student tags are designed for use with each student on the student list or any place in the system
- Hover over a Student’s Name to see the Quick View.
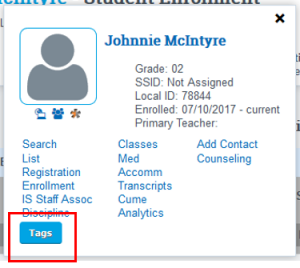
- For example, after creating a student enrollment, hover over the student’s name to access the Quick View Tag button.
- Click the Tag button.(to add a tag)
- Available tags will pop-up.
- Click On a Tag + to add to a student.
- The above student view shows no tags chosen.
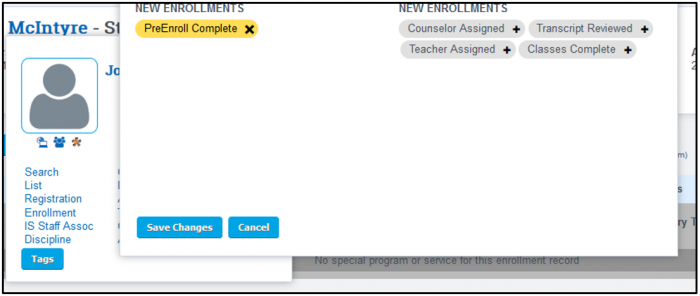
- The below shows the student has the Preenroll Complete tag added.
- Click the Current Tag to add more
- Click Save Changes and the window closes with the tag saved.

Other tags can be used with
-
CMS Classes – hover over the class name.
-
Parent records – hover over a parent name.
-
Staff Records – hover over a staff record.
Step 4: Searching Lists for Tags
- Access one of the Four tag list areas (Students, Classes, Parents, Staff).
- The view below is the main student list (see red highlight). If no tags have been created for the category of students, only the word Tag will be visible.
- View/Hide/Collapse the Tag Section
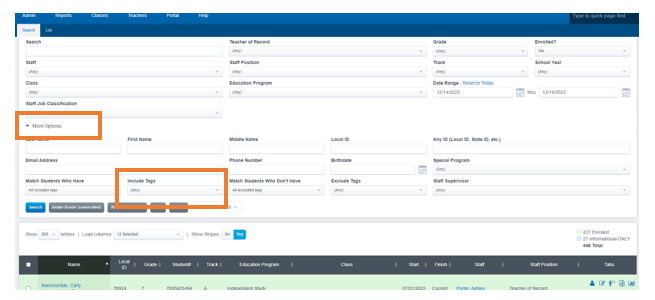
- Go to Admin > Find /Add Student
- Click More Options
- Click Include Tags
The Active Tag button (green button is a toggle – click to change).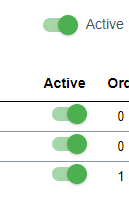
- Setting the button to Active and then checking tag titles below to green will give you a list of students that have all tags chosen.
Set Tags for a Group of Students
- Make sure all tags are gray. Find your group by filtering students. For example, choose a teacher. Then Search
- Check the first student and then scroll down to the bottom of the list and hold the CTRL key and the SHIFT key down at the same time – then check the last student. All students will be checked.
- Click Modify Selected Students then drag the tag you want to give to all the students to the right under the word ADD.
- These lists can be printed in a pdf or a csv.