Admin: Creating A New Learning Center
The "Learning Center" tab is customizable and can be renamed to suit your programs needs.
The policy to change the name of this tab is located in: Admin>Settings>Polices>Learning Center "How would you like the plural for of "learning centers"? and "What would you like to call the singular form of "Learning Centers"?
Creating a New Learning Center
Learning Center tab > Learning Centers
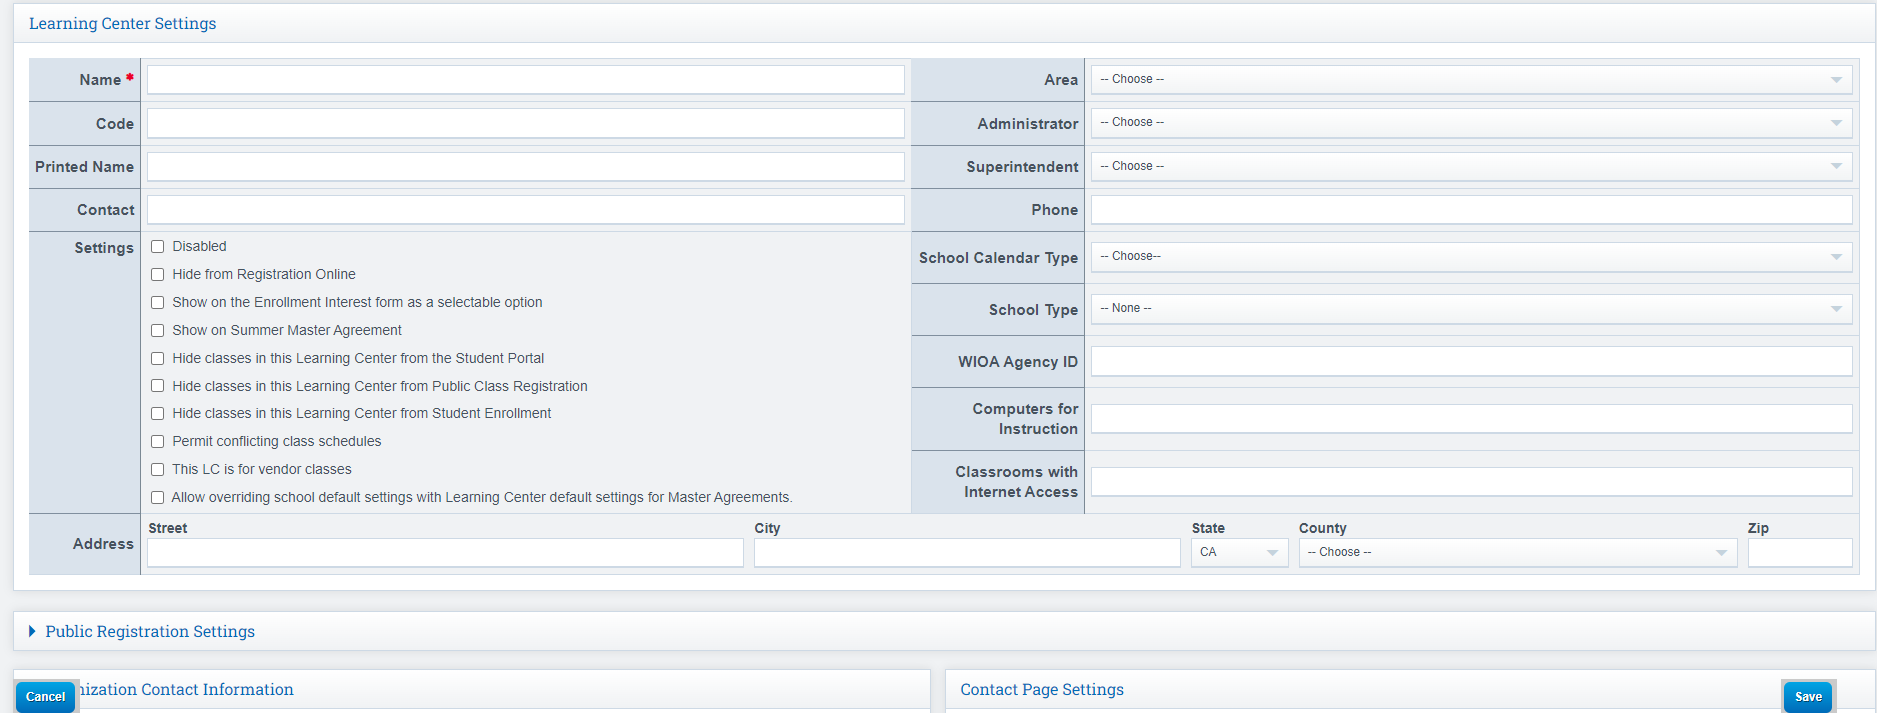
Click the "Add New Learning Center" button.

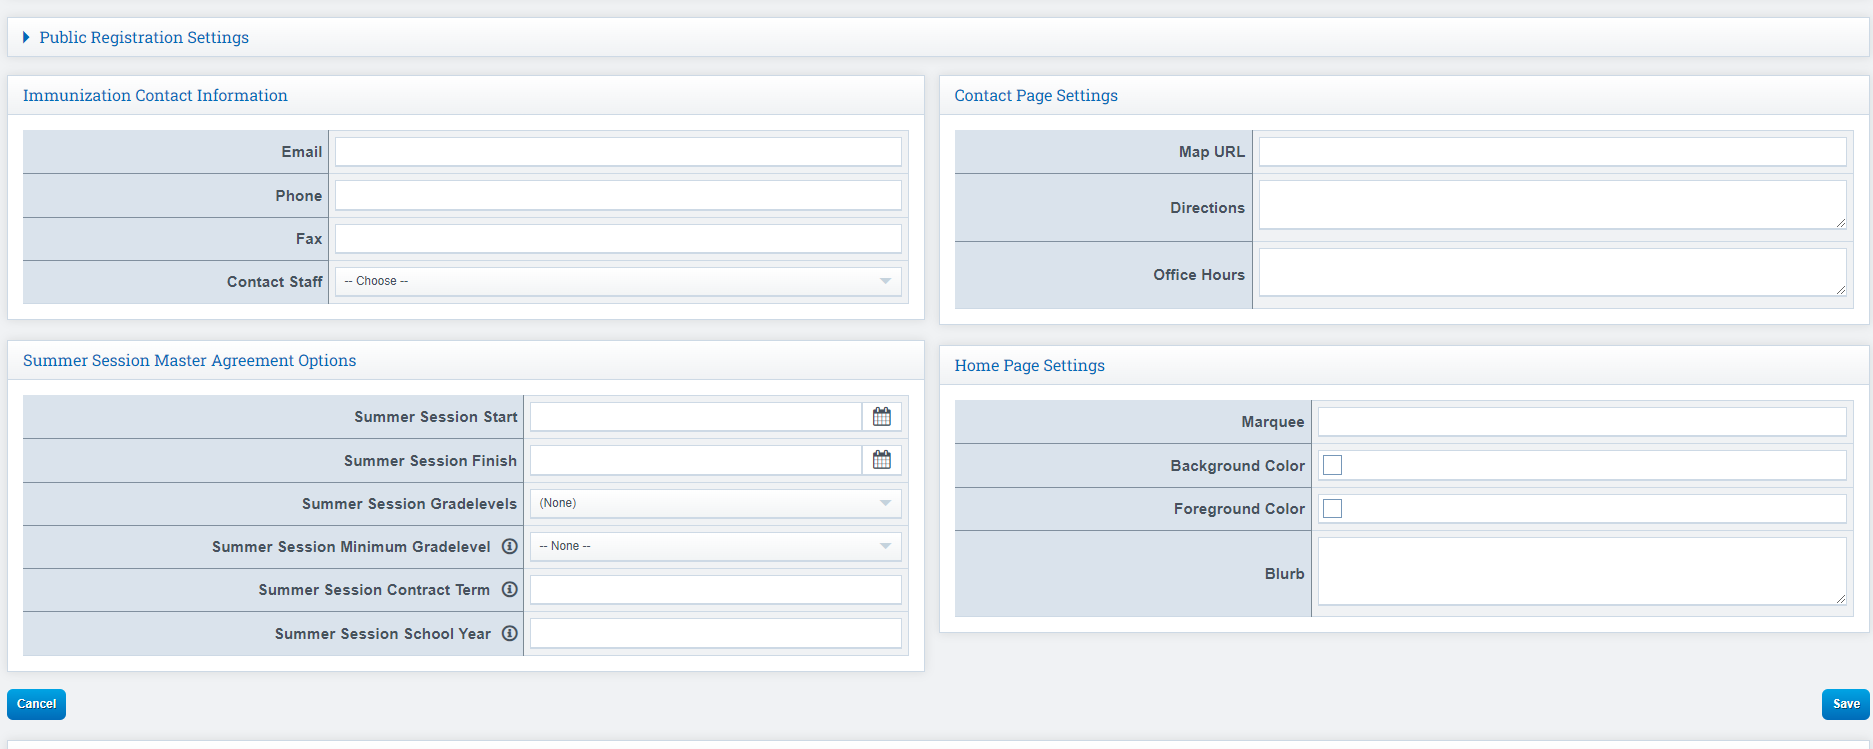
In order to create a new Learning Center enter the desired data and click the "Save" button.
Name: Name of the Learning Center: ex- School Site 1
Code: Optional An additional identifier for this learning center- may be utilized in Create-A-Report as well as some export bridges.
Contact: Optional
Area: Schools can choose to organize the Learning Center dropdown by "Area" or by "County". This is controlled by a School Policy: Admin>Settings>Policies>Learning Centers "Group Learning Centers by COUNTY or by AREA"
If County is chosen, then the Learning Center field for "County" must be populated.
If you are using Learning Centers for the first time and wish to organize them by Area, you will need to create at least one Learning Center initially. After the first Learning Center is established, you can proceed to define the Areas as outlined in the steps below. Once the Areas are defined, you can return to the existing Learning Centers and update the Area designation for each one as needed.
Administrator: Optional
Superintendent: Optional
Settings: Choose from the available checkboxes


All other fields are optional.
To Edit a Learning Center after creation: Learning Centers> Learning Center of choice>Management>"Edit Basic Learning Center Settings"
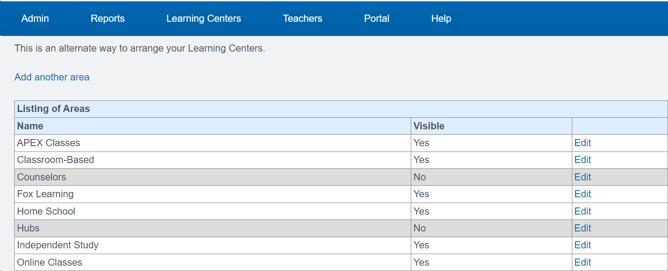
Defining Areas:
Navigation: Learning Centers > Click on a Learning Center > Management > "Define Areas for (optional)"
Click: "Add another area" to add Areas as needed.
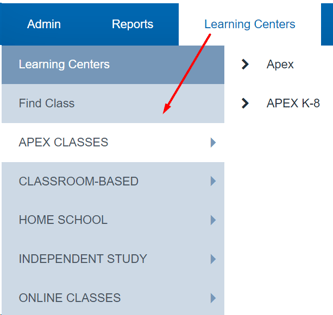
 Once Saved, these Areas become the organizational folders to house your learning centers (below)


