
This Function has NO room for error, so please if you need assistance with this process reach out to School Pathways


Ways to Collect Students
Collection tool: uses students displayed on the screen to offer suggestions-
- Student List- can be filtered to display specific students (use any filters at the top)
- Student List- checkboxes next to students name
- Students on a Roster or a report
- Anywhere that a student name is displayed
- Collection by ID “Add by ID”
- C-a-r list of local IDs- any c-a-r with the local IDs can be used
- Copy and Paste from any outside document
- Coming Soon- Add by ID to allow SSIDs in addition to Local ID
Administration> Student Info.> Show Student List
Choose students for collection:
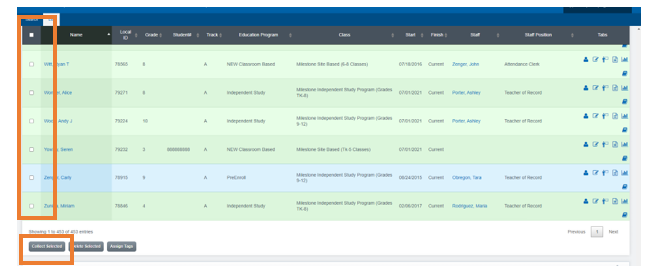
From the Student list (Admin>Student Info>Show Student List) place a Check in the Box next to each students name you wish to include
Click Collect Students
A Green Items Added Successfully message will appear
Click “Collector Tab” bottom right of screen
A Blue Box will appear on the bottom of your screen
- Click View : to see the students in the collection- verify the counts
- Click Save As: to Name the collection (optional)
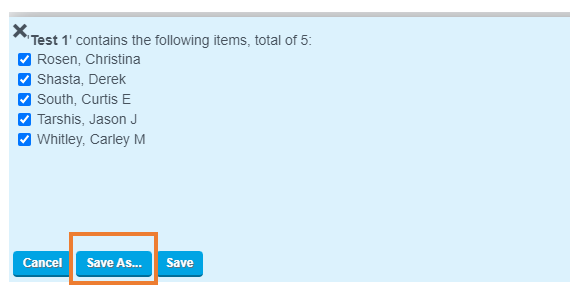
- Click Return to Collector Home

- Click Add to Collection: to add more students as needed
Optional way to collect students: Add by ID: when adding to collection there is an Add By ID option. You can copy a list of Local IDs from a CSV/Excel and paste directly into the box. You can also manually type the local ID and enter after each so it creates a list.
Once you have you collection selected you can do multiple things
1. Change Enrollment
- Click on the students Enrollment Icon

- On this screen you have different options in the dropdown
- Choose what it is your school needs to update
- Click OK

*******If you do not see this section, click Collector to get this section to appear
On this next screen make all the desired edits
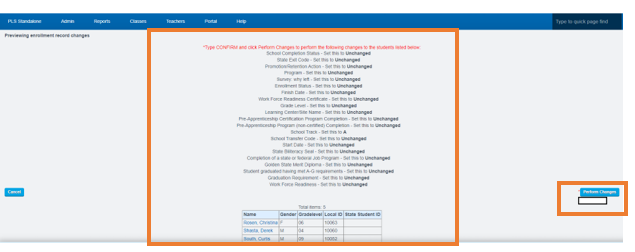
Click Preview Changes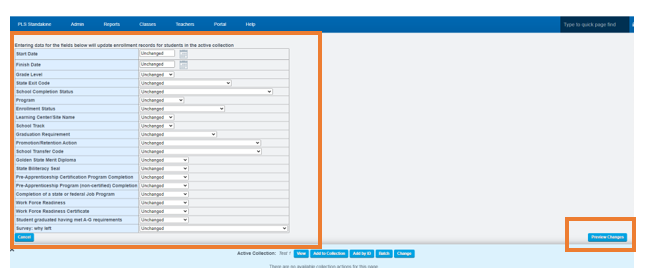
Type Confirm if everything looks good
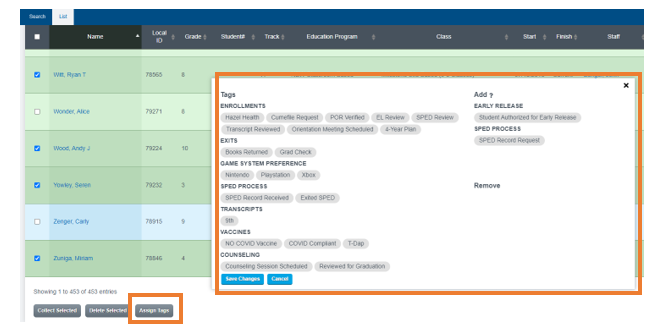
2. Assign Tags
Click Assign Tags
Drag and Drop the Tags to the right side of the screen
Click Save Changes
3. Batch Mode
Batch Mode allows making changes to a group of students that might be student specific. So rather than a Mass change, you can navigate to the page of the first student and make their individual change. Then move to the next student in your collection. This allows you to make individual changes but without having to navigate for each student.
Activate your collection by either creating a new one or using one that is there
-
-
Go to the page in the system you want to make changes for the students.For example you may change student’s demographics, NSLP, Family Information and so forth. Go to that area for ANY student
-
Open the Collector in the dark grey bar at the bottom of your screen
-
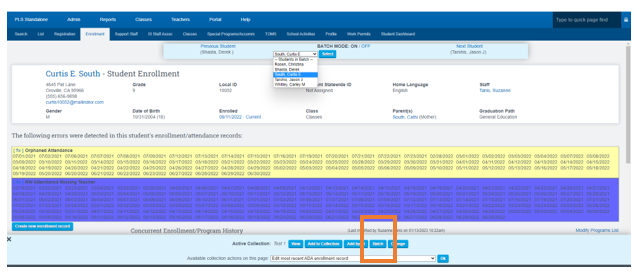
- Click Batch
Click OK in the box that appears asking if you want to Enable Batch Mode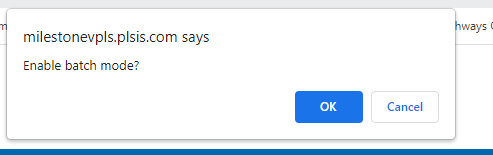
-
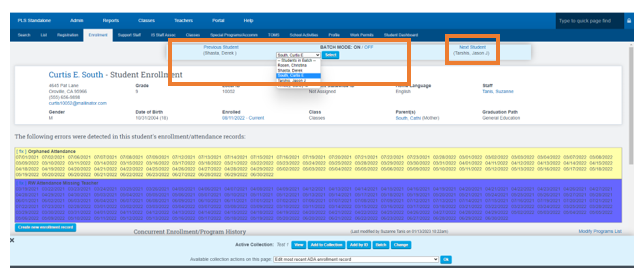
At the top of the page a box will appear:
- Use the dropdown to click on the Students Name you would like to make changes too
- Make the changes you would like on the student’s page and click SAVE
- Once you have completed the first student click Next Student
Continue the process until each students info has been updated