
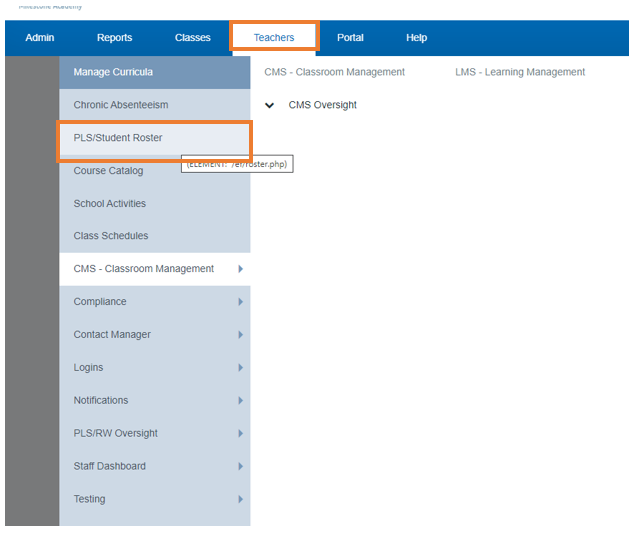
Navigation:
Teachers > PLS/Student Roster
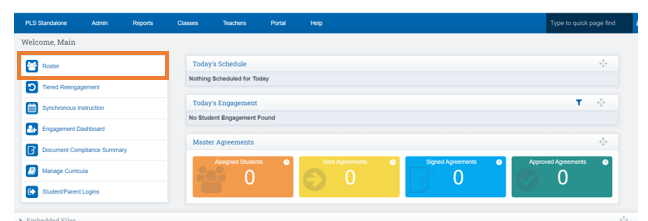
OR from the Dashboard
Click Roster
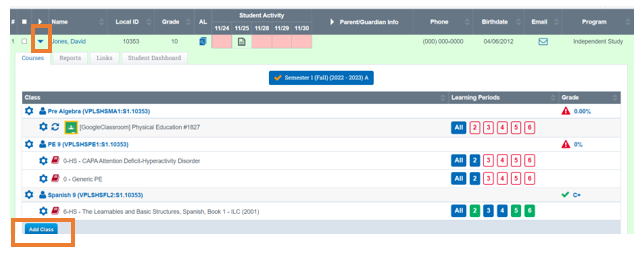
From the PLS Student Roster
Click the Blue Arrow for the student you want to create a class for
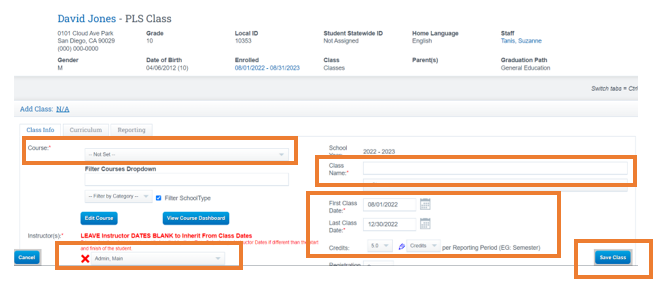
Click the Add Class button
On the next screen you will enter a few pieces of information.
- Use the dropdown to choose a Course.
- Make sure that the correct teacher chosen
- Type in the name of the class.
- Make sure the class dates are correct. Is this a semester class or a full year class?
- Make sure the credit values are correct. Is this a semester class or a full year class?
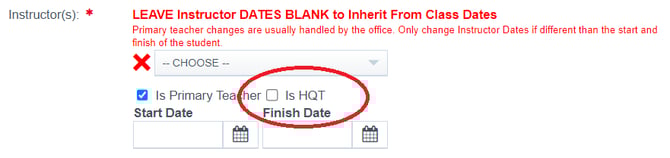
Checking the HQT box will assign the selected teacher as the course instructor and report that HQT in CALPADS, as illustrated in the screenshot below.
Click Save Class
Once the class is saved in our system, they will land back on their roster and see the class.
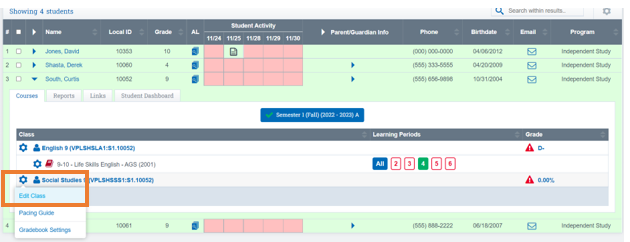
Click the Cogwheel
Click Edit Class
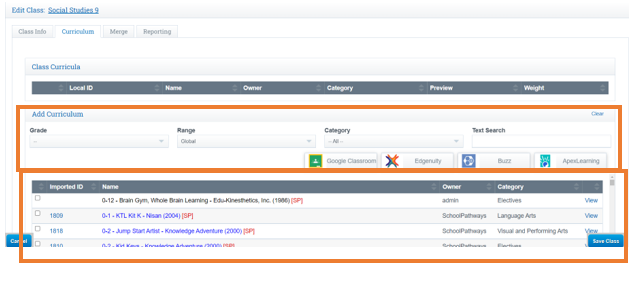
Click on the Curriculum tab
You have two options here:
- Link a Bridge if your school is using a bridge (there is a guide on linking a bridge)
Link a Curricula from Bridge User Guide - Import Curricula from the Curricula School Pathways has in the system
Click Save
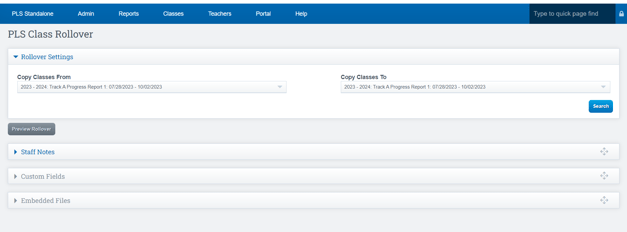
PLS Rollover
Click the student you want to rollover class for
Scroll to bottom of page click Rollover Class
Click the link Below to see how to import a Bridge
Import Curricula through a Bridge
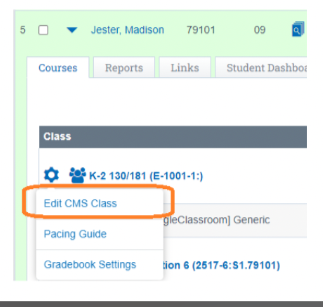
Edit a CMS class can be done on the Student Roster Page as well
Click the Cogwheel next to the CMS class
Click Edit CMS class
Make any necessary updates or changes to the data that your school requires.
Click on the Curriculum tab
You have two options here:
- Link a Bridge if your school is using a bridge (there is a guide on linking a bridge)
- Import Curricula from the Curricula School Pathways has in the system
Click Save