
Staff Information
-
Navigation: Admin>Staff Info> Find/Add Staff
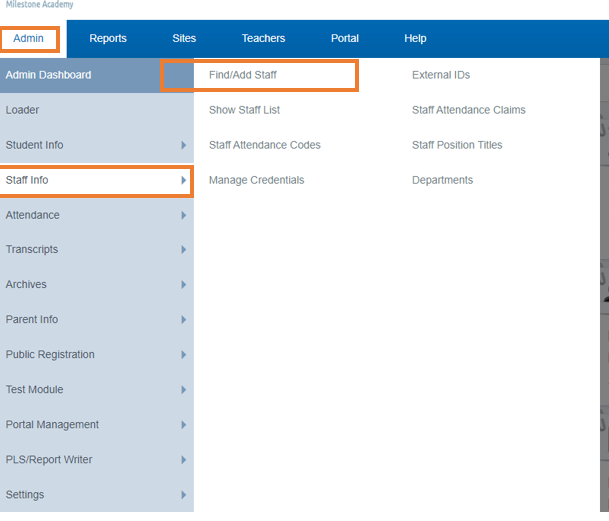
- Always search for the staff member first, to make sure they are not already in the SIS from a previous employment
- If the staff isn't in the system, click ADD NEW STAFF

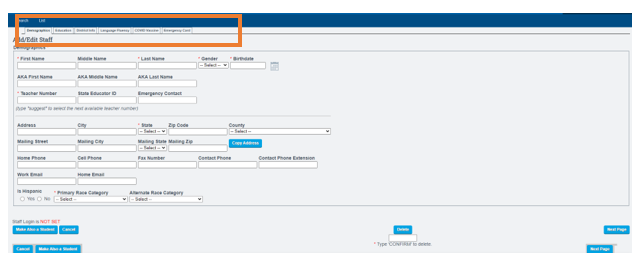
- Fill out all info below, be sure to click on each tab across the top of the dashboard
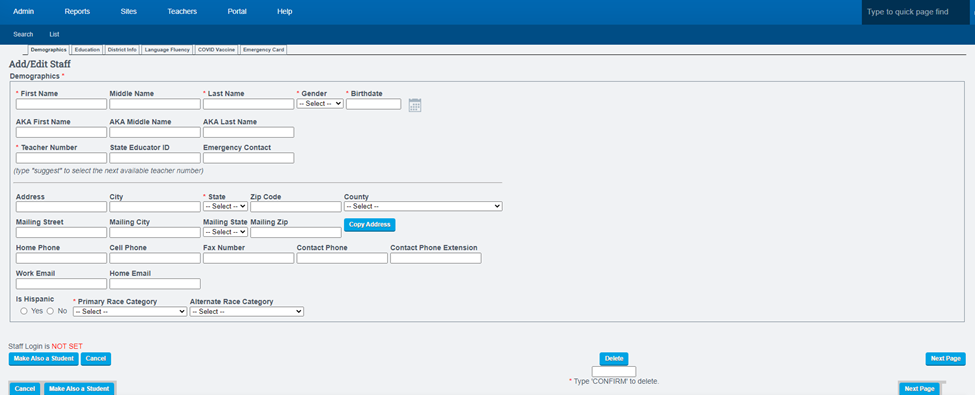
- Complete as much information on the Demographics, Education, District Information and Language Fluency tabs as possible.
- *In the District tab, the Staff Login will be completed in step B
- SAVE after completing final tab
Employment Data
- Step 1. Complete the employment tab. You will know if the employment tab has not been completed if the staff member is highlighted in red on the staff list.
- Click on Employment

- Step 2. Click Add Staff Employment Record
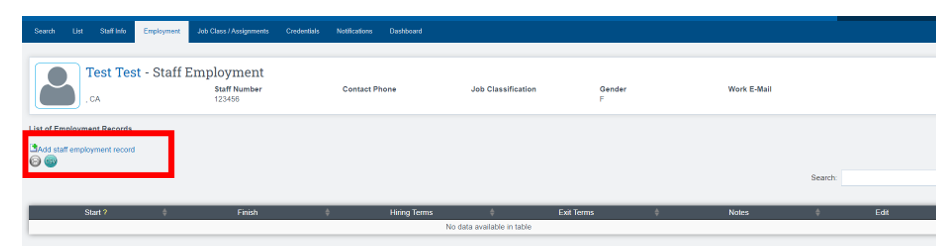
- Step 3. Fill in required fields which are: Start date, Hiring Terms, and Time Base. SAVE

Job Classification/ Assignment Information
To complete information for highly qualified and classified staff for State Reporting-CALPADS, complete the following:
- Step 1. Click on the Job/Assignments tab
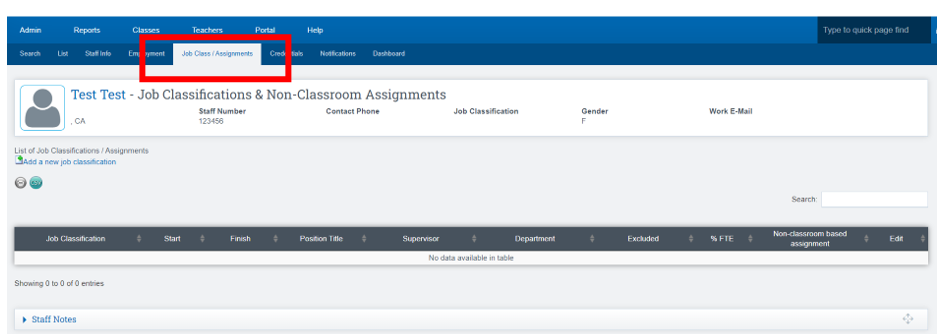
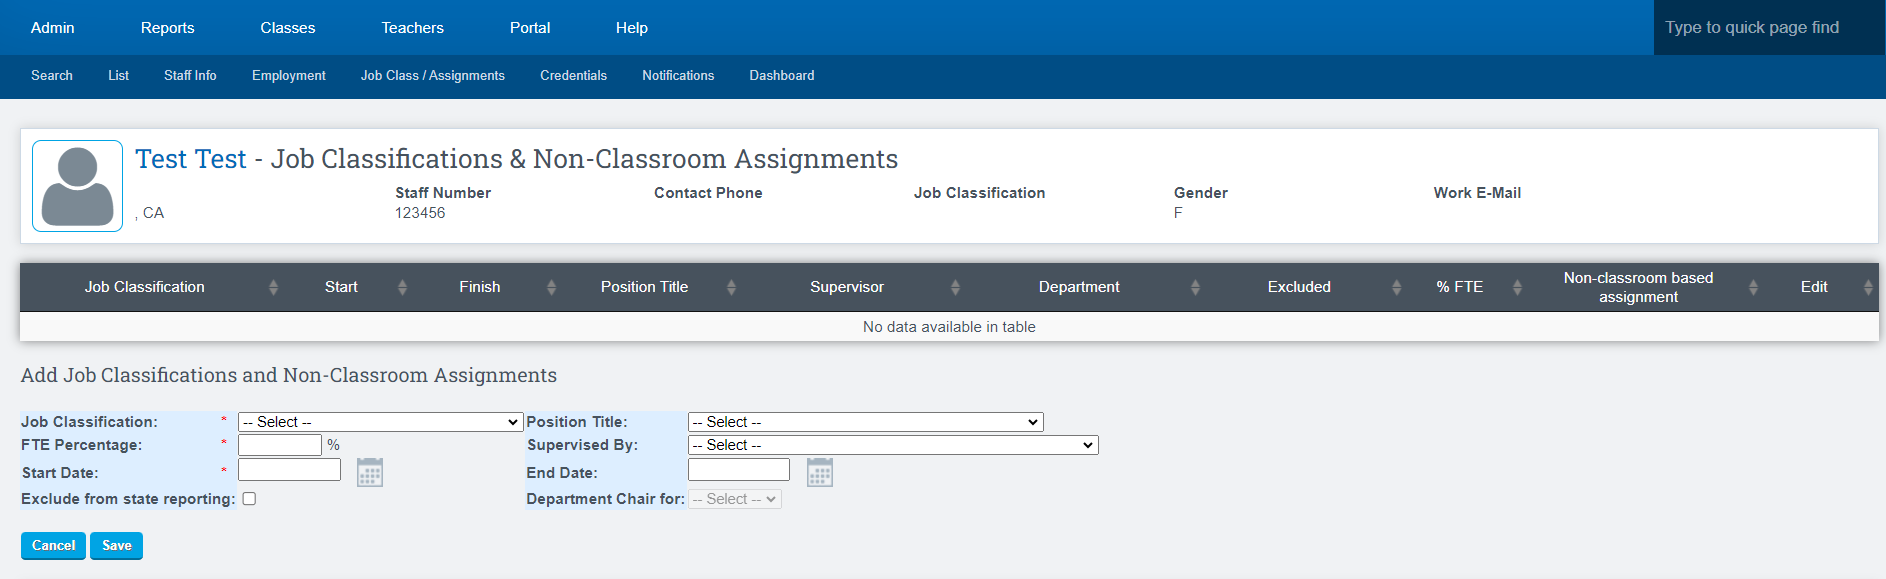
- Step 2. Choose Add New Job Classification

- Step 3. Select the Job Classification field. If a teacher, enter the FTE (what % of their day is spent teaching.) If a Classified member, choose the Job Classification and then select from one of the checkboxes below.
Credentials/NCLB
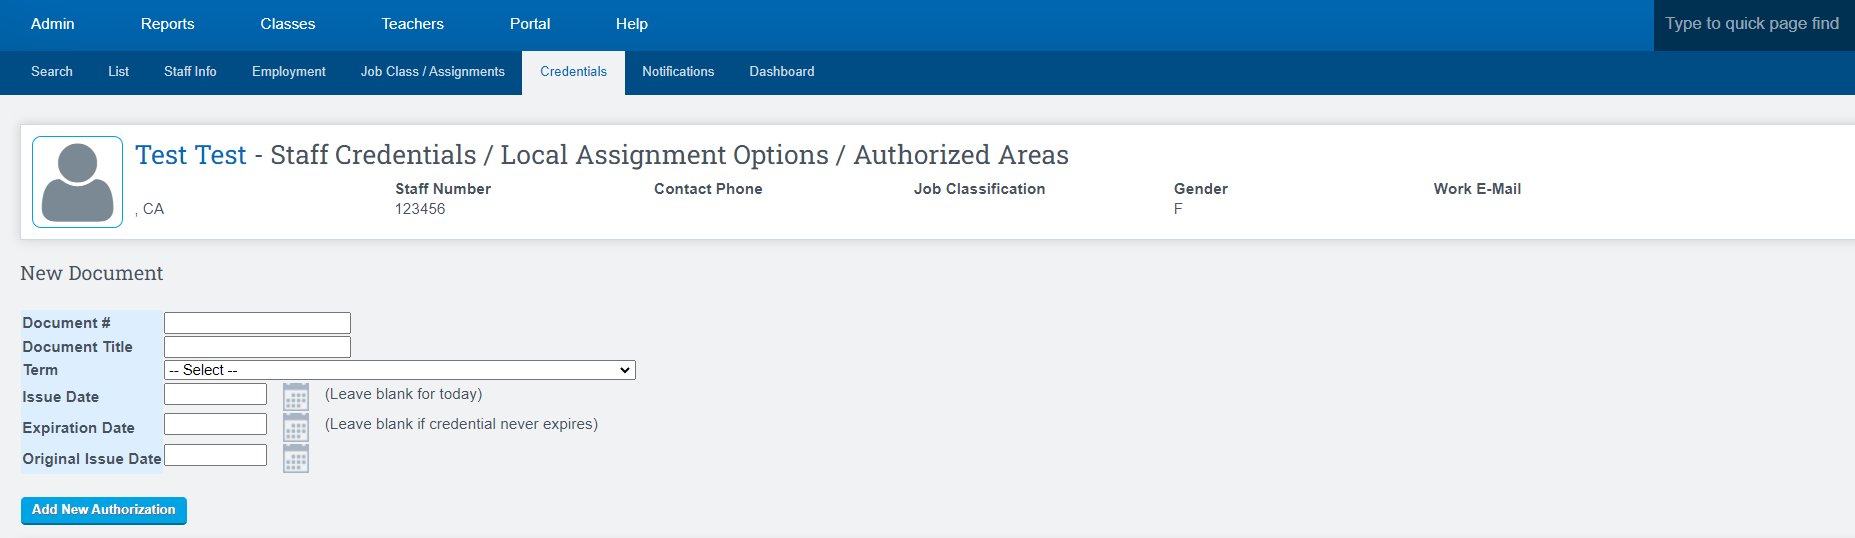
- Step 1. Click the Credentials Tab
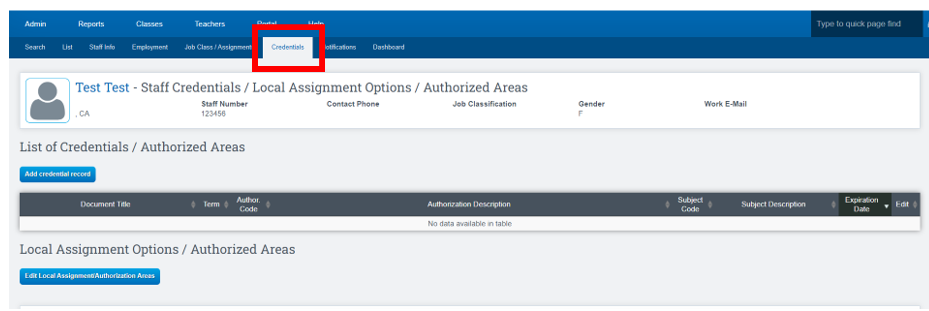
- Click Add Credential Record
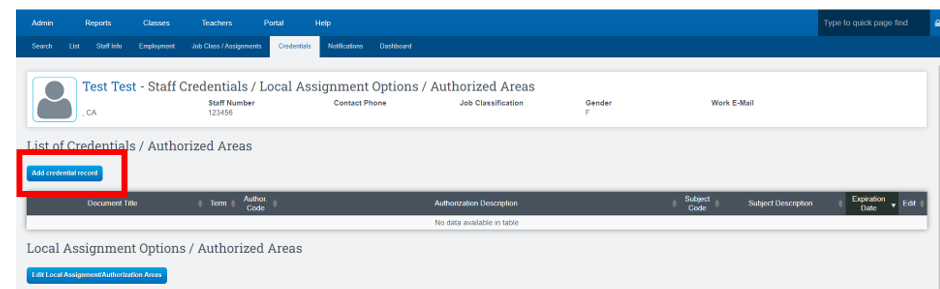
- Complete as much information as possible
- SAVE when complete
- On Credentials/NCLB tab choose Edit NCLB Status. Check the courses the teacher is qualified to teach. Set how they are qualified to teach. Set how they are qualified. You can set all at the same time by using the fields at the top. SAVE
Staff Login
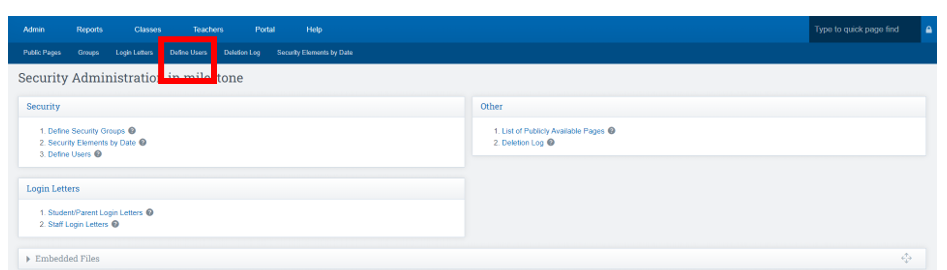
- Step 1. Admin > Settings > Security > Security
- Choose Define Users
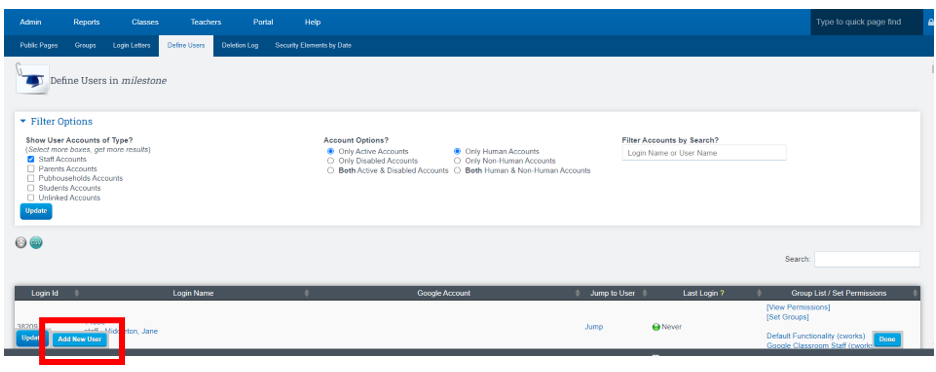
- Step 2. Click Add New User
- Step 3. Type in the first initial and last name of the new staff member for the Username
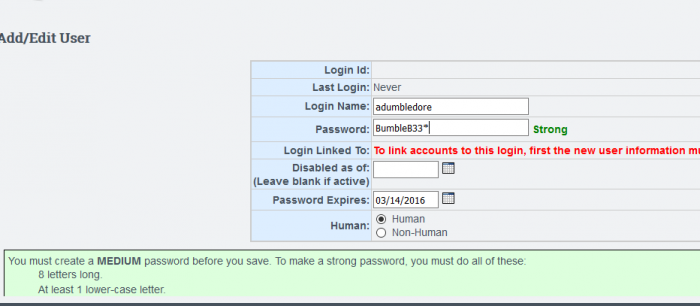
- Step 4. Choose a simple password by following the instructions on that page. We typically enter a simple password to get the staff member started in the system as they will be required to set a new password on first access to the system. SAVE
- Step 5. Back on the list of staff names, click on the “Unlinked Accounts” button, click UPDATE then find the new staff member in the list. Click on the Login Name to access the login details page.
- Step 6. Click on the EDIT LINK TO icon

- Step 7. Find the staff member’s name in the list on the right.
- Click on the green circle button next to the staff member’s name. This links the staff member’s file to the login. If there is a not matching name, steps A and B have not been completed.
Final Step:
Send staff a Welcome/Trigger email to access the SIS
- Send Trigger/ Welcome Email to Staff member
Send Staff Welcome Emails User Guide