
Table of Contents
For district schools, complete these steps within your District Oversight (DO) scope. Use the district push option to create calendars in child scopes and ensure each school enables the year under Look Up/Manage School Years in their respective (child) scope.
Enable the Next School Year:
-
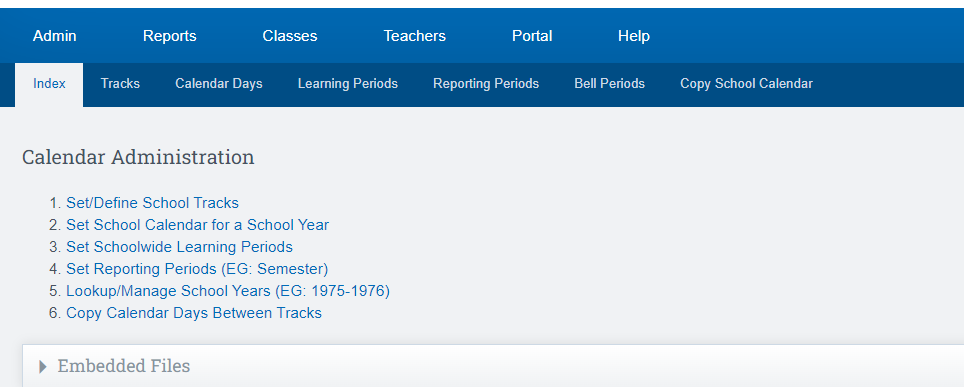
Go to: Admin > Settings > School Calendars
-
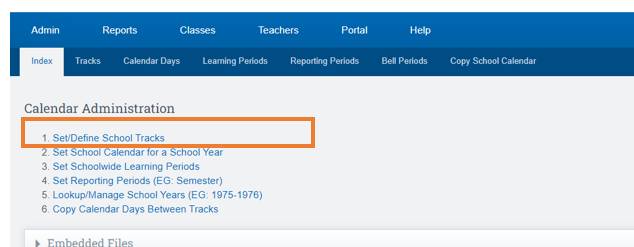
Click on #5 Lookup/Manage School Years
-
Enter the first part of the next school year in the text box at the top of the screen
-
Click Create
-
The New School Year will appear in the dropdowns
Be sure to complete this step in all scopes, including each child scope.
Set/Define School Tracks:
Use this step to add a track if needed. Can skip if not.
-
Admin > Settings > School Calendars
-
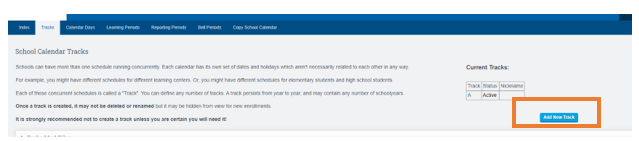
Click Set/Define School Tracks
-
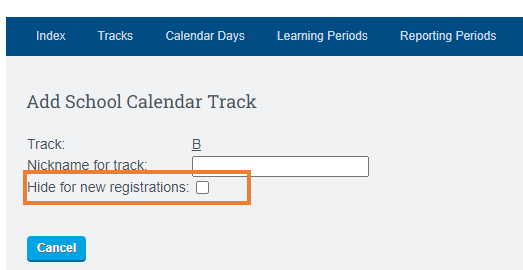
Click Add New Track
-
If you want to hide the new track from new registrations, click the box.
-
Click Save Changes.
Set School Calendar Days for a School Year
-
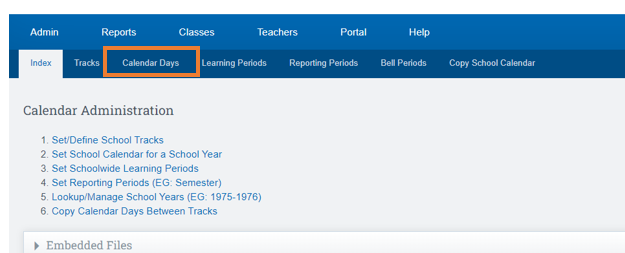
Navigate to: Admin > Settings > School Calendars
-
Click on the Calendar days tab at the top
-
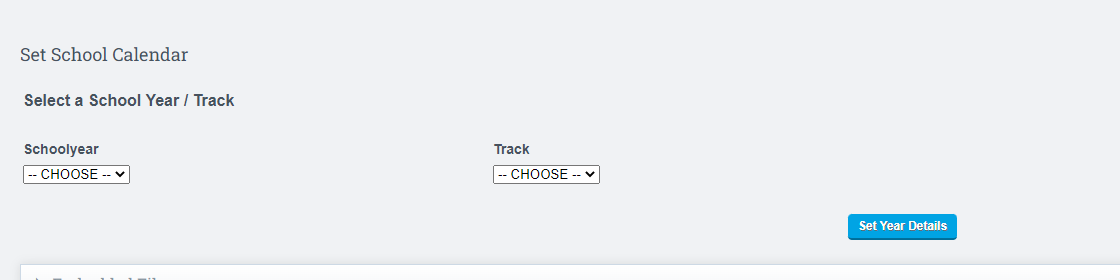
Choose the new school year and correct track you wish to add calendar dates for then click Set Year Details button.
-
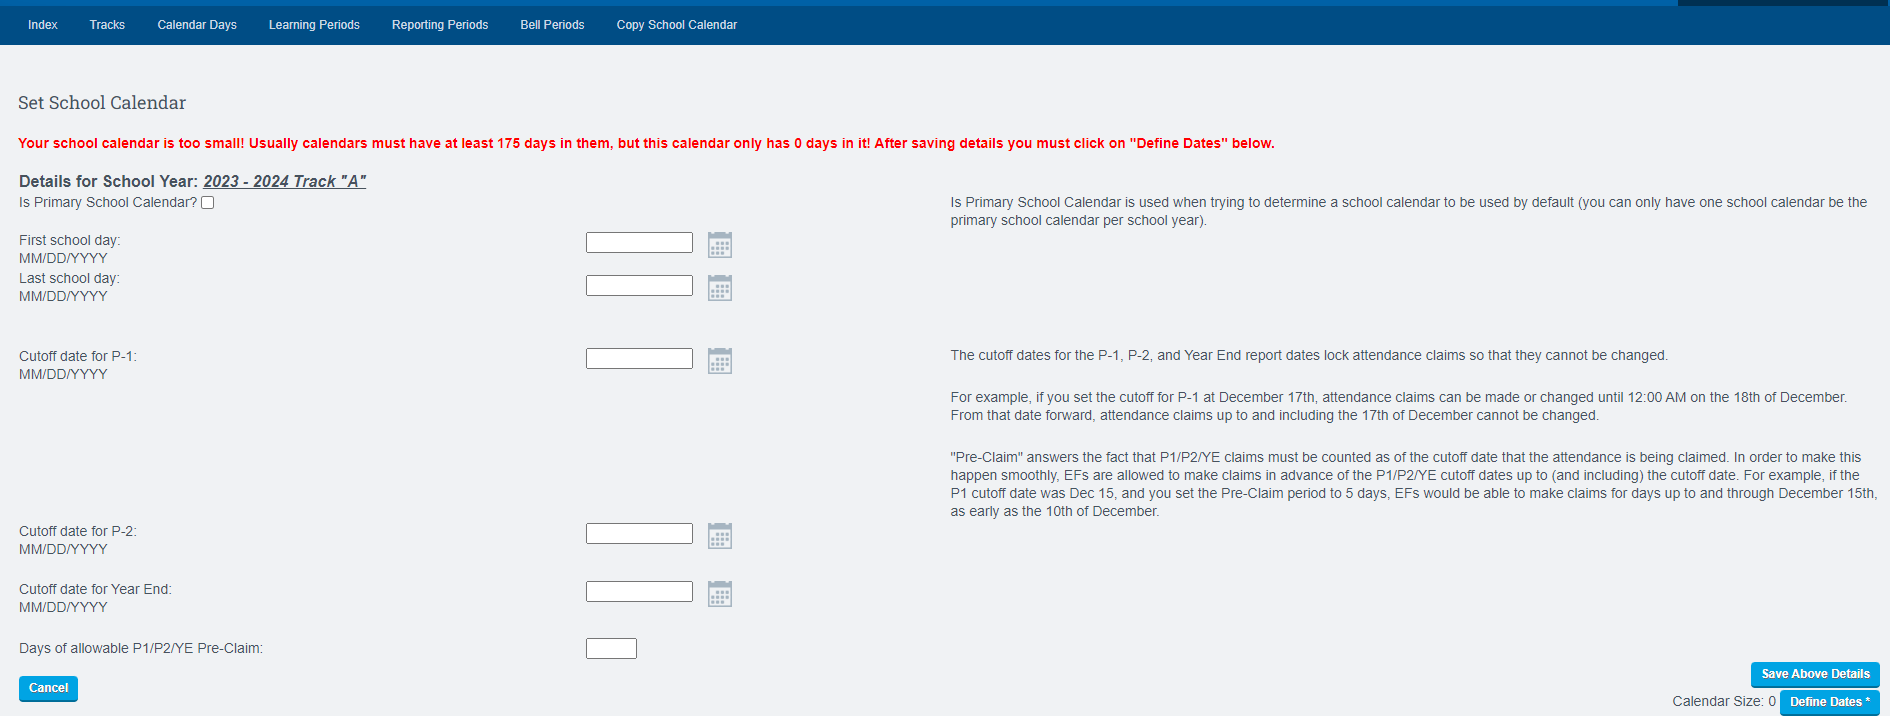
Enter the dates for the first and last day of school.
-
Click Save Above Details
-
Entering P1, P2, or YE dates are not necessary at this time and should not be set
-
Click Define Dates

-
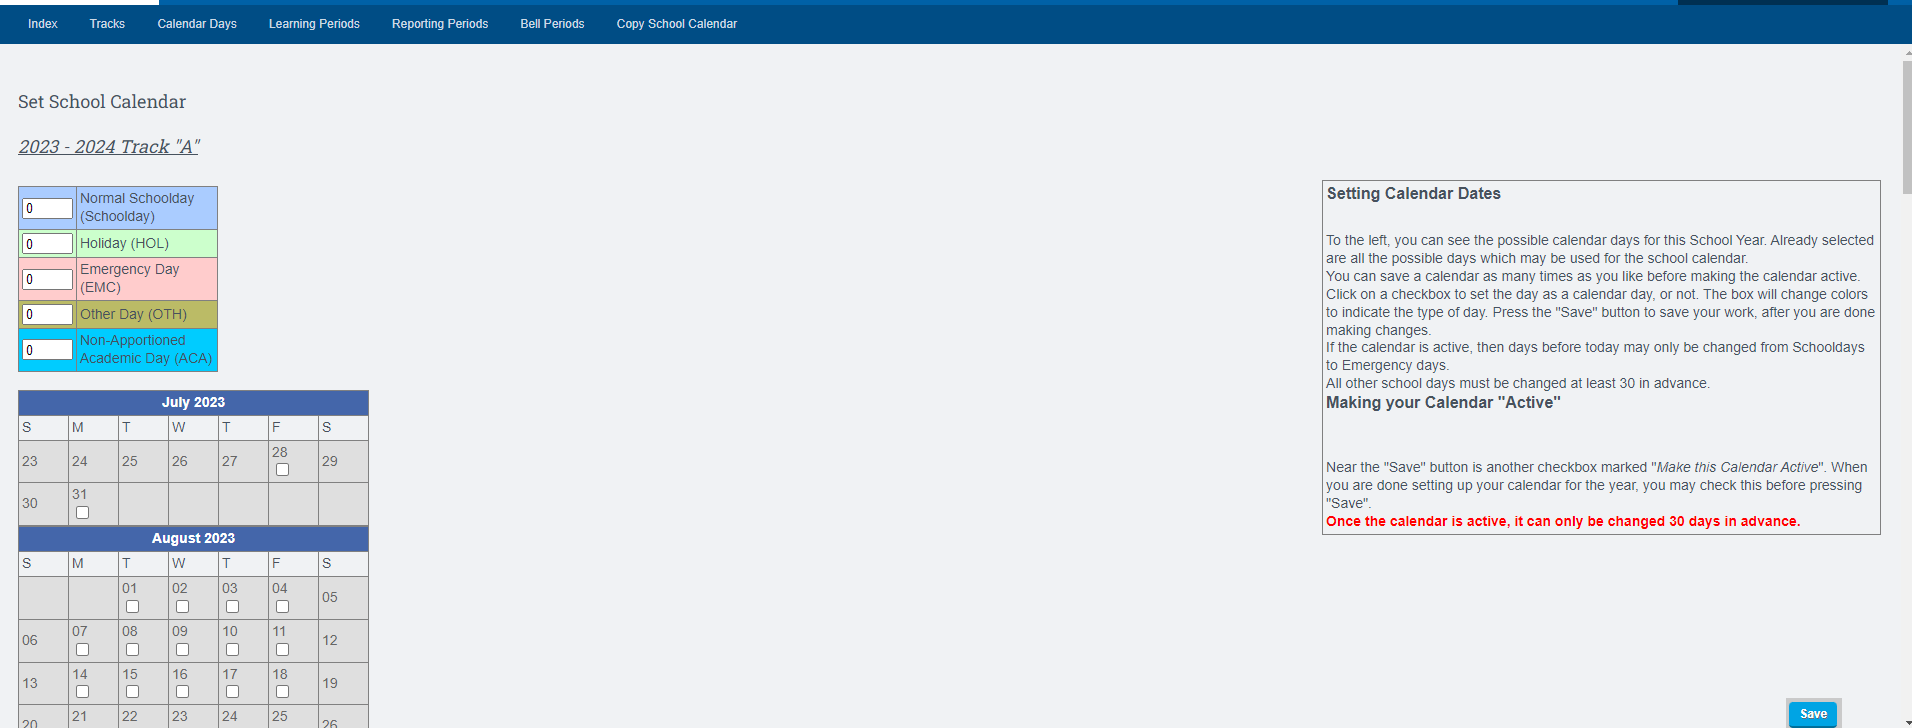
Click inside a blue box to change color to code for different categories (Holidays, Emergency days, ACA days, etc.
- You can go to the bottom of the page and click the “Set all unchecked days to Normal Schooldays” check box. This will auto-fill all days to normal school days. You can then adjust the holidays, emergency, ACA, etc.
-
At the bottom of the page click Set this calendar to Active

You will get an error message if you have less than 175 days in your calendar
-
Click Save- Proceed to Learning Periods
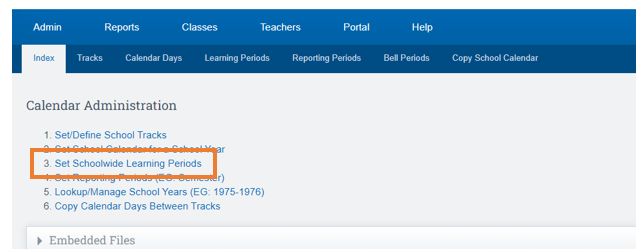
Set Schoolwide Learning Periods
Admin > Settings > School Calendars
-
Click Set Schoolwide Learning Periods or Learning Periods in the blue bar
-
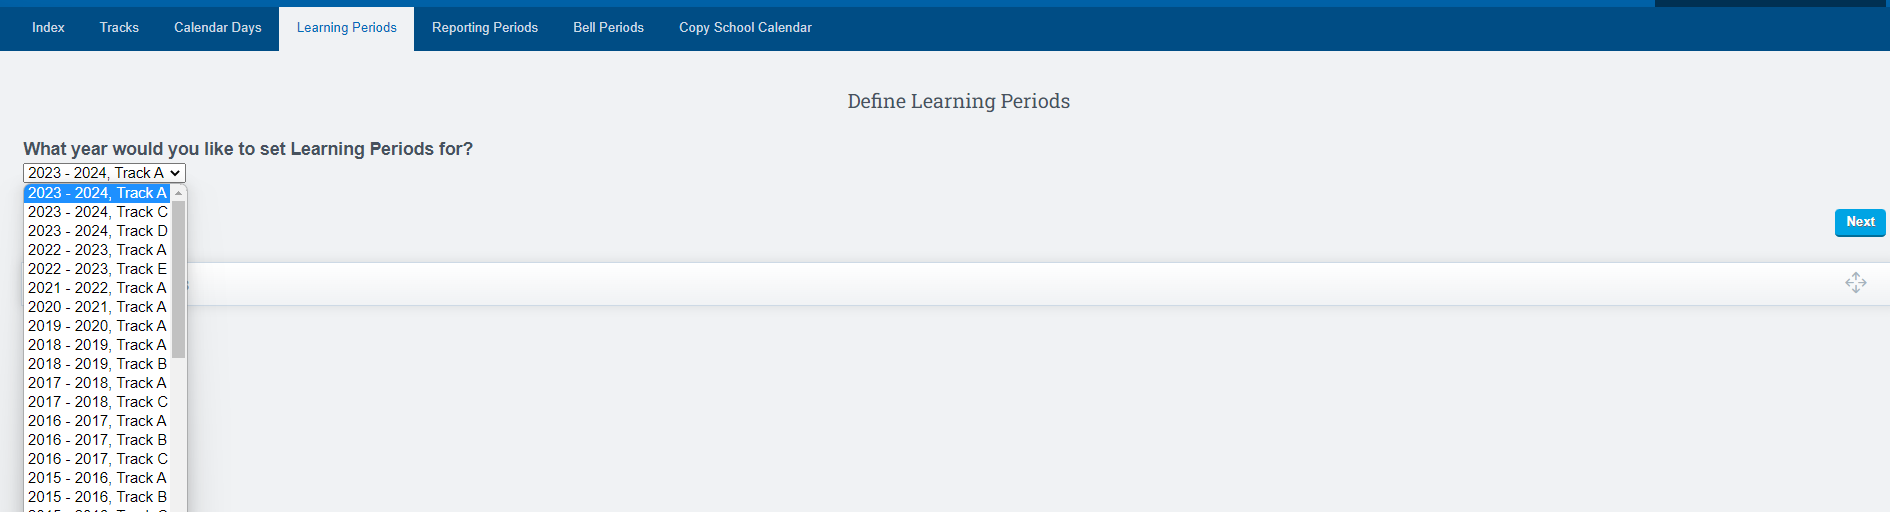
In the drop down, select the school year and track you want to set Learning Periods for
-
Click next.
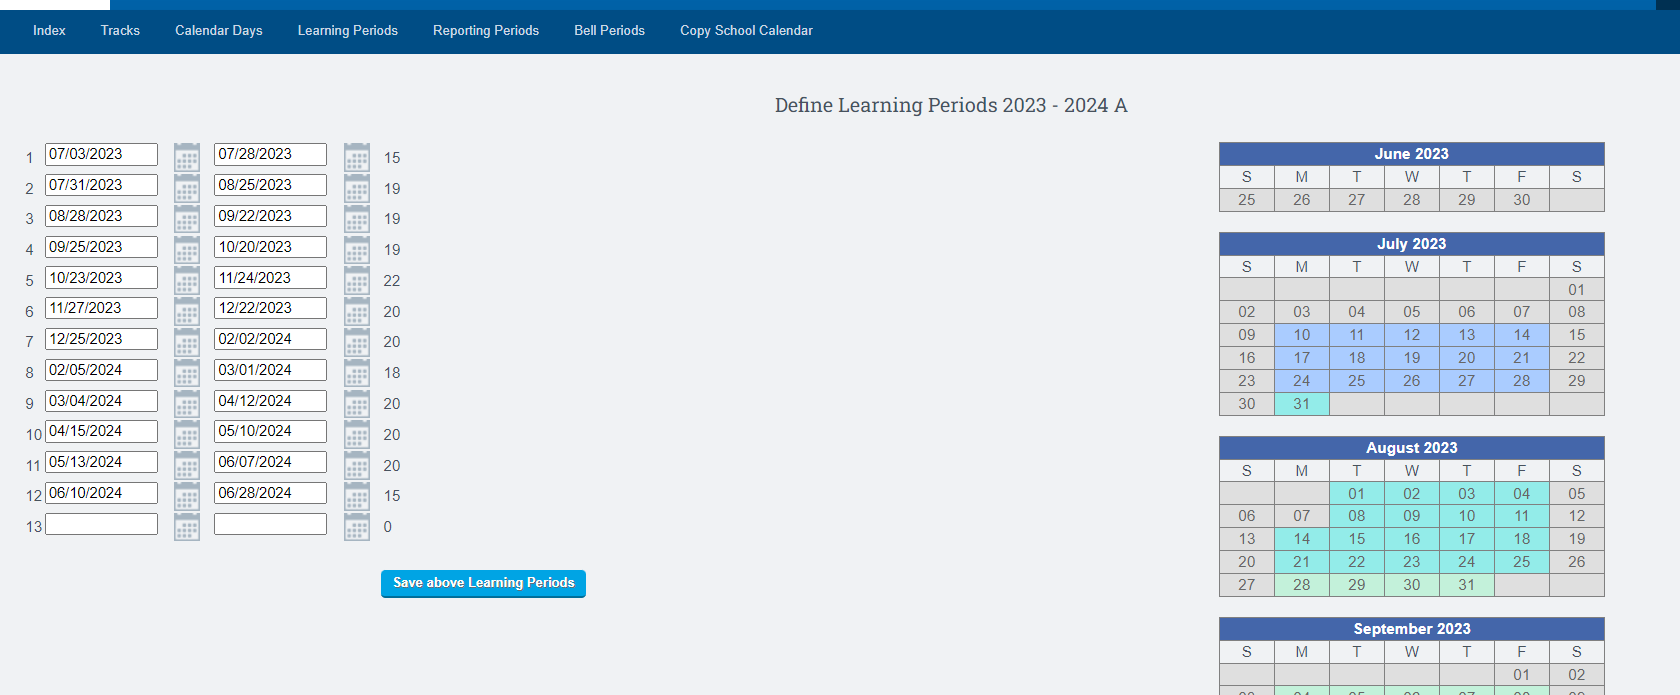
- You will see boxes to start entering your beginning and ending dates for each Learning Period.
- As you enter the dates, they will change to another color on the calendar on the right.
If you skip dates, you will see a red alert above the Save above Learning Periods button. In addition, you will not be able to save your LPs if you are missing a school day
-
Enter dates by clicking on the calendar icon or by entering in the following format: mm/dd/yyyy
-
Click Save above Learning Periods- proceed to Reporting Periods
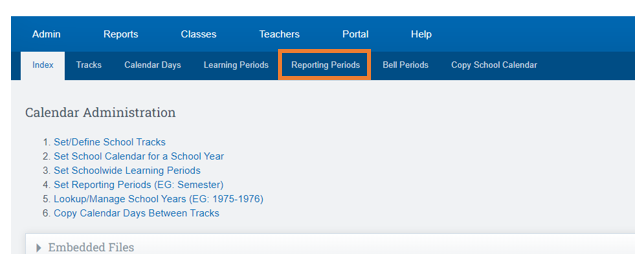
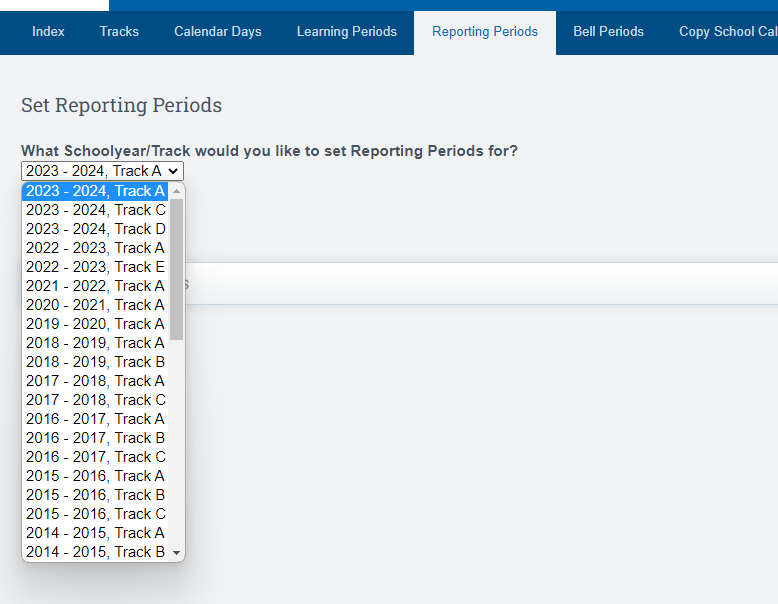
Set Reporting Periods
Admin > Settings > School Calendars
-
Click Reporting Periods at the top of the page.
-
Choose the school year and track you want to work in and
-
Click edit.
-
Click on the first and last day of the first reporting period.
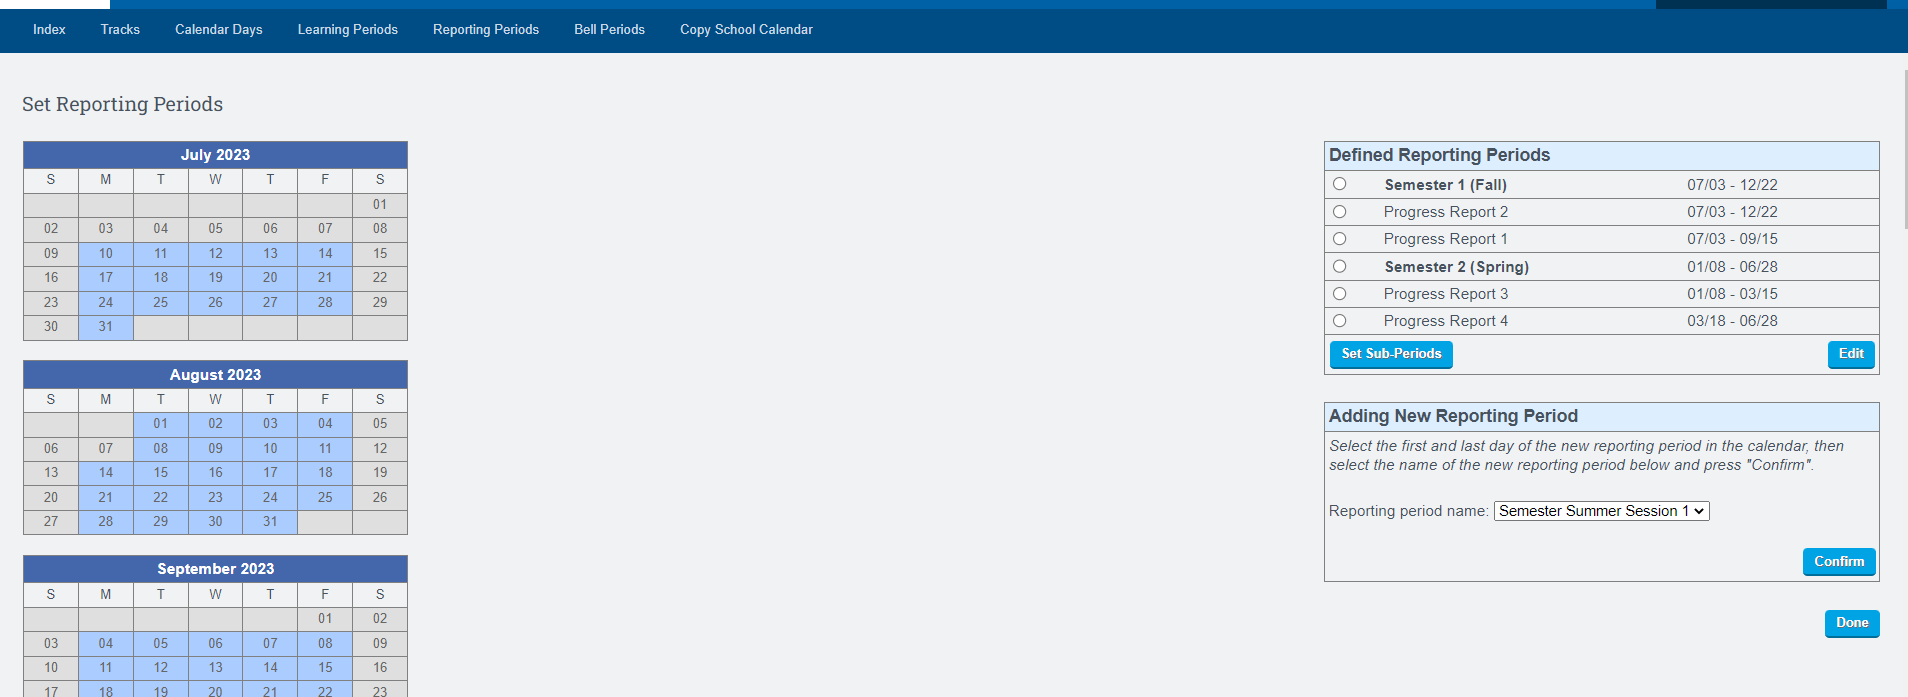
-
On the right side-lower box you will see “Adding a New Reporting Period” Most common answers are SEMESTER, TRIMESTER, SESSION, or QUARTER
-
Click Confirm to save your choice.
-
Continue this process to set all reporting periods
-
Click Save
Repeat the process for each track as needed. You will now see the school year, LPs, and Reporting Periods available in various areas of the system.