
Table of Contents
Step 1: Administration at Original School
Admin > Student Info > Find/Add Student
-
Search for the student to be transferred.
-
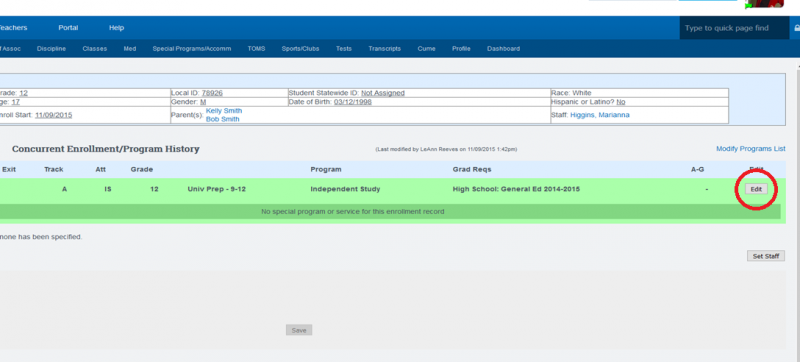
Click on the Enrollment Icon for that student.

-
Click Edit for the current enrollment.
-
Complete the following steps:
-
Insert a Finish Date.
-
Check the box titled “Close Records”.
-
Choose the State Exit Code (e.g., Transfer California Regular or an appropriate option).
-
Choose the appropriate Class Ending Status for the student from the dropdown.

-
Click Save Record.
-
Initiating the Transfer
-
Once the student has been exited, click on the Enrollment Icon for that student.
-
Scroll to the bottom of the page.
-
Click Transfer Students Records to Another School.

-
Enter the scope name into Transfer to Scope (check with School Pathways for the correct scope title).
-
Click Send Transfer Request.
The student’s file has now been sent to the new school.
Viewing Transfer Status
To check the transfer status:
-
Go to Admin > Student Info > Inter-District Trans.

- Then click on the sent icon to view the list of students whose records have been transferred to another school.

After this process is finished, the transferred student must be pulled into the new school. Please see PART III for full instructions.
Step 2: Administration at New School
The receiving school must complete the following steps and navigate to the section for inter-district transfers:
-
Navigate to Admin > Student Info > Inter-District Transfers.
-
Select the student by locating the "Retrieve Now" icon and clicking it to access the student's file. Alternatively, you can select multiple students at once and then click on "Transfer Selected Records" to retrieve their files simultaneously.

-
Establish a teacher association and create the enrollment records directly on the screen.

-
For high school students, carefully examine their transcript information and make any necessary adjustments to align with the graduation requirements of the new school.
-
Additionally, you can select the Graduation Type for each semester as needed.
-
If selecting a Graduation Type for each semester, ensure that you select them individually before assigning each category.

-
- Review the REG-Online Records section.
- If you wish to transfer the records, select "Yes, transfer these records."
- If the records show an associated Reg Online Household with the same email address, the option to retrieve the Reg Online data will not be available.

-
-
Please note that you will need to recreate any classes and master agreements in the new school.
-
Latest Update: First Enrolled Date Adjustment
Student Dashboard > Registration > Pre Reg & Prev School Tab
-
For students who have transferred via interdistrict transfer, the “Date First Enrolled in This School” will now be removed in the new scope.
Policies
Student Dashboard > Enrollment > Options Cogwheel > Page Policies
-
Ensure all enrollment policies are reviewed and updated as necessary when processing student transfers.
Last Updated 02/10/2025