School Pathways - NWEA Bridge Set-up in PLSIS (October 2023)
A. Bridge Description- Automatic, nightly export from the School Pathways SIS to NWEA
- Combined export (demographics & rostering)
- Automatic import of test scores into the system daily
- Additional feature in SIS - NWEA Test Tracker
- Report in the SIS to track when students need their next test based on your NWEA testing windows. School policy to set tracking duration - Every (6, 4, 3) months
- Report access:
- Admin > Test Module > NWEA Test Tracker
- Teachers > Testing > NWEA Test Tracker
-
- Once bridge agreement has been signed with School Pathways, bridge module will be turned on in your school
- Create the user account in NWEA
> Login to https://start.mapnwea.org/
-
-
-
- Go to Rostering > Manage Users
-
-
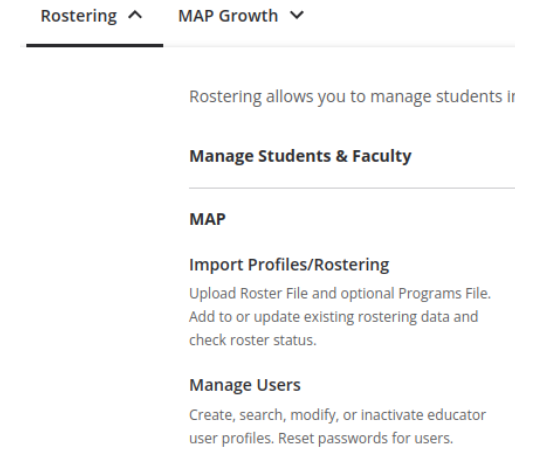
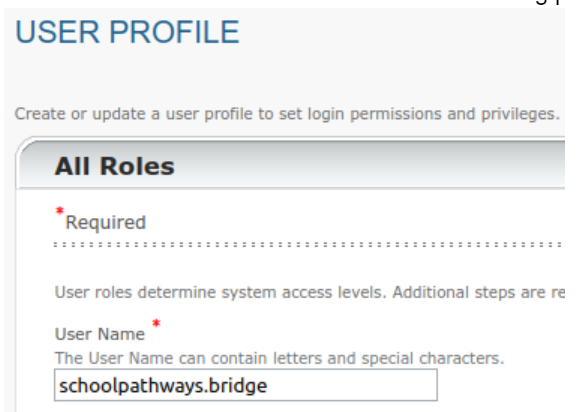
3. Locate or create a user account specifically for the bridge. This user account can be a non-human account with a clearly identifiable name and a secure password.
-
- District Assessment Coordinator
- Data Administrator
- District Proctor
- Page policies will need to be set-up in the SIS
-
- Go to Reports > Export > NWEA
Note: Initially the page will note the bridge is not yet configured - Click over to Page Policies - bottom right - Options cog wheel
- Go to Reports > Export > NWEA

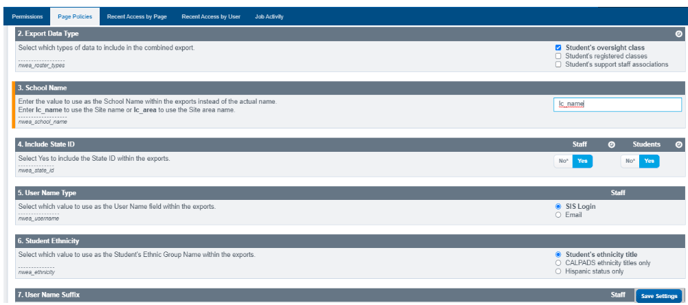
1. Export Options
-
-
- ID type set by School Pathways
Default ID to send is Local ID for staff and students - Export Data type
Default to Oversight - School Name
Enter lc_name to send LC name - Include State ID
- User Name Type
Default is SIS login - Student Ethnicity
This must match exactly what you have set-up in NWEA - User Name suffix
For schools that used the bridge originally and have a district model. Not needed. - Exclude the Learning Centers you do not want to send
- ID type set by School Pathways
-
- Enable Bridge (SP will set)
- Upload Mode (SP leave at default, unless District)
- Connect Login
See NWEA setup, above - Connect Password
See NWEA setup, above
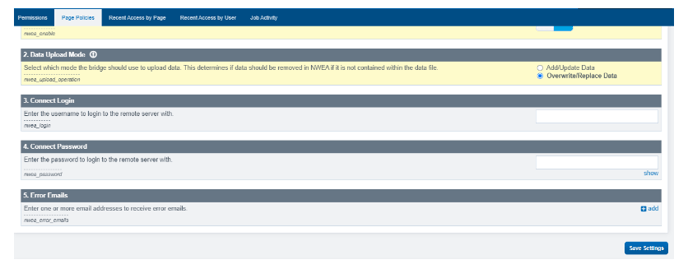
- Error Emails (Who wants to receive error emails?)
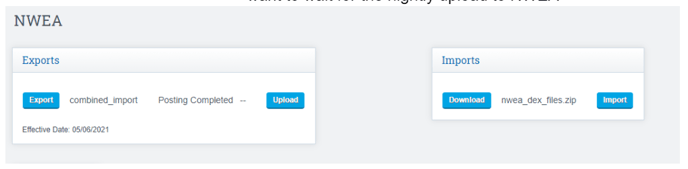
4. On the main bridge page - once everything is connected the yellow message will go away and you will see an “Upload” option
-
- Use the “Upload” button to manually push the data if do not want to wait for the nightly upload to NWEA
- NWEA needs to be configured to import the data from the SIS, so the first import should be performed manually.
- Download the NWEA export file
- In the SIS go to Reports > Export > NWEA
- Click “Export” next to the “combined_export” file to download.
- Setup NWEA:
- Login to https://start.mapnwea.org/ using the account created for the bridge, above.
b. Got to
c. Set-Up Roster
> Roster Type: Standard> Term: (current term)
> Roster FIle: (combined_export.csv file downloaded above)
4. Preview, confirm, and validate the file
5. Note any errors, and make any adjustments possible
- Some errors may be able to be adjusted by changing the page policies in the bridge. Review the settings above.
- If any of these are changed, then re-download the report file.
6. Change additional settings
a. Login to https://start.mapnwea.org/ using the account created for the bridge, above.
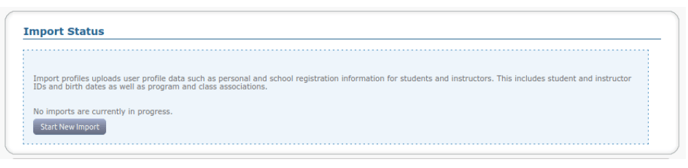
b. Go to Rostering > Import Profiles/Rostering > Modify Preferences
c. Modify District
1. Schools
> Here the list of district schools within NWEA are shown.
> This list must match exactly the data provided by the bridge in the School Name .
> Adjust this list to match the names provided, which is dependant on the School Name
policy in the bridge:

d. Grades
> Adjust the list of grade level codes to match
e. Programs
> If using the Programs file, those can be adjusted here
f. Ethnic Groups
> This list must match exactly those provided by the SIS.
> Adjust this list to match the names provided, which is dependant on the Student
Ethnicity policy in the bridge:

g. Manage Terms
> The terms should define the school years within NWEA, and should match the
calendars defined in the SIS.
7. Enable the imports into NWEA
> Once the manual imports are setup and working, go to
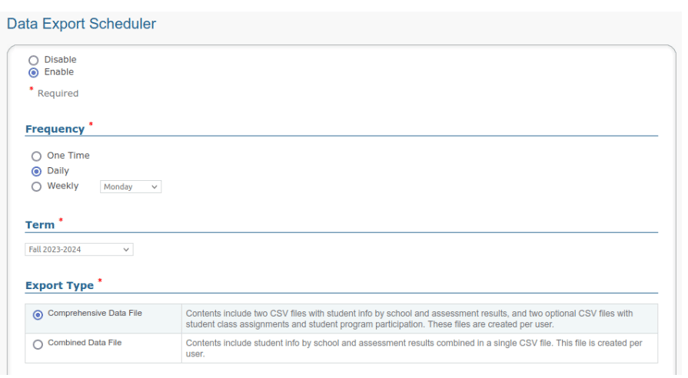
Rostering > Import Profiles/Rostering > View Reports > MAP Growth Reports > Data Export Scheduler > Schedule Data Export
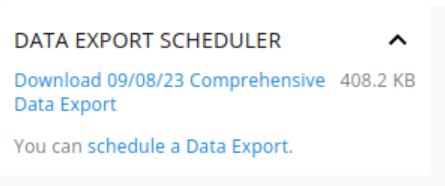
> Ensure the scheduler is enabled and set to Daily.
> (Important!) set the Export Type to Comprehensive Data File:
- NWEA will report issues with mapping and data errors.
- To resolve, repeat the steps in the section above, manually importing a file into NWEA, and going through the settings again.
- Most issues tend to be related to mapping the fields between NWEA and the SIS and so can be handled in the NWEA settings or SIS Page Policies.
E. Test Score Import
- Once the manual imports are setup and working, go to Rostering > Import Profiles/Rostering > View Reports > MAP Growth Reports > Data Export Scheduler > Schedule Data Export
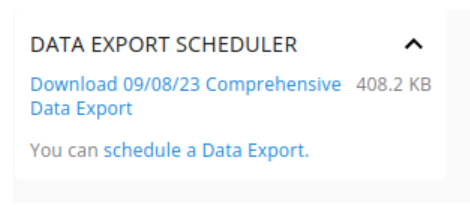
- Ensure the scheduler is enabled and set to Daily.
- (Important!) set the Export Type to “Comprehensive Data File”:
- Back in the SIS, the test scores should appear in the export bridge:
Reports > Export > NWEA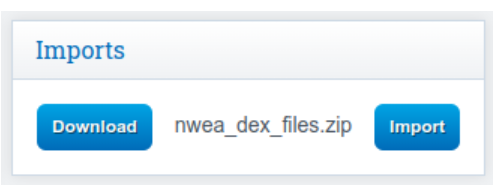
- The file may be downloaded locally or the import can be run
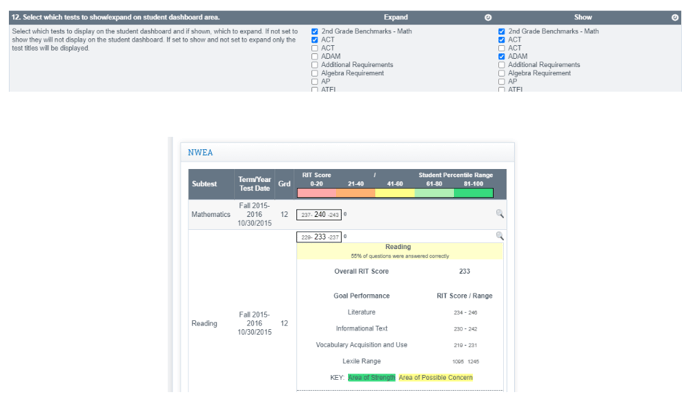
> Imports are run automatically every day. - Once imported, the test scores will display on the Student Dashboard
- Make sure to turn on the page policy on the Student Dashboard so that scores are viewable