Admin > Test Module > CERS Integration/ Student Group Transfers

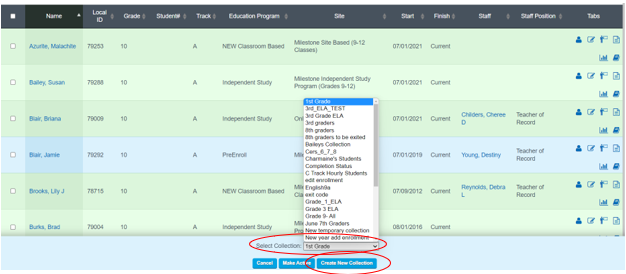
Click Create New Collection Tab
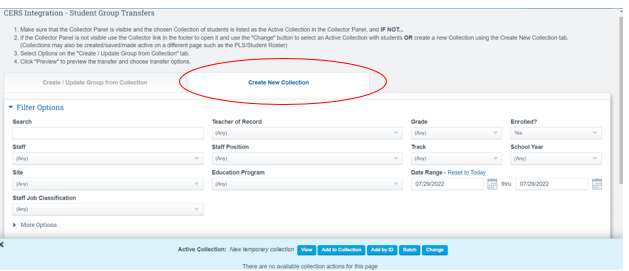
Complete Process by Grade Level
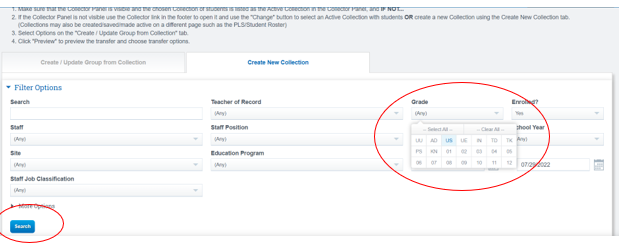
Click the Dropdown to choose the dropdown you want to work with under Grade
Click Search
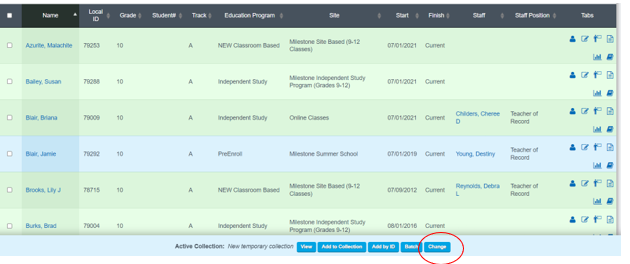
*The Collection will automatically pull in for you based of the selection you choose in the Filter Option
Click CHANGE tab on the bottom of your screen
Click Dropdown Select Collection
Choose what you desire to view for your collection
Click Create New Collection
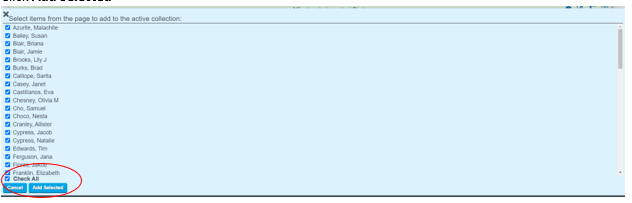
List of Students will Appear
Click Check All
Click Add Selected
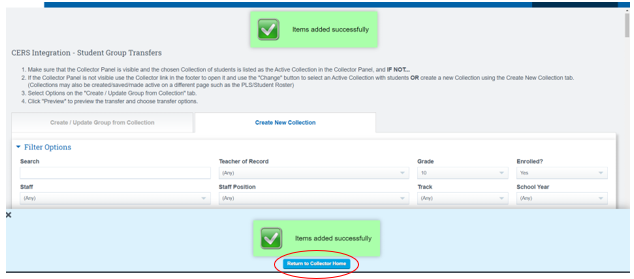
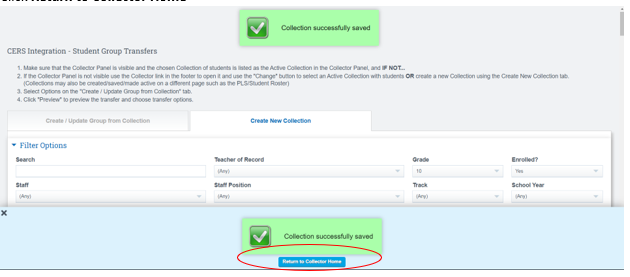
Click Return to Collector Home
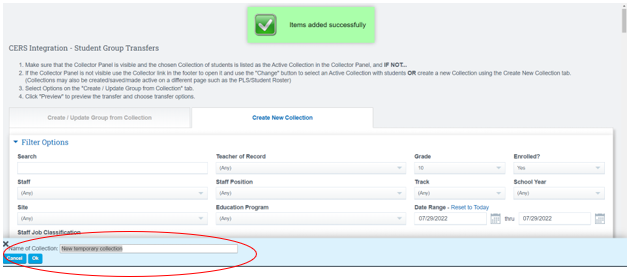
Change Name your Collection
Click View
Click Save As
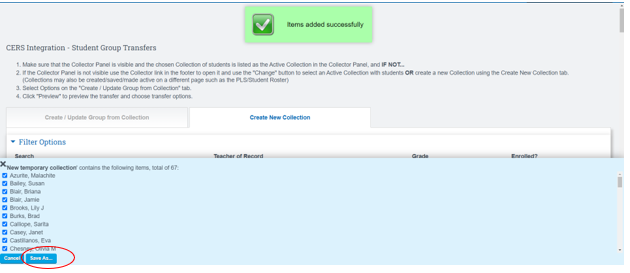
Name of Collection Box Type the name you desire
Click OK
Click Return to Collector Home
Click Tab on top of screen that Says Create/Update Group from Collection
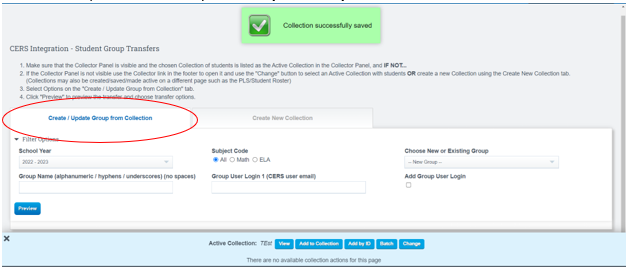
In the Filter Options Section:
Choose School Year
Subject Code
Choose New or Existing Group, (use the dropdown to view the groups)
Group User Log In: this will be the e-mail you use to log in with CERS
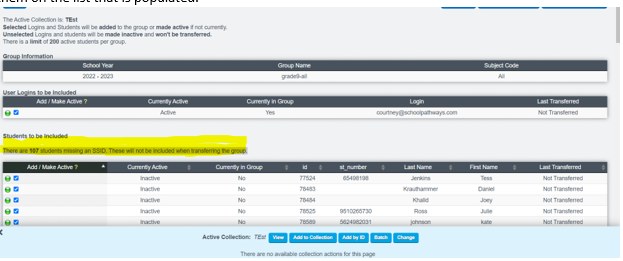
Click Preview
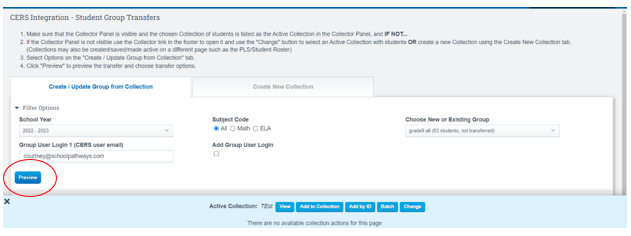
The list of students will then appear, if a student doesn’t have a CERS ID, you will not be able to see them on the list that is populated.
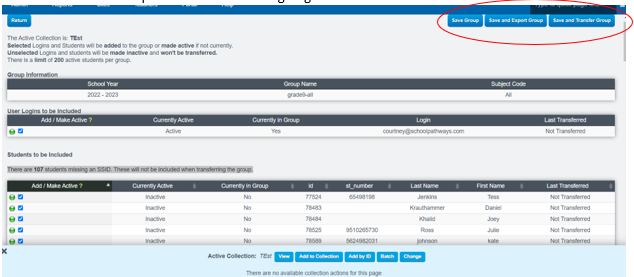
Export
Save Group: You can Hold the group until you want to go back to it
Save and Export Group
Save and Transfer Group: the information will go right to CERS