Hourly Attendance Procedures
  1. Help Center
  2. Attendance
  3. Hourly Attendance Procedures

Hourly Attendance: Create a Class

Hourly attendance cannot be kept on the same track and calendar as ADA attendance.


II. Creating the Classes


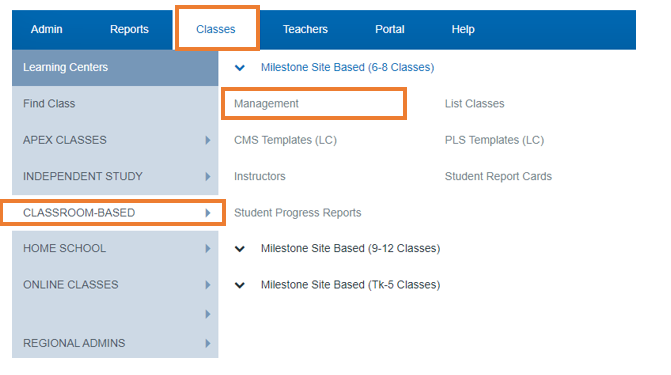
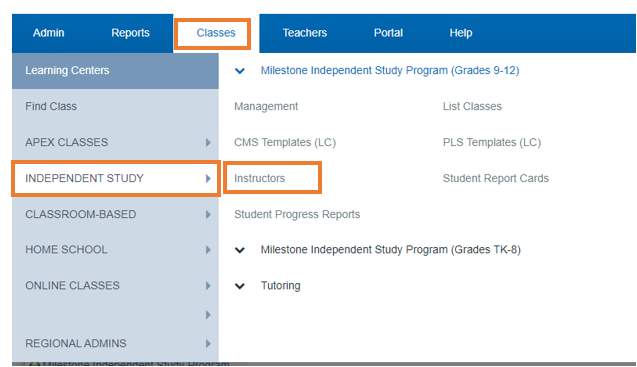
Classes > Learning Centers

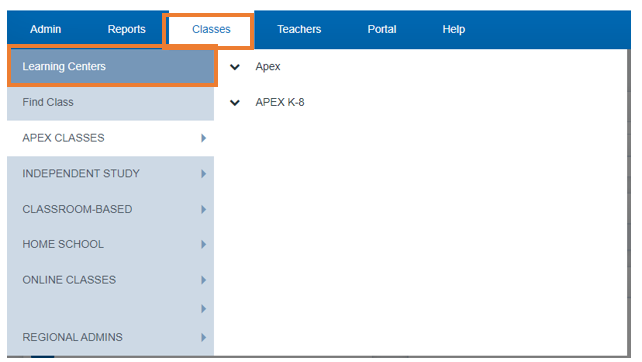
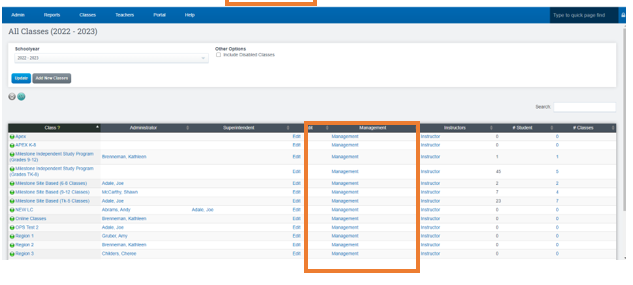
 Click Mgmt. for the Learning Center you desire to edit

 Click List/Create Classes.
Click the Green Plus SIgn to create your class
Go through Each Tab to set up the new class
When you get to the Attendance Tab,
Choose Yes/Attendance for the LP
Check box you want to attach the hourly attendance to.(in the yellow section)
Click Save


 Enrolling Students in Hourly Programs


Admin > Show Student List
Click the Enrollment Icon for the student you would like to enroll
Click Create new enrollment record
Complete the enrollment record, make sure to include the Program you want to enroll the student into.
Click Save Record
 

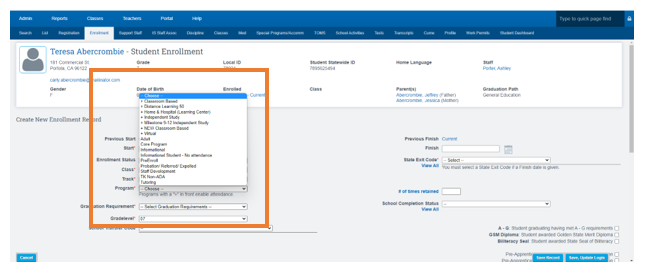
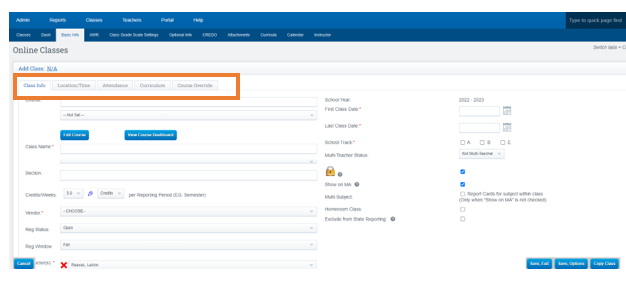
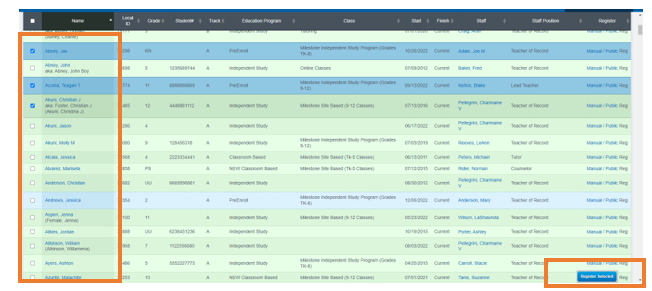
Enrolling Students into Classes


Click the Learning Center tab (This may be named something different in your scope. Ex. ‘Schools’.)
Click on the Name of the learning center you are working with.
Click Management.

Click List/Create Classes

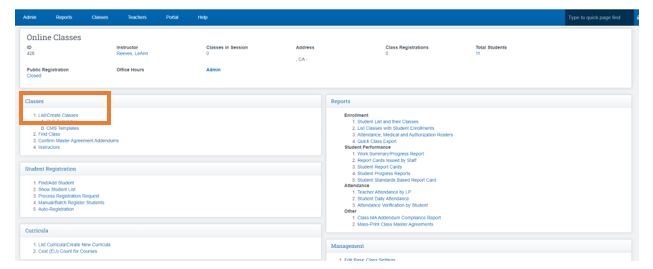
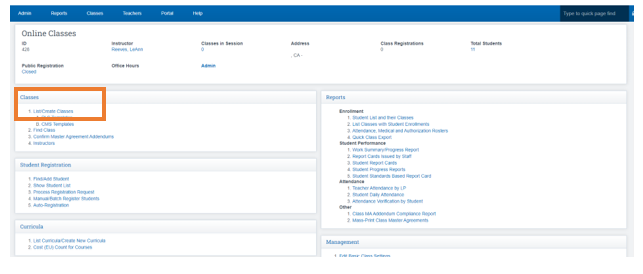
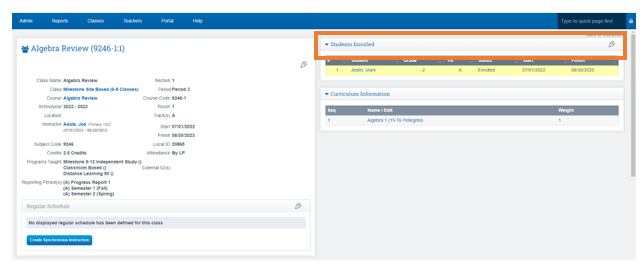
Click the Class Name you desire to edit/add students

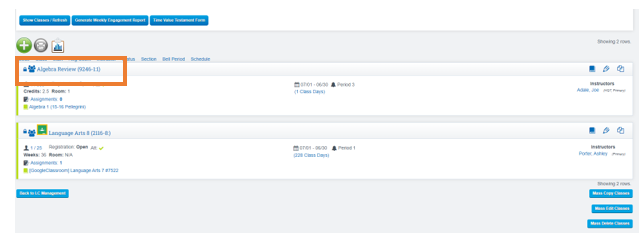
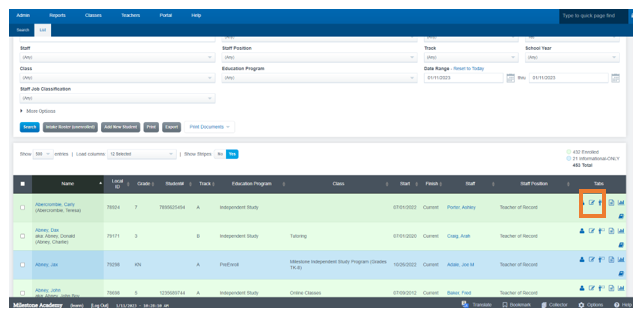
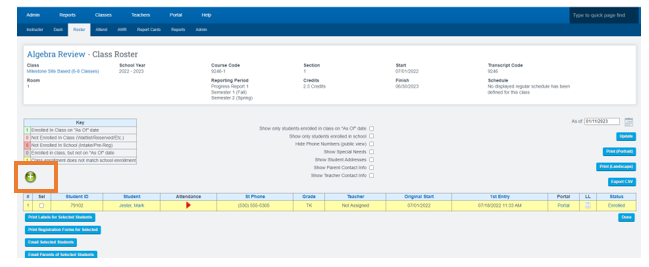
Click the Pencil Icon next to the Students Enrolled bar

Click on the Green Plus to add students to this class
Check the Box to the left of any student you want to enroll in the class 
Click Register Selected at the bottom of the list of names.
On this page, you can add additional classes to the students you selected by checking the box to the left of the class. When done selecting classes click Register Students

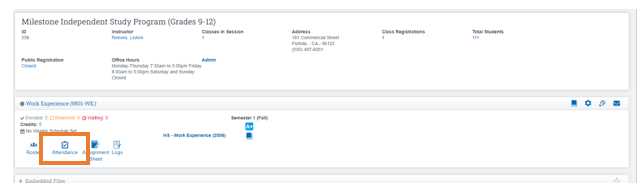
Taking Attendance in Hourly Classes


Be sure to use Firefox or Chrome as your browser.

Learning Centers tab

 
Click on Attendance Icon

Click on the Date on the calendar or on the appropriate CL in the ATT box to the right of the calendar.

Click Save

 
The form must be printed. The printed form must be signed, dated, and sent to the office for verification using the Form and Tracking numbers at the top of the page.

1.  Admin>Attendance>Admin>Confirm Attendance Forms

2. Put the Form Number and Tracking Number in the appropriate box then click the “I see a verified signature on the form” button.

 Changing a Claim - Teachers

Once a claim has been printed, it is locked. To unlock the attendance page, re-enter the page and call the office to get the change code. You must enter the code immediately. Enter the code into the white box. You will then be able to change your claim and re-save, print, sign, and date.


Granting a Claim Change Code - Admin

1. When a teacher calls with an Authorization Request Number, go to Admin>Attendance>Admin>Attendance Change Authorization Codes

2. Type the Authorization Request code from the teacher into the Authorization Request field and click Grant. A new number will be generated.

3. Give that new number to the teacher. The teacher will enter that number into the Confirmation Code box. Remind the teacher to print, sign, and date the new attendance claims and send it to the office.