
Assigning Work, Grading & Reports/if you are using School Pathways Curriculum
This allows for proper reporting of student work completion on the Assignment Work Records (AWR) ,Work Summaries (WS), report cards/progress reports and allows for correct grade calculations.
Most users of the PLS use a pre-developed master curriculum laid out using modules, objectives, assignments and standards, but custom assignments can also be used.
Assigning work from Quick Assign
Quick Assign allows you to make assignments without opening the grade book
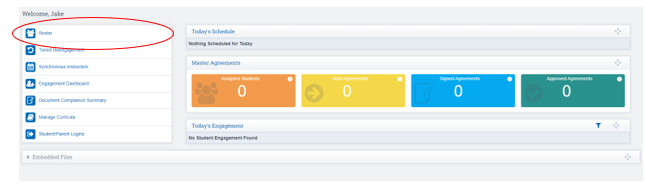
Click Roster
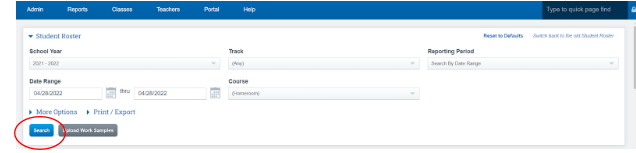
Apply the desired Filter Options, click Search
Open the student dashboard by clicking the Arrow next to the student’s name
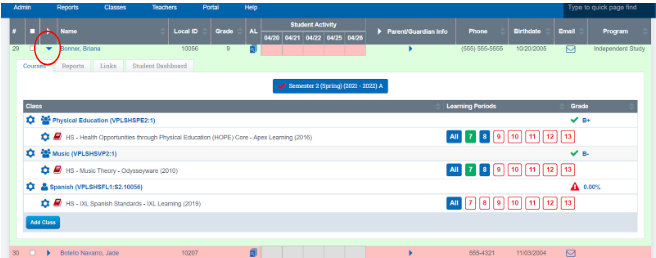
Click on the Red grade book icon to the left of the curriculum name
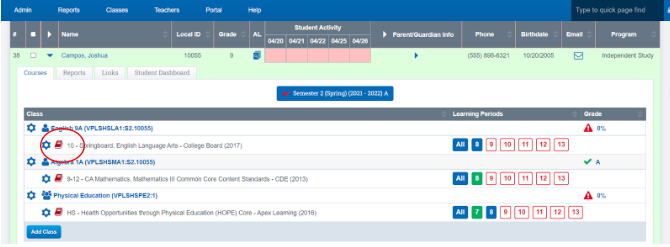
*You can also click the Red Gradebook Icon to assign work directly from the gradebook
Click the Green Arrow next to the assignments to open the module and view the list of assignments
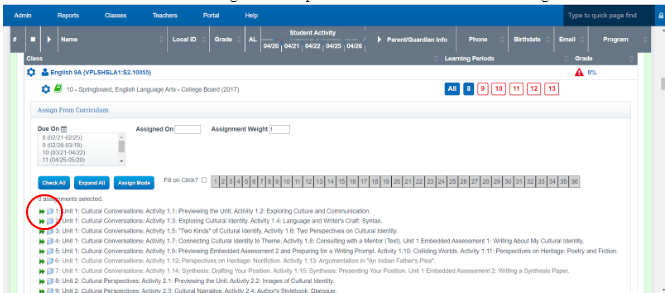
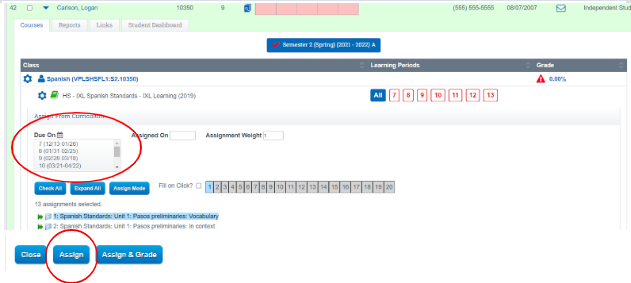
- Choose an LP in the Due On section
- Choose your assignments: Select an individual assignment(s)(see directions below to assign multiple assignments at once)
- Click Assign
OR Click
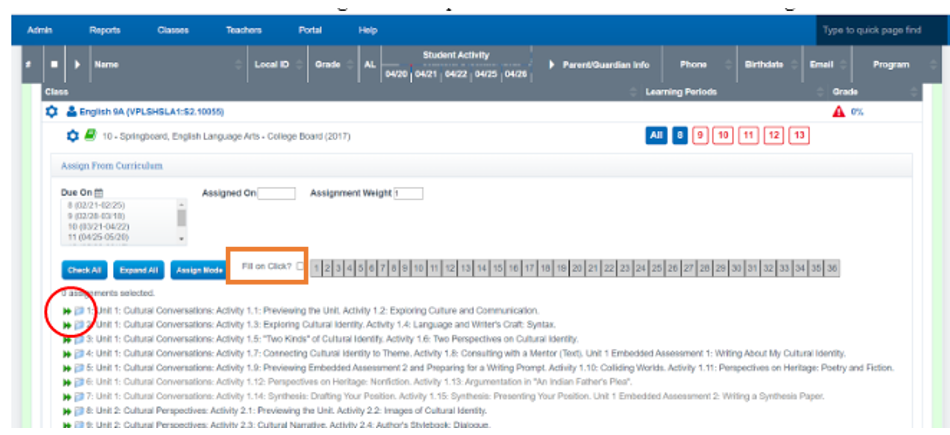
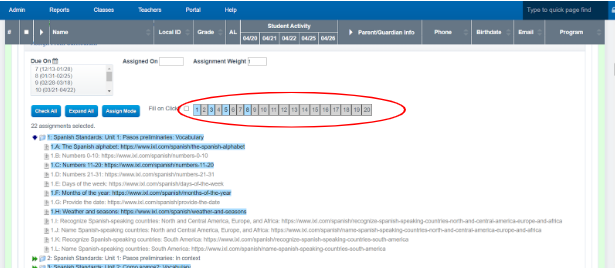
Fill on Click
- if you want to select a subset of the modules it will allow you to do so in 2 clicks instead of 1 per module.
- For example, say you have 20 modules, and you only want to assign 5 & 15, instead of clicking 5,6,7,8...15 to assign them, you can click that option, and then click 5, then 15, and it will assign everything in between (including 5 and 15).
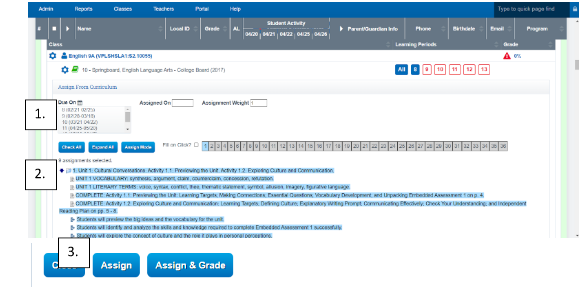
*If you click Assign & Grade, you will be directed to the Gradebook page where you can enter your grades for the assignment
Click on the Module Title or the Module Folder to assign the entire module
*Module Name will turn blue once selected
OR
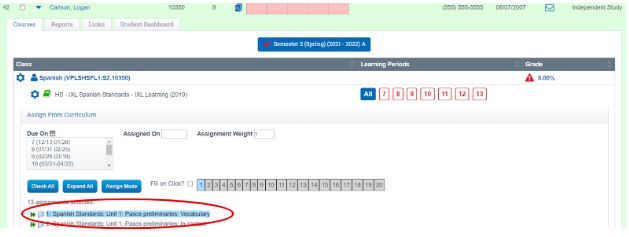
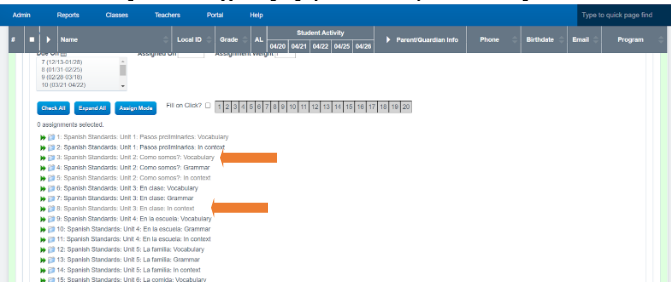
Click the Module SQUARE number tabs on the top of the page to assign multiple lessons
- Only assignments highlighted in blue are assigned
- You can unclick any individual item you do not wish to assign with the exception of the module title
- You can re-assign any module in another learning period
*Be sure to refresh your page once you click assign (LP Squares will turn blue to let you know there is assigned work)
Once assignments have been Assigned:
The titles of the assignments will appear light gray to indicate they have been assigned
Assigning the same Assignment to Multiple LPs
if you want to Re-Assign to multiple LPs, follow the steps provided above, but before you click the Assign button hold the Ctrl key on your keyboard and choose any/all learning periods you want these assignments to be copied to
Click Assign
GRADEBOOK VIEW Overview
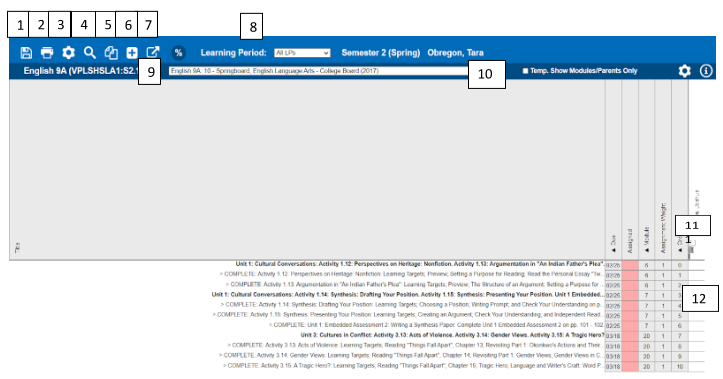
- Save Tab
- Print Tab
- Grade Book Setting Page
- Magnifying glass will highlight any ungraded cell red. If you double click, magnifying glass will highlight cells orange where a parent or student has uploaded and or entered a comment through the portal
- Copy assignments to other students that are using the same curriculum
- Add/Edit /Assign Page
- Export (if set at beginning of the year) can be used to export this gradebook into a new curriculum
- Learning Period Filter
- Student Classes Filter (this feature won’t work if pop ups are blocked)
- Restrict View to only view module titles
- Message icon to communicate with the Students and or Parents via the portal
- Assignment Grade
*Grades can be entered for any module, assignment, objective or standard in the grade book. Marks can be letters, numbers, or percents. You can also grade by category.
Add Custom Assignment from GradeBook View
Click the Plus Icon
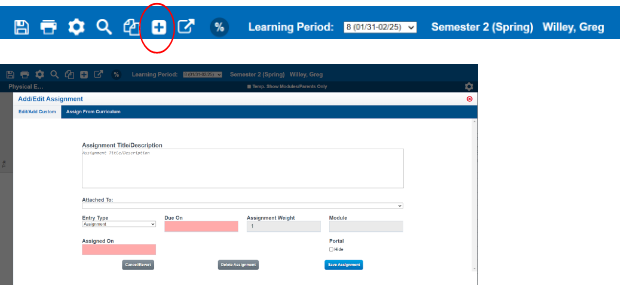
Fill in Assignment Title
Fill in Due Date
Click dropdown for “Attach To” attaches assignment to an existing module
Click Save Assignment
*All assignments are visible in the grade book. You might not want objectives (denoted with an asterisk) or state standards (denoted by their Standard code and #) to show. You can always hide these by clicking the options wheel and clicking to hide these items.
Printing Monthly Student Reports
Teachers > PLS Roster
Apply the desired Filter Options, click Search
Locate the student you want to run the report for
Click the Green Drop-Down arrow next to the students’ name
Click Reports
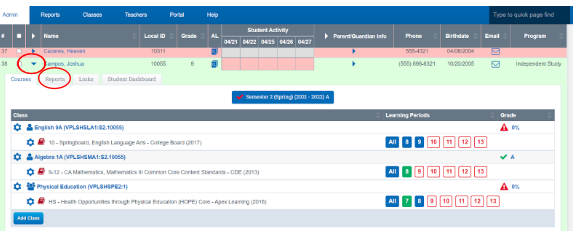
Click the Icon in the column of the report you wish to view