
Step #1
-
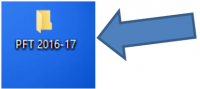
Create a “PFT 2018-19” folder on your desktop:
Step #2
-
Under Data Submission download the 2018-19 Excel Template and Instructions file to the PFT 2018-19 folder you made on your desktop.
-
Note: This is a “zipped” file. Unzip it then save the Excel file to your folder, or drag the zipped file and drop it in the folder to open there.

-
-
Read the Instructions BEFORE creating the 2018-19 Excel Template detailed below.

Step #3
-
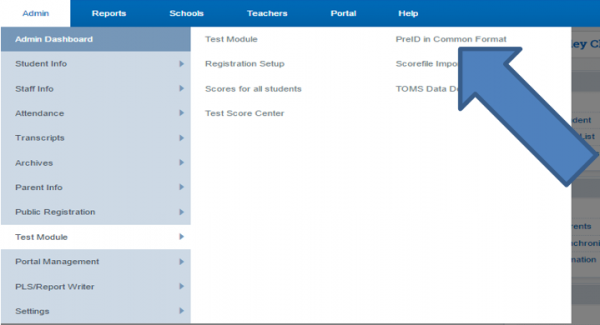
Now, create a file from the SIS to put into your desktop PFT 2018-19 folder. In the SpSIS, follow this path: Admin>Test Module>PreID in Common Format
-
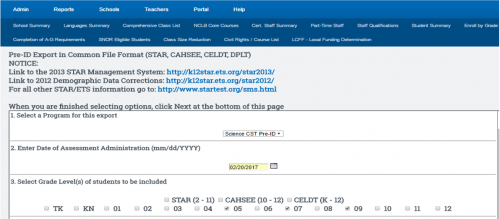
On the Pre-Id page only complete numbers 1-3.
-
#1 Pick “Science CST Pre-ID” from the dropdown list
-
#2 Enter the date that your PFT testing starts
-
#3 Check only grades 5, 7 & 9
-
-
Go to the bottom right-hand corner of the page and click the Next button.
-
Choose to “Download” the resulting Txt file and save it to the PFT 2018-19 folder on your desktop.
Step #4
-
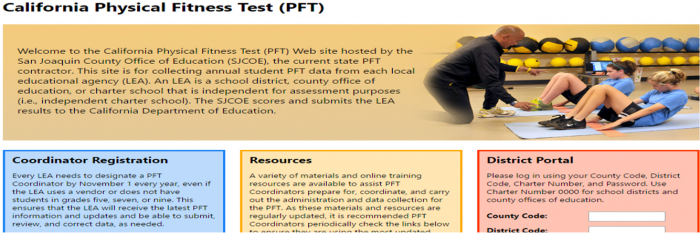
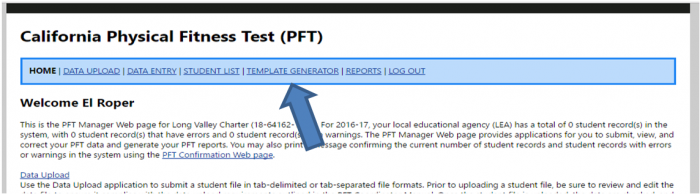
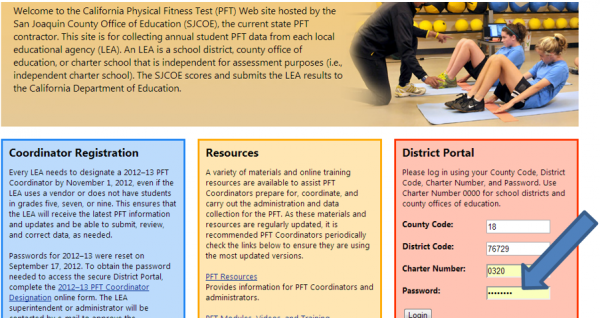
You will now be at the Welcome page of the PFT where you will click on TEMPLATE GENERATOR
-
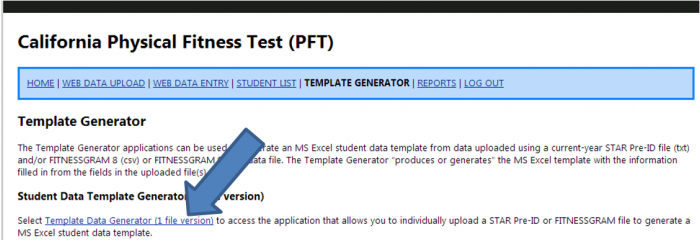
Next, click on the Template Data Generator (1 file version)
-
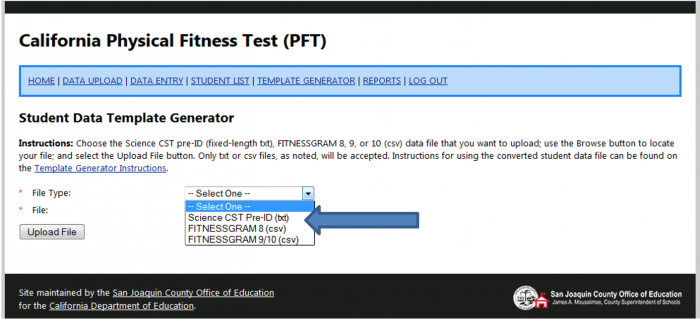
On the next screen: The File Type to choose from the drop-down is Science CST Pre-Id (txt)
-
Now browse for the Pre-id text file from your PFT 2018-19 folder on your Desktop and choose it.
-
Now click the Upload File button to the San Joaquin County Office of Ed and wait for a return email.
-
The email will say you are ready for the next step.

Step #5
-
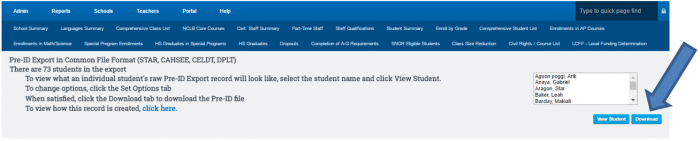
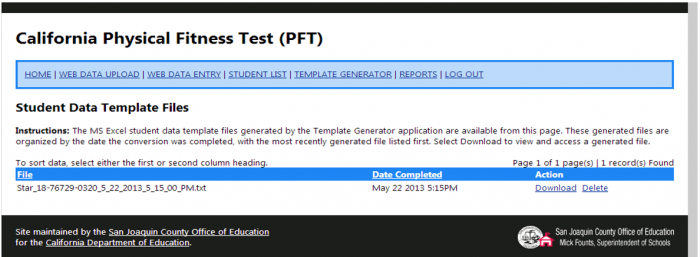
Sign into your PFT District Portal again and you will find the file from San Joaquin ready to be downloaded and save it to the PFT 2018-19 folder on your Desktop.
-
After saving the file, open the Excel doc in your PFT 2018-19 folder. (This is the excel file that came from the PFT Resources in Step 2 above)
-
Click to “Enable editing” (your worksheet may already be ready for this)
-
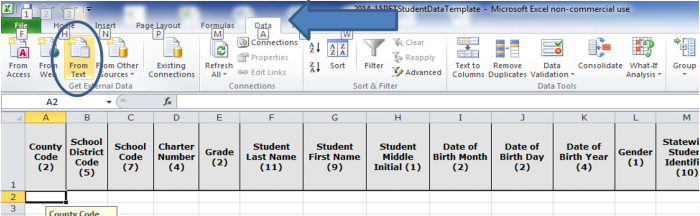
On your spreadsheet, click on the Data tab then choose From Text…
-
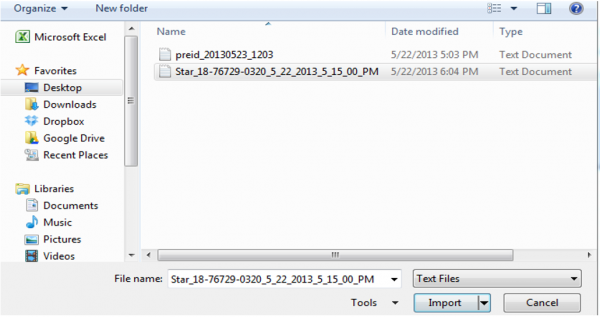
Choose to import the ‘STAR’ file you just received from the PFT group (it is in your PFT 2018-19 folder)
-
Note that you will need to “tell” the importer which cell to begin with (see the RED cell indicated below)
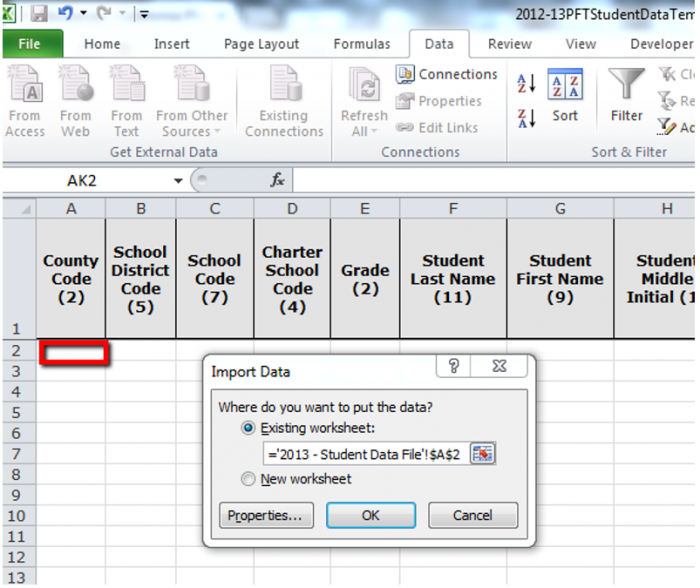
-
Choose that same cell on your Excel spreadsheet and then click “OK”.
-
You have now filled in all Basic Student Demographics. (Note: Remember to populate column D (Charter School Code) all the way down the column. This info is not in the SpSIS.)
Preparing your Spreadsheet
-
By highlighting and right-clicking you can “hide” cells you don’t need to work with.
-
Keep cells E, F & G (Grade, Student Last Name and Student First Name)
-
Hide all other cells until you get to column AI (PFT Start Date Month)
-
Now click on the View tab to “freeze” panes by noting where you want to start the “freeze” (see below)
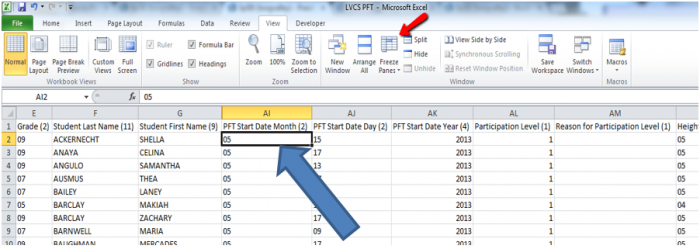
-
You are now ready to fill in PFT Test Results for individual students. The “Frozen Frames” will make this job easy.
#6 Ready to enter Student Data Results in your Spreadsheet
You have just prepared the Student Data Template Spreadsheet for capturing each student’s PFT results. Be sure you refer back to the 2018-19 PFT Student Data Template Instructions (which were in the original zip file you downloaded) should you have any questions at all about how to enter your data!!
-
When you are finished with testing, sign back into your District Portal and upload your results!