
PLS/Student Rosters
The PLS/Student Roster is your workflow hub.
Directly from the PLS Roster, you can assign classes and coursework; generate master agreements and addendums; enter attendance, grades and credits; contact students; and more.
To get to your PLS/Student Roster
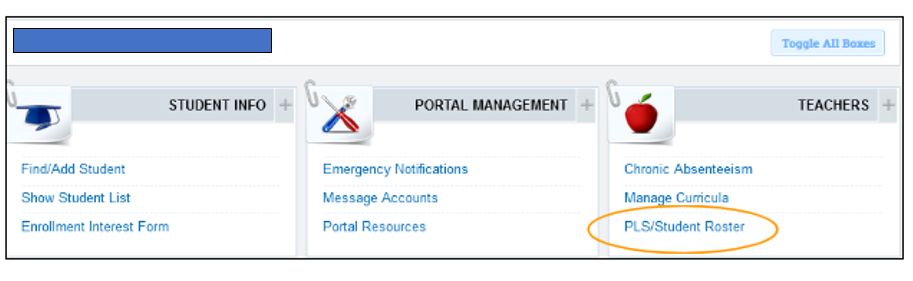
- From the appropriate Scopes' Landing Page:
- Click on ”PLS/Student Roster” link in Teachers menu box
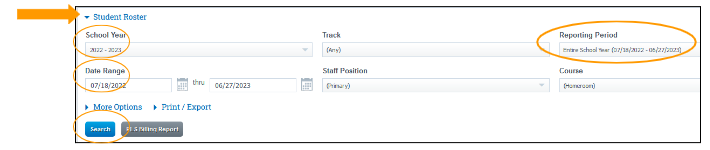
Student Roster page
- Click on the blue arrow to left of Student Roster heading to expand search fields
- Select any relevant search criteria (School Year, Reporting Period, etc)
- Click on blue “Search” button
TIP: You can also access your Student Roster from your Staff Dashboard by:
Clicking on the magnifying glass icon in the Assigned Students widget
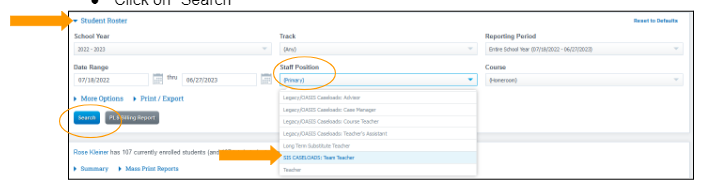
*TEAM TEACHERS* to access your rosters:
- Click on the blue arrow next to “Student Roster” to expand this section
- Select “SIS CASELOADS: Team Teacher” from the Staff Position dropdown
- Select additional relevant search criteria (School Year, Reporting Period, etc)
- Click on “Search”
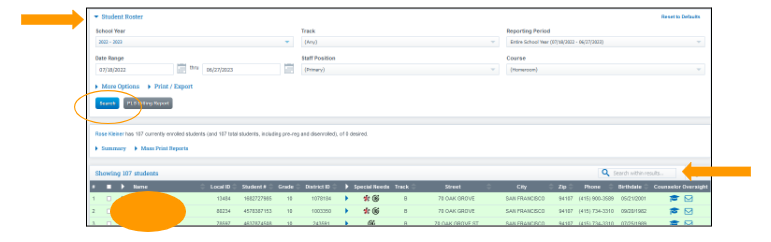
Finding a Student on your roster:
- Scroll down to view your roster
- Search for a student from your roster by typing partial name in “Search” field to right of magnifying glass
icon.
- To search for previously enrolled students, click on blue arrow to expand section
- Complete relevant search criteria (School Year, Date Range, Track, etc)
- Click on “Search” button
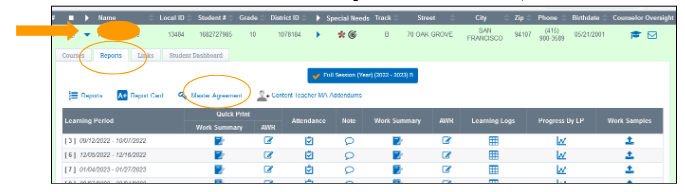
Student Roster: Reports Tab
- Click on blue arrow to left of Student Name
- Click on “Reports” tab to view Learning Logs, AWRs, Attendance
- You can access the Master Agreement from this view, as well
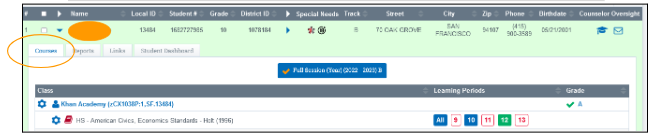
Student Roster: Courses Tab
- Click on “Courses” tab for a quick view of Courses, Learning Periods, and Grades
Student Dashboard
- Click on the “Student Dashboard” tab
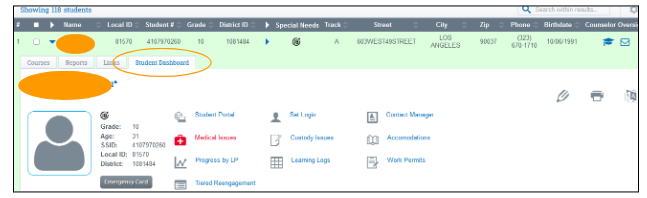
View of Student Dashboard
Student Dashboard shows and links to many kinds of data:
- Demographic & contact information
- Current and prior classes
- Transcript grades
- Attendance
- Test scores
- Special programs (SPED, WIOA, EL, and more)
- Teacher and staff associations
- And more…
Review data in the dashboard Widgets or click on the links in the blue banner for more detailed data.
Customizing the Student Dashboard
- Page Formatting
- Any text box with a 4-way arrow is a “widget.” Click on the 4-way arrow to drag.
.“Widget” Lists: Content & Order
- Click on the Gear icon to deselect roster content and/or to indicate list order
- Click on the Up/Down arrows to change ascend/descend order of list
TIPS
- You can also access the Student Dashboard by clicking on a student’s name
- If you hover rather than click on a student name you get a menu of direct links:
Adding Classes to a Student
From your PLS/Student Roster:
- Click on blue arrow to left of Student Name
- Click on “Links” tab
- Click on “Manual Reg” link

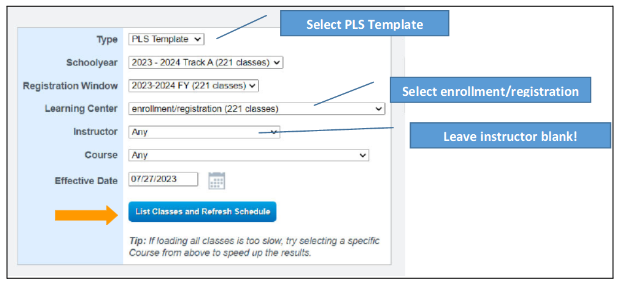
On the Manual Student Registration page:
- Select PLS Template for “Type”
- Select the relevant School Year
- Select the relevant Registration Window (S=Summer, A=School Year)
- For Learning Center, select Enrollment/Registration (not the LC in which the student is enrolled)
- Instructor - leave blank
- Course - leave to “Any” to select from the full list of available classes, or use the drop-down list to select a specific course
- Effective Date - defaults to date of entry - change as needed
- Click “List of Classes and Refresh Schedule”
On the Manual Registration page, a list of available classes will load.
If the student is already enrolled in classes for this registration window, those will show on the top right of the page.
- Check the box on the far left to select a class for a student.
- Enter the Enter Date (school enrollment date or later if class added mid-term)
- Leave the Exit Date blank
- Click Save Registrations
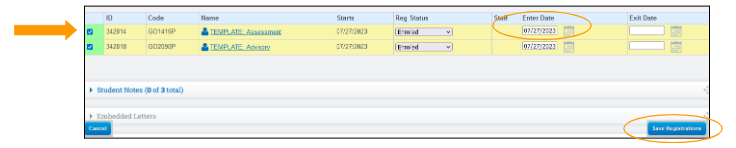
The student is now registered for the classes you selected.
You will see the classes in the view of Enrolled Classes at the top right of the page.
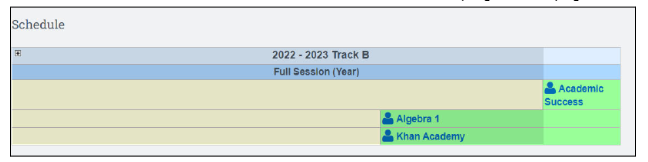
- Click on the “Student Dashboard” tab
- Click on “Courses” tab for a quick view of Courses, Learning Periods, and Grades