
Overview
PLS Templates help simplify the Add Class process by allowing schools to quickly create and manage assigned class groupings. A common use case is TK–8 programs where students within the same grade level are enrolled in the same set of courses, such as Language Arts, Science, Math, and History.
With PLS Templates, schools can create a class template structure, optionally attach curriculum, add students to the template, and generate classes in bulk. The system will automatically create individual PLS classes for each subject and assign the student’s Independent Study teacher as the primary instructor.
Templates can also be copied year over year, helping streamline annual setup and scheduling processes.
Create Your PLS Template Class
PLS Templates are best housed under the Learning Center Tab (Classes, Schools, etc- name varies by school)
- Each Learning Center can have its own templates, or you can pick one to contain them all
-
Navigation: Learning Centers > Learning Center of choice > PLS Templates (LC)

-
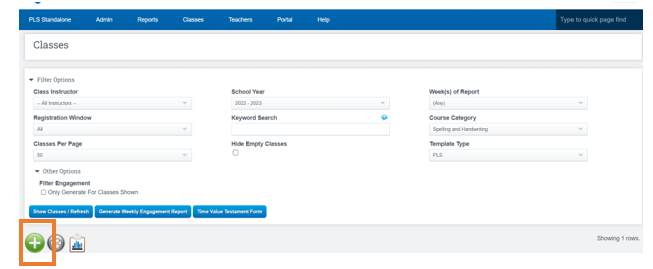
Click the Green Plus Icon
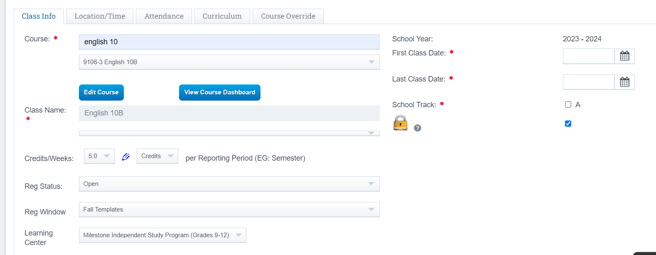
Class Info Tab: Fill out all relevant information
- Course
Note: While you can use Aliases for the course names, if there is a chance that a student can take both the A and the B version of the course in the same reporting term, then you will need a unique Course in your Master Course list for each option.
Ex: English 9 course with aliases of English 9A and English 9B. You must instead have English 9A and English 9B as their own separate courses in the master course list.
- Course Name
- Is this a Credit or Weeks long class
- Start Date
- End Date
- School Track
- Reg Window: Ensure this lines up with the windows you created
-
Instructor: A note on instructors. PLS Templates pull the IS Staff associated teacher as the primary instructor by default. Do not fill this in on the template. However, you CAN use the add instructor to add an HQT or additional instructors on the class.
-
Curriculum Tab: This is a great opportunity to add the relevant curriculum to the template. As the students PLS Classes are generated from the templates, it will add the curriculum(a) at the same time.
-
Course Override Tab: ensure that the settings on this page are as expected for the course you have chosen.
-
Location/Time Tab: Not applicable for PLS Templates
-
Attendance Tab: Not applicable for PLS Templates
-
All settings complete: Click Save
Enrolling Students Into Template Classes
With Templates created, you can now add students to the templates
-
Navigation: Learning Centers > Learning center of choice > PLS Templates (LC)
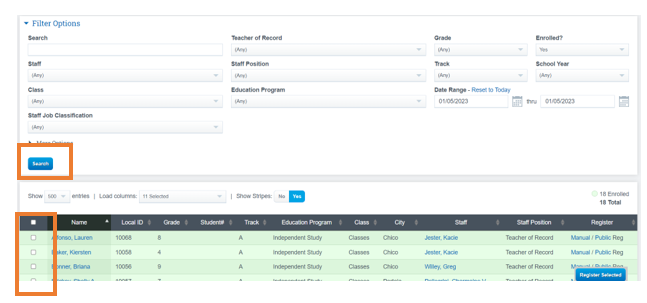
- Use the filter to narrow down your search results
- Click Show Classes
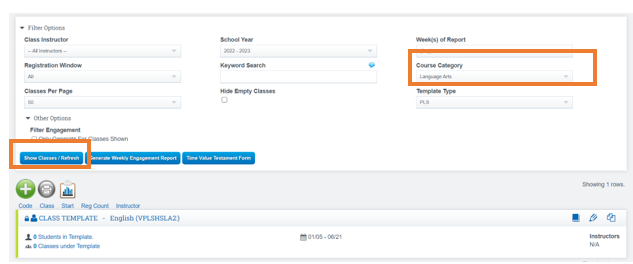
- Click Students In Template to add students

- Click the Green Plus Arrow to view a list of students you can register
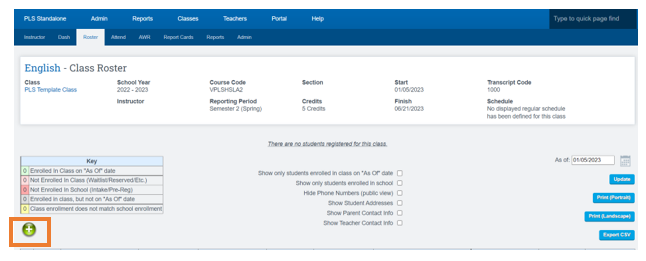
- Use the filters to find students
Remember, if you are registering for NEXT school year, you must set the school year filter correctly, as well as the grade level. Keep in mind that, for example, this year's 8th Graders are next years 9th graders.
- Click Search
- Place a Check Mark next to the students you want to register for the class
- Click Register
- You can choose all Grade level appropriate classes for the students
- Click Register Students
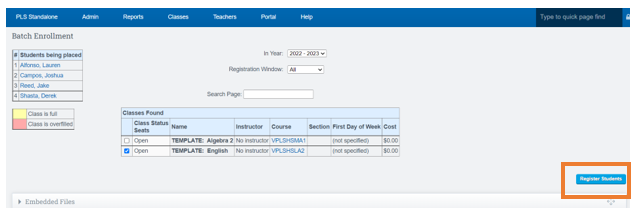
Note: The student is now in the Template, but will not be in the class until you generate the class.
-
Click Generate
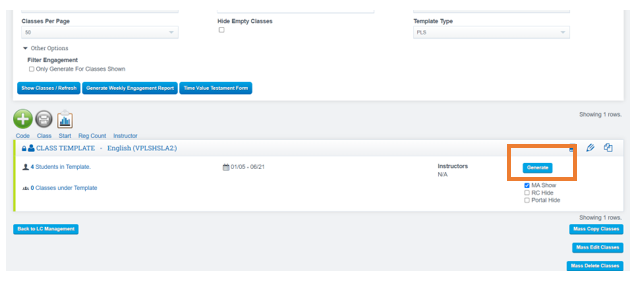
Once there are "Classes under Template", you can no longer edit the PLS Template. You can however make a copy and delete the original (it will NOT delete the PLS Classes on the students)
- Click Generate Class
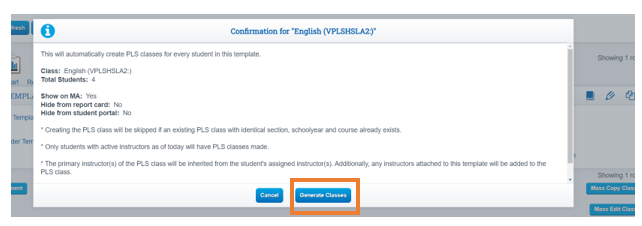
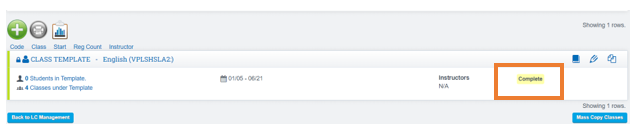
- Once it is complete you will see the next screen say Complete
- Repeat for any templates
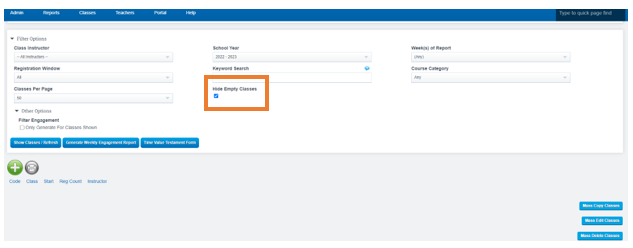
Filter PLS Classes to Show those Awaiting Generation
- Go to: Teachers > PLS/RW Oversight > PLS Templates
- From the Hide Empty Classes drop down menu, select Yes.
-
Now you will only see PLS Templates that have Students awaiting class generation.
Mass Copy PLS Template Classes
- Navigation: Learning Centers > Learning Center of Choice > PLS Templates (LC)
- Use the filters to find the templates you want to copy. Be specific!
- It is best to copy classes with the same date ranges.
- Example: Fall to Fall, Spring to Spring, FY to FY
- Use the Registration Window filter to narrow your results
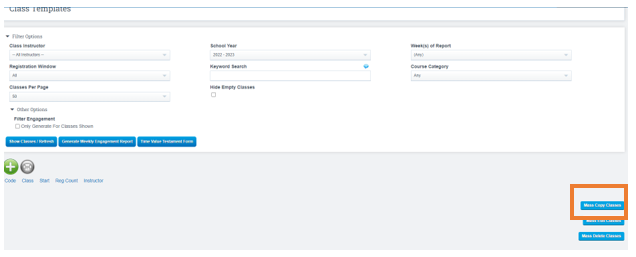
- Scroll to the bottom of the page and Click the Mass Copy Classes Button
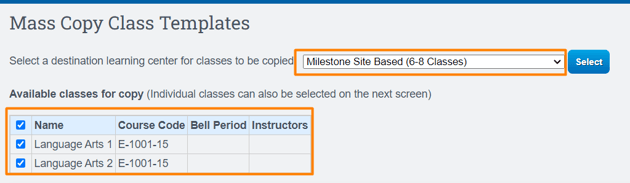
- From the list of all PLS Templates use the checkboxes to select the templates to copy over (if you accidentally picked up one you didn't want, leave unchecked)
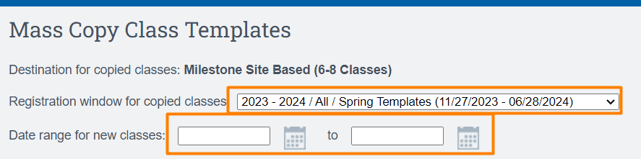
- Select the Learning Center you want to copy the templates to
- Choose which Registration Window
- Enter the Date Range for classes. This will be applied to all classes in this copy.
- The top row allows you to make mass changes. Using the checkbox it will select all templates below it and allow you to use the top row to change attributes (such as Track) in mass.
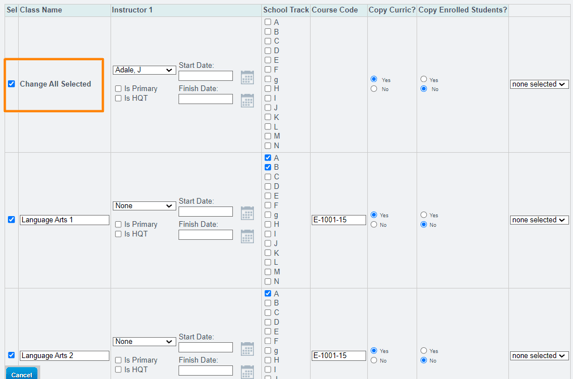
- Make any necessary changes, click the Sel checkbox in the top row and click "Copy Classes"
Once you get a Green Confirmation you can navigate back to the Learning Centers > Learning Center of Choice > PLS Templates(LC). Set your filters for the school year and Registration window you just copied to, and review the results.