I. Getting Started
Login to https://yourschoolname.plsxpress.com
Username: first initial and last name such as jdoe
Password: Password1! You will be required to change your password upon first login. Please follow directions on the screen page for details.
If at any time you need to return to the HOME screen, click on your school logo!
II. Adding Students
This is a Three-step process. Register/Enroll/Teacher Association.
-
Step 1 - Register:
-
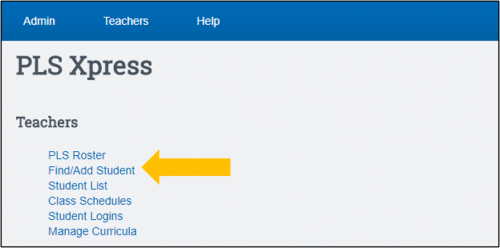
Click on Find/Add Student
-
It’s always best to search for a student first to make sure they aren’t already in the system from a previous enrollment.
-
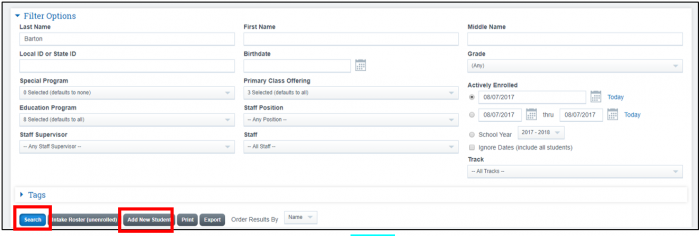
Enter a last and possibly first name and click Search.
-
If the student does not exist (No Results), click Add New Student.
-
If the student is found, click on registration icon to the far right of their name to update the record.

-
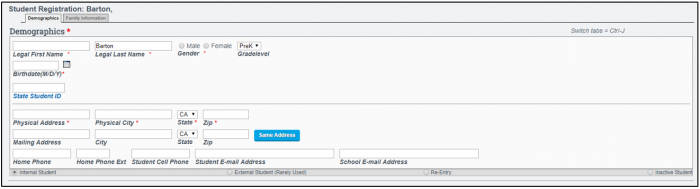
Complete the two tabs – Demographics and Family Information
-
Anything with a red asterisk is required.
-
The parent/guardian record may already be in the system.
-
Fill in a last name and search.
-
Click New Parent Record for new.
-
Save record. Notice the save button only appears after you’ve jumped to the Family Information tab. If you do not have or need to complete family info, just click SAVE.
-
-
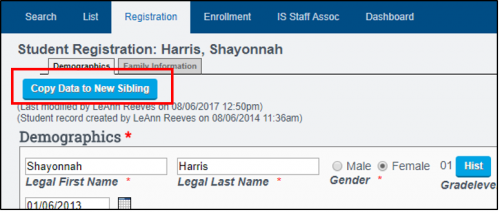
If you’re adding a sibling to a student you already have in the system, find the current student.

-
Click on the edit pencil to access their registration.
-
Click Copy Data to New Sibling.
-
-
-
-
Step 2 – Enroll
-
Click the Enroll tab in the blue bar above the student record.
-
Enter info on the right side. You should only have to enter the start date (date you want to show on the master agreement), and the grad requirements. SAVE RECORD.
-
-
Step 3 – IS Staff Association
-
Click the IS Staff Association tab in the blue bar above the student record.
-
Click to Add New Assignment and choose your name and your start date with the student. You can add today’s date or the first day of school. SAVE RECORD.
-
III. Creating Student Classes
-
Go to PLS Roster

-
Any student enrolled with you will be in your list of students. If the blue triangle button does not show to the left of the student ID, set the date to the first day of school at the top of the page.

-
Open a student’s folder by clicking on the blue triangle.
-
Click the green Add Class button

-
Fields to complete (most fields will be defaulted correctly)
-
Category for class
-
Credits or # of Weeks of the class
-
Choose a curriculum
-
Global returns a list of School Pathways created lesson plans
-
School name returns any customized lesson plans the school has created in the system.
-
Personal are lesson plans you have created in the system
-
-
Name of class as you want it to appear on the Report Card.
-
SAVE
-
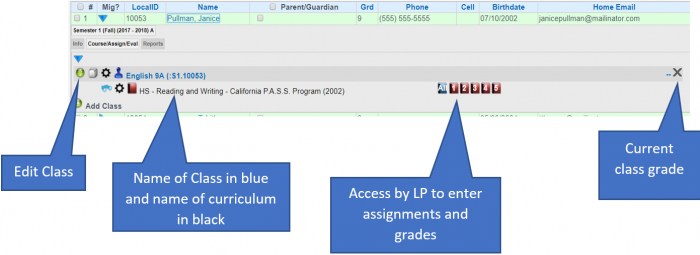
The completed class set up renders this view.
-
IV. Copying Student’s classes to other students
-
Edit the class you want to copy.
-
Scroll to the bottom of the edit page to see your other students
-
Click student names you want to copy the class to.
-
Enter a check in the top left corner on the yellow highlighted row. You can edit what is copied.
-
Type CONFIRM and click Copy All Courses

V. Master Agreements
-
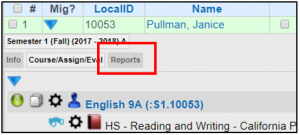
Click student’s Report tab
-
Click Master Agreement
-
Click Set from Staff Defaults and then complete any fields highlighted green.
-
Click Save Master Agreement (and Print) button. Page saves and then opens a screen to allow you to print.
-
Clicking the print button renders a pdf for you to print.
-
VI. Assigning Work
A. New Assignments
Open a grade book using a module button in the student file for the curriculum you want assign. This takes you directly to the curriculum lesson plans if nothing has been assigned yet.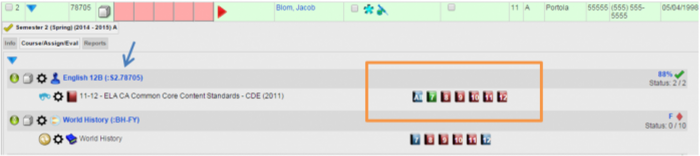
-
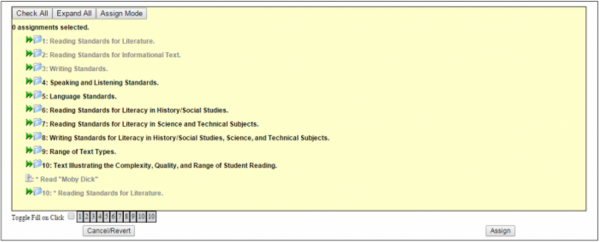
Assign: Master curriculum is organized by module.
-
Click on the green arrow to the left of the module to expand the module to view.
-
Click on the module wording or the module folder to assign the entire module.
-
Or click on individual assignments, objectives and standards to assign.
-
Only assignments highlighted in blue are assigned. You can also unclick any individual item you do not wish to assign.
-
You can re-assign any module again as long as it's not in the same learning period.
-
 Icon denotes an assignment
 -
 Icon denotes an objective
 -
 Icon denotes a standard
You can also assign from the module number buttons at the bottom of the page.
-
-
-
Click Assign
-
Once assignments have been made:
-
Note that the module title has no ˄ in the name. Only assignments, objectives and standards have the ˄ symbol.
-
All you have assigned is visible in the grade book. You might not want objectives (denoted with an asterisk) or state standards (denoted by their Standard code and #) to show. You can always hide these by clicking the options wheel and clicking to hide these items.
-
Add a grade in the module line or in any assignment cell. Typically you would grade by either module or by individual assignment – not both.
-
The view below shows
-
Assignments, noted with a > before the assignment.
-
Objectives noted with a >* before the objective.
-
And standards noted by the standards code and number before the standard.
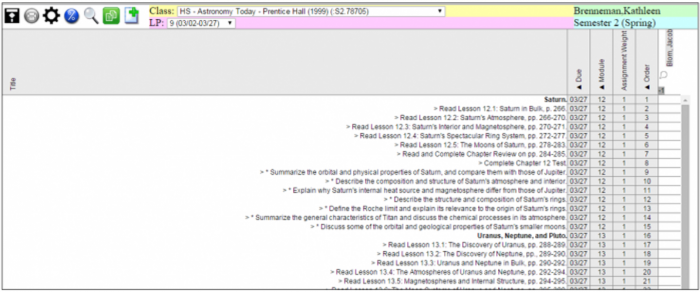
In this view, the module is graded and I have my grade book marks settings to show % grades. See the manual “Grade Book – Settings” for more information.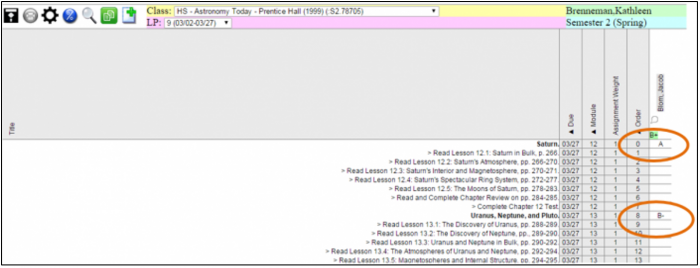
B. Assigning more from the same module
Sometimes you aren’t sure if you want to assign the entire module right away. If you assign a module and include 3 of 10 assignments now, then want to assign more from that module, it’s important to assign “through” the original module. An example follows.
-
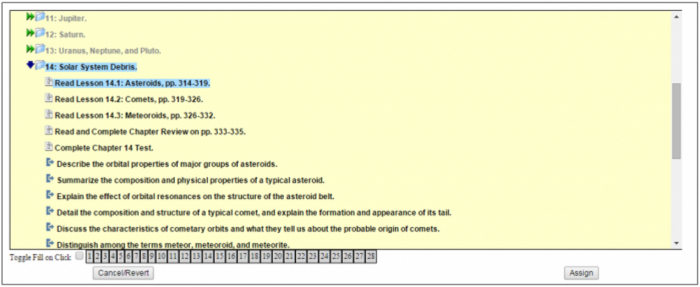
Assign one assignment in the first module by clicking on individual assignments. Click Assign
-
Manually save the grade book using the save icon (you only have to do this if you are going to assign more work in this manual right away).
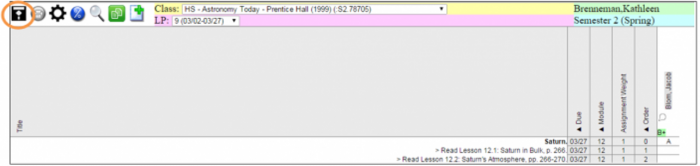
You know you have a module and an assignment attached to that module because when you hover over the module “Solar System Debris” it highlights green as does its “child” assignments.
-
Assign more from the same module by clicking on the module title (actually click on the green highlighted word “Solar System Debris,” or whatever your module title is).
-
Add more assignments from that same master curriculum module by clicking on “Assign From Curriculum.”
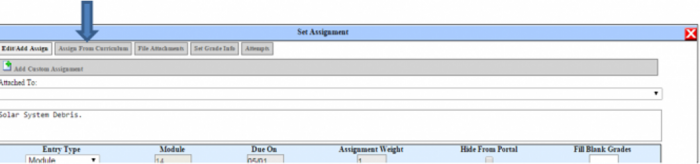
Choose your assignments and click Assign.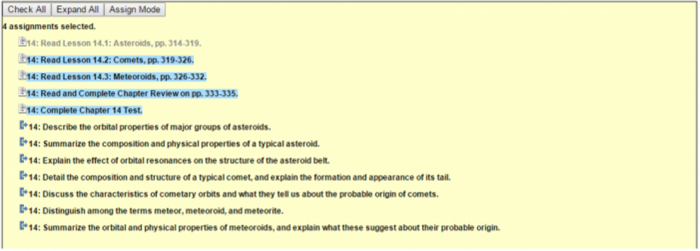
SAVE!!
Now when I highlight the “Solar System Debris” module, the extra four assignments added are part of that module. Anytime I want to add to THIS module, I click on the module title and add more assignments. This prevents you from having two modules with the same number and same verbiage (which will cause an error upon SAVE).
It’s important not to use a module title twice or a module # twice if they have the same due date.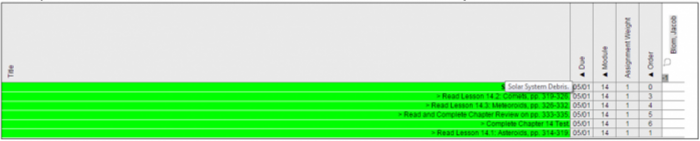
C. Assigning custom assignments to the module
-
Click on the module title (“Solar System Debris” in my example).
-
Click on the Add Custom Assignment bar.
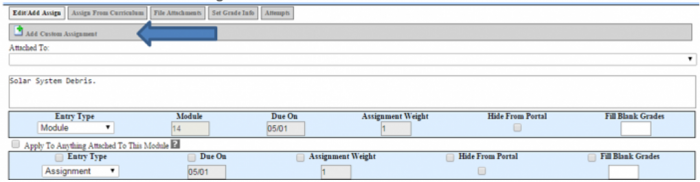
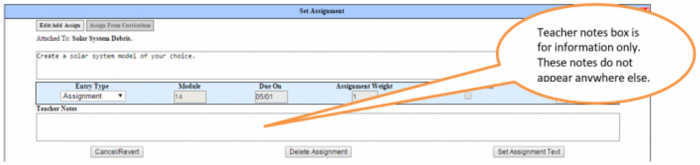
Custom assignments can be typed directly into the assignment box. Assignments can be simple such as “Personal Essay” or more descriptive such as “Write a personal essay at least three paragraphs in length.” The field will allow as many characters as you want to type.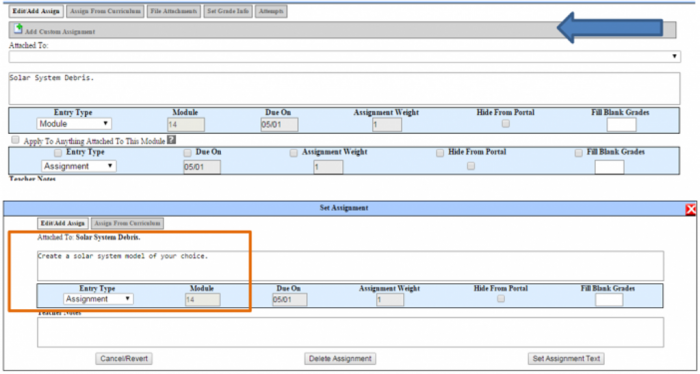
-
If you have your date range set of a specific LP, the last date of that LP will automatically appear in the due on date box. If not, ENTER A DUE DATE for your assignment(s). It’s much easier to do at the time of assigning than after the assignment is in the grade book view.
SAVE! Until the grade book is saved, the addendum to the module is not part of the module.
D. Assigning the same assignment to all future LPs
-
Assign as usual but before you click the Assign button…..
-
Click the COPY icon next to the Due On date.
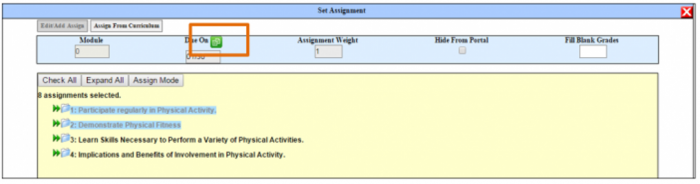
-
With the Ctrl key held down on your keyboard, choose any/all learning periods you want these assignments to be copied to. Make sure to still have your current LP highlighted.

-
Click Assign.
-
Save. All assignments will be distributed to the appropriate LPs.
E. Grading Student Assignments
Grade can be entered for any module, assignment, objective or standard in the grade book. Marks can be letters, numbers, or percents. You can also grade by categories. To see how to set your grade book marks, categories and views, see manual “PLS - Grade Book Settings 7-6-15.”
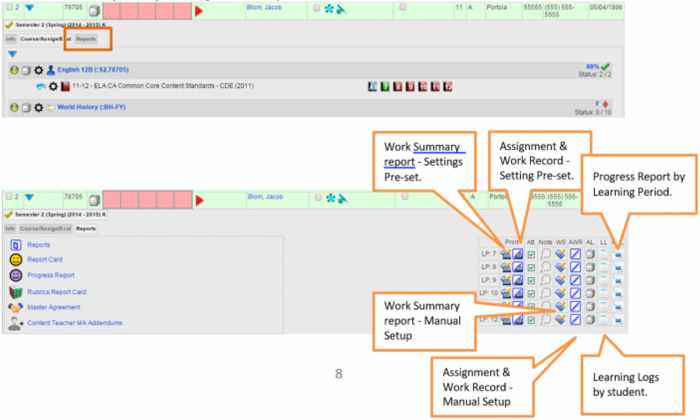
F. Printing Monthly Student Reports