There are two steps in this process:
1. Create Time Slots for the Event
2. Invite the Students to the Event
Create Time Slots for the Event:
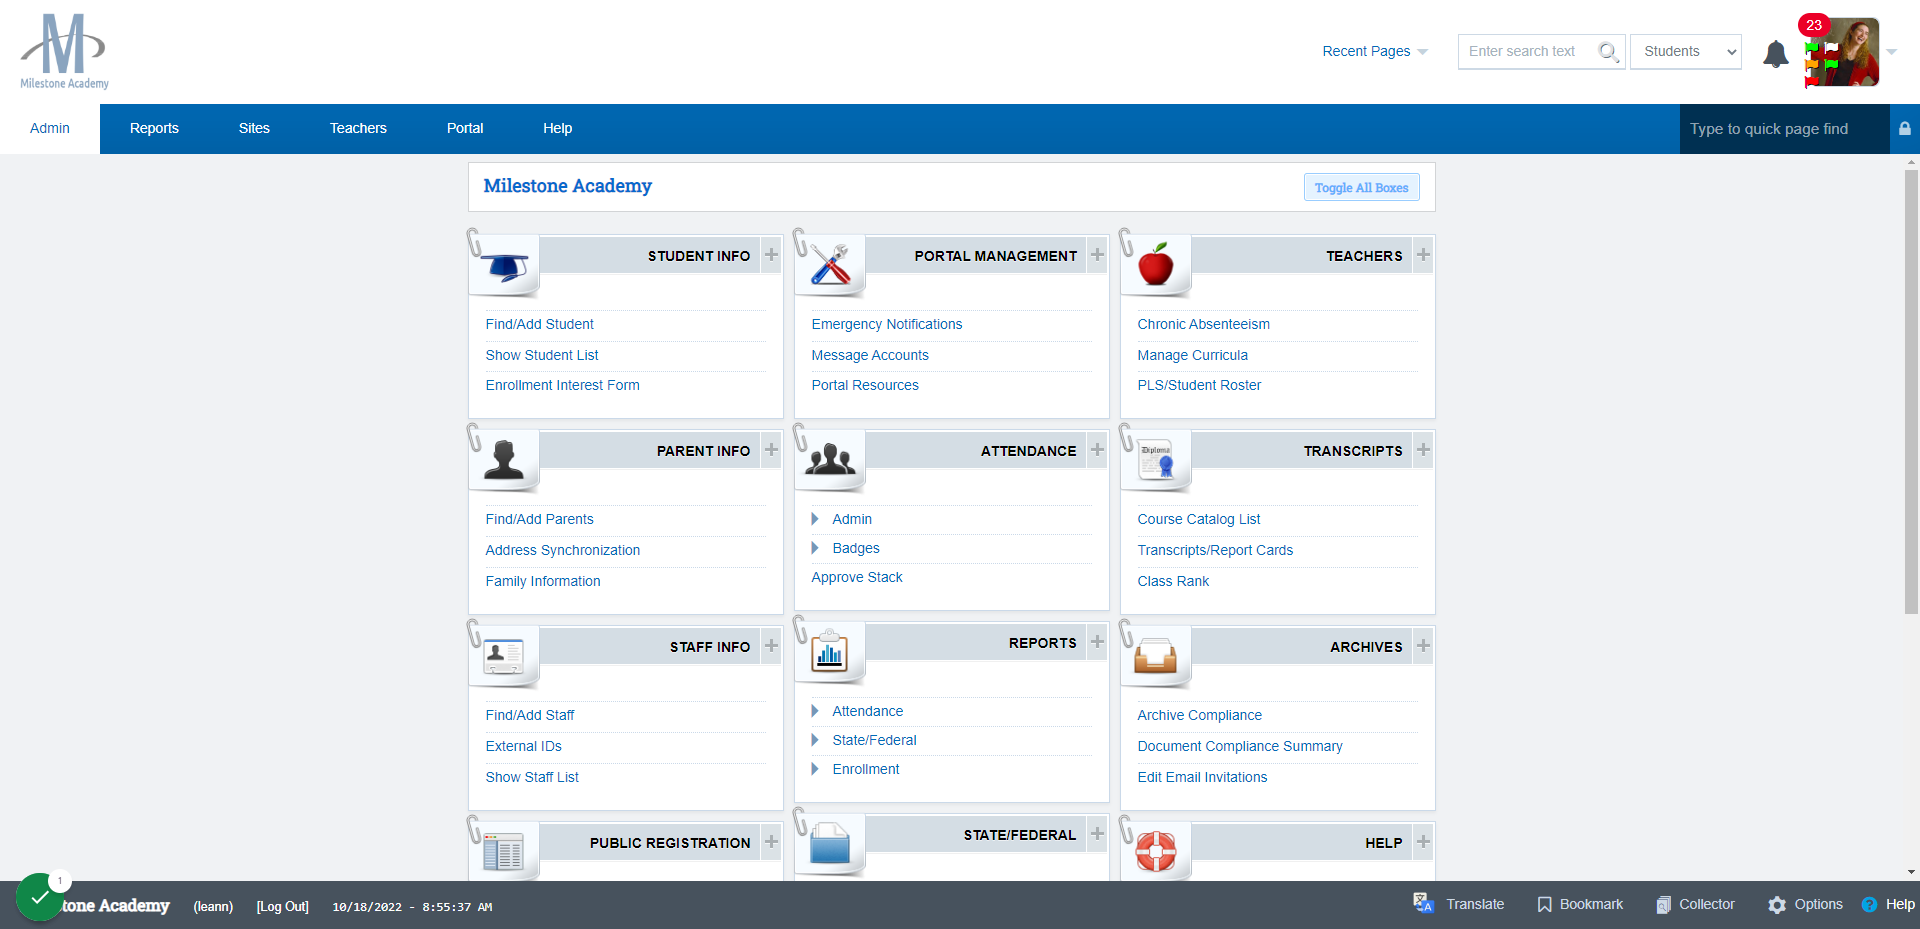
Click on Admin
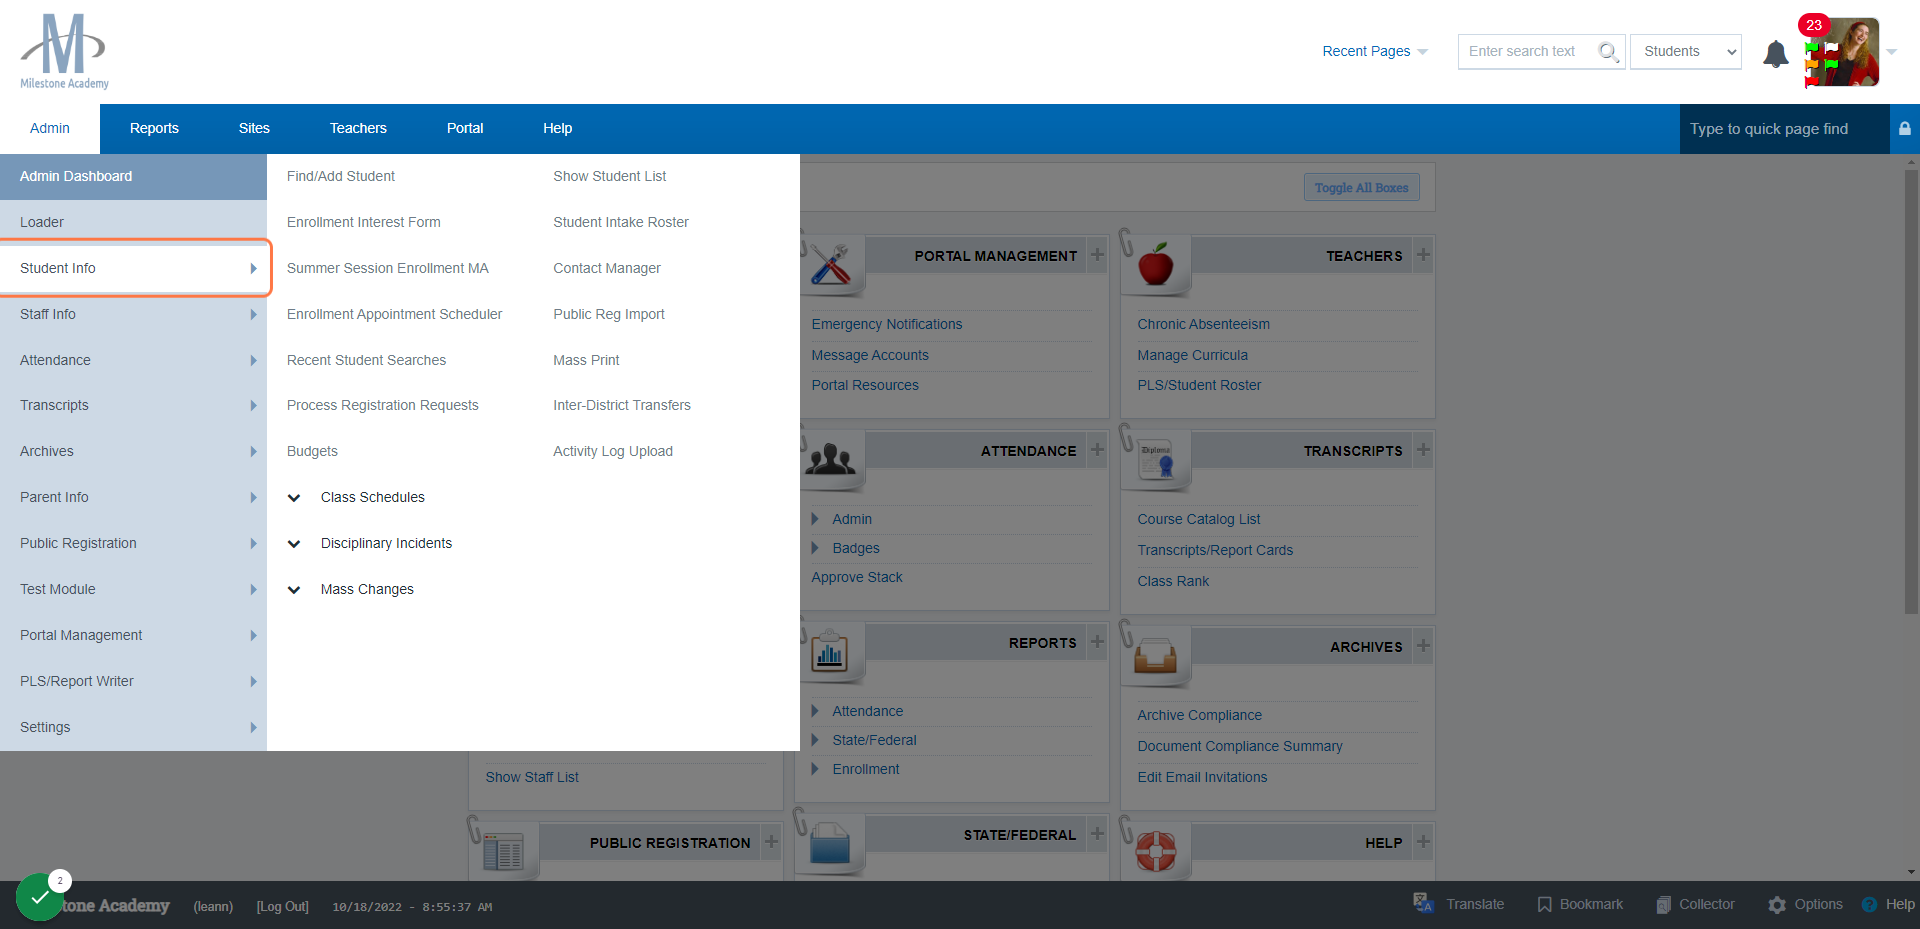
Click on Student Info
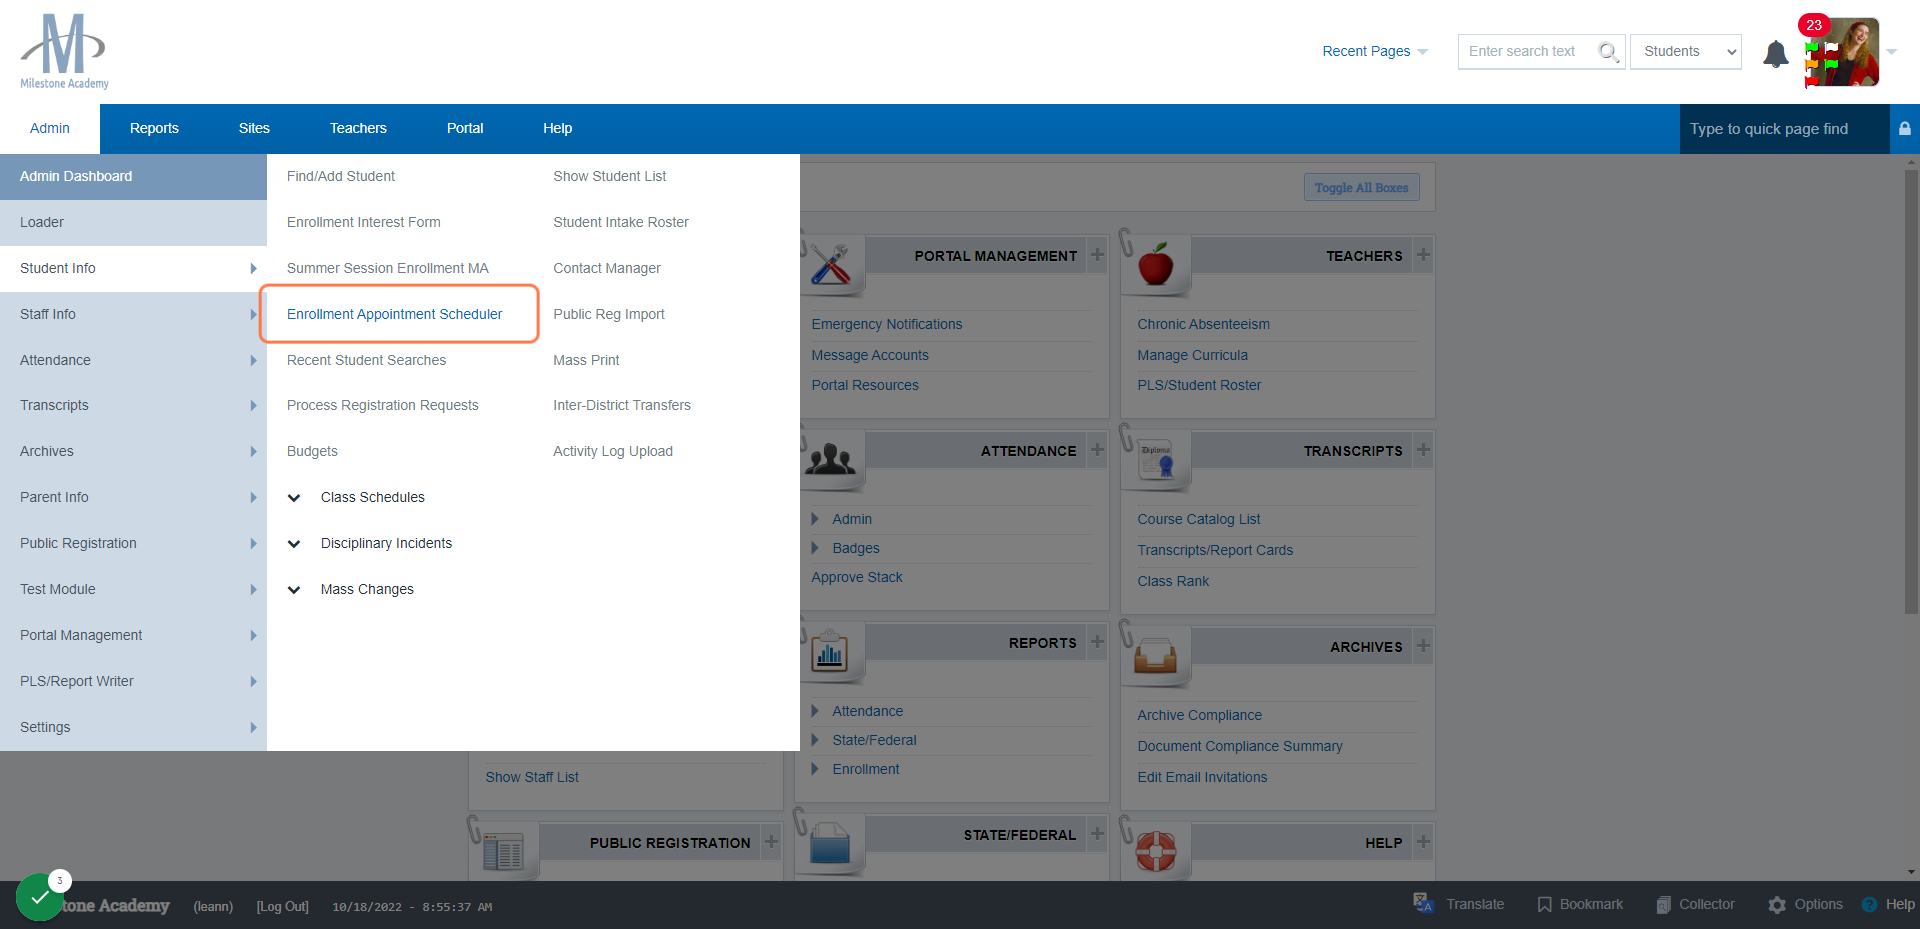
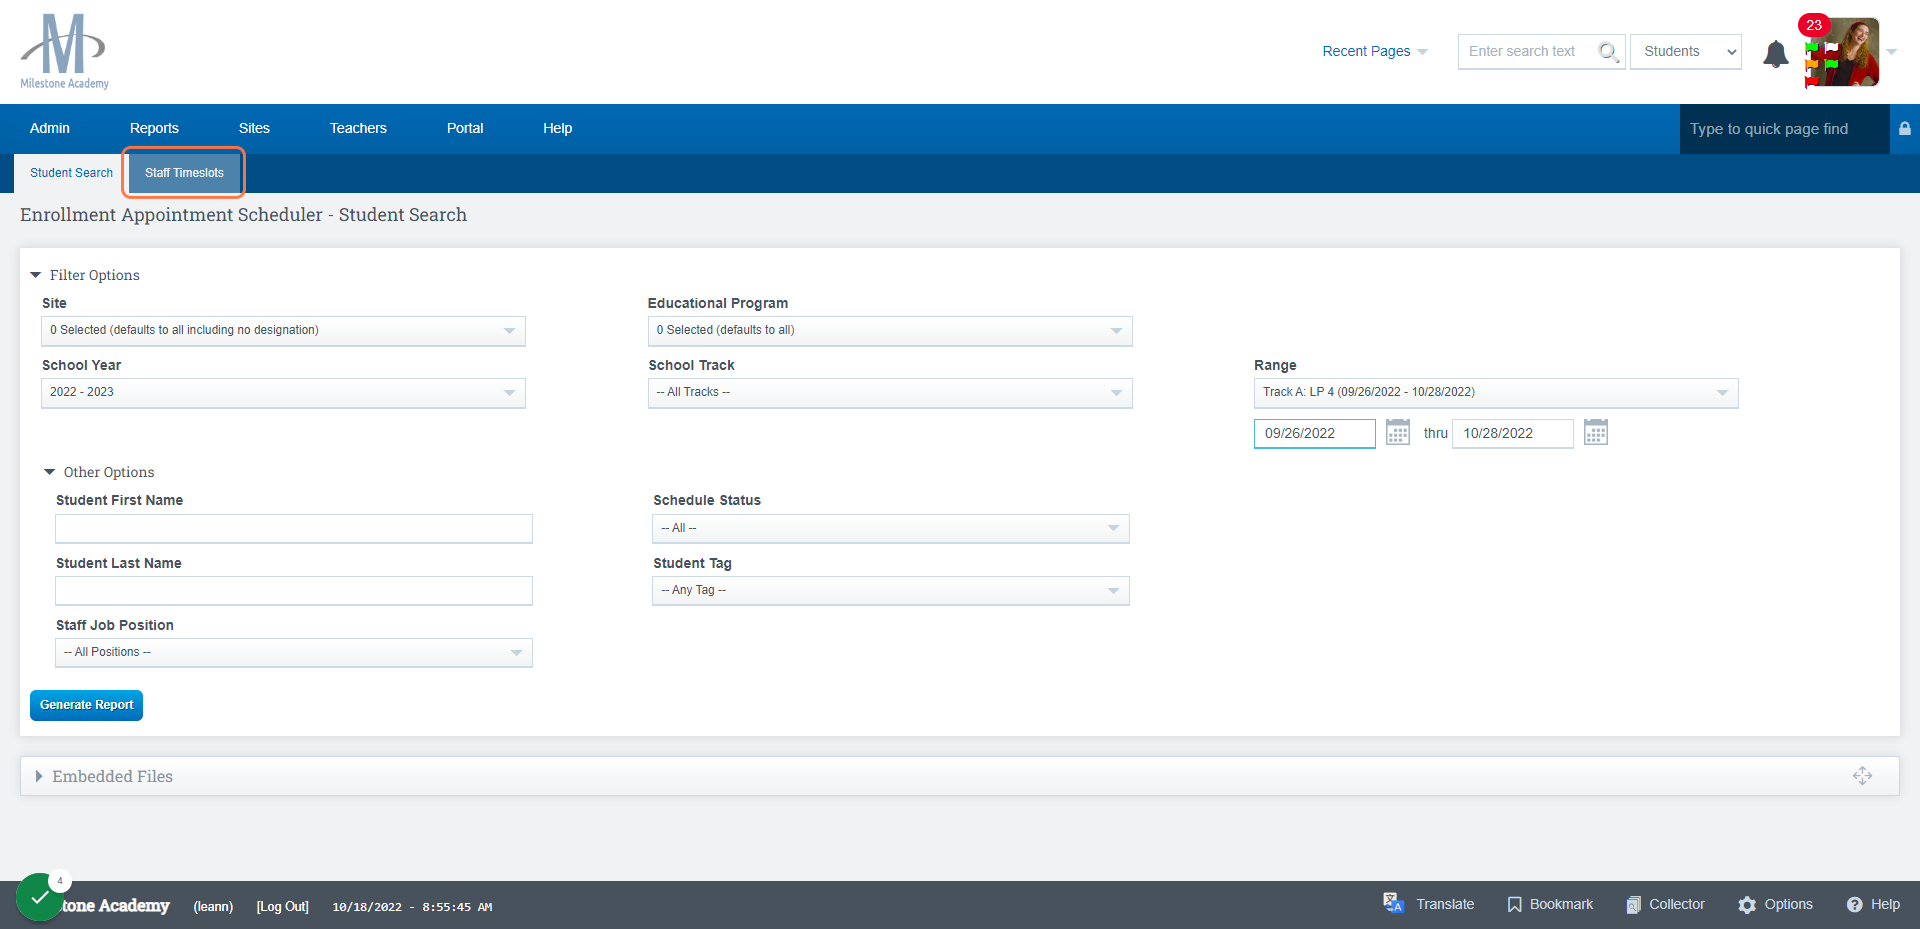
Click on Enrollment Appointment Scheduler
Click on Staff Time Slots
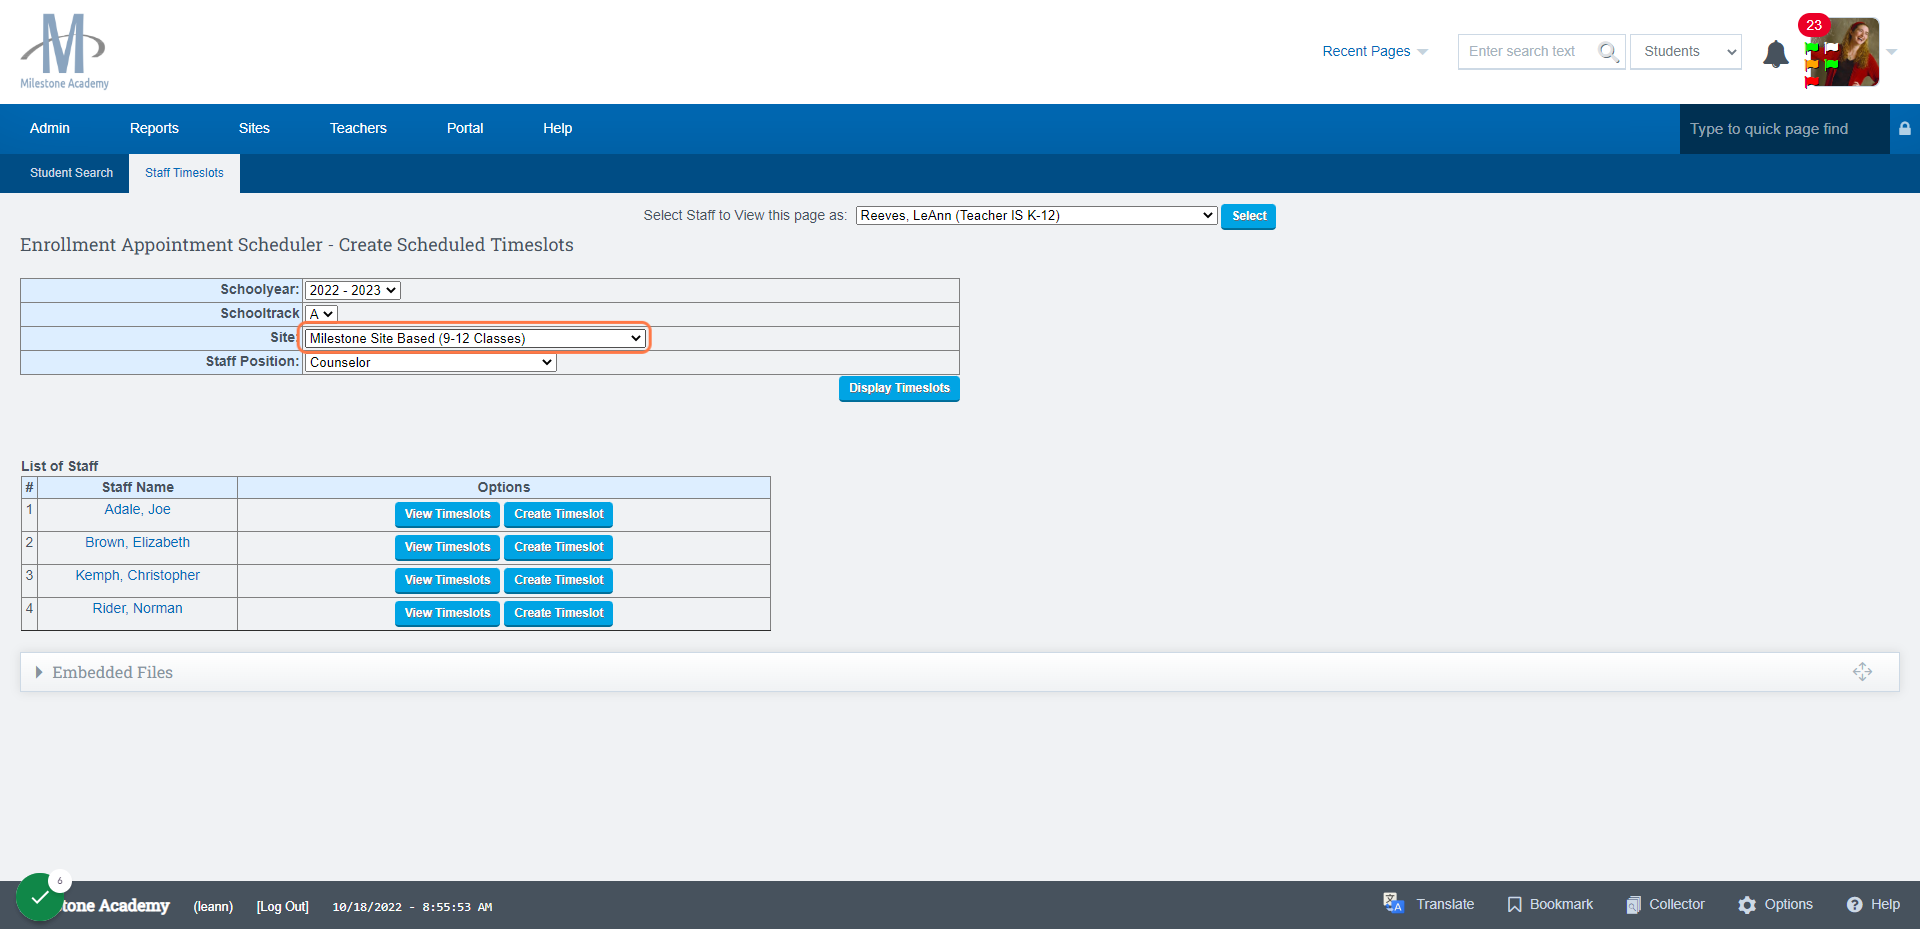
Click the dropdowns in top section to Choose what best fits your needs
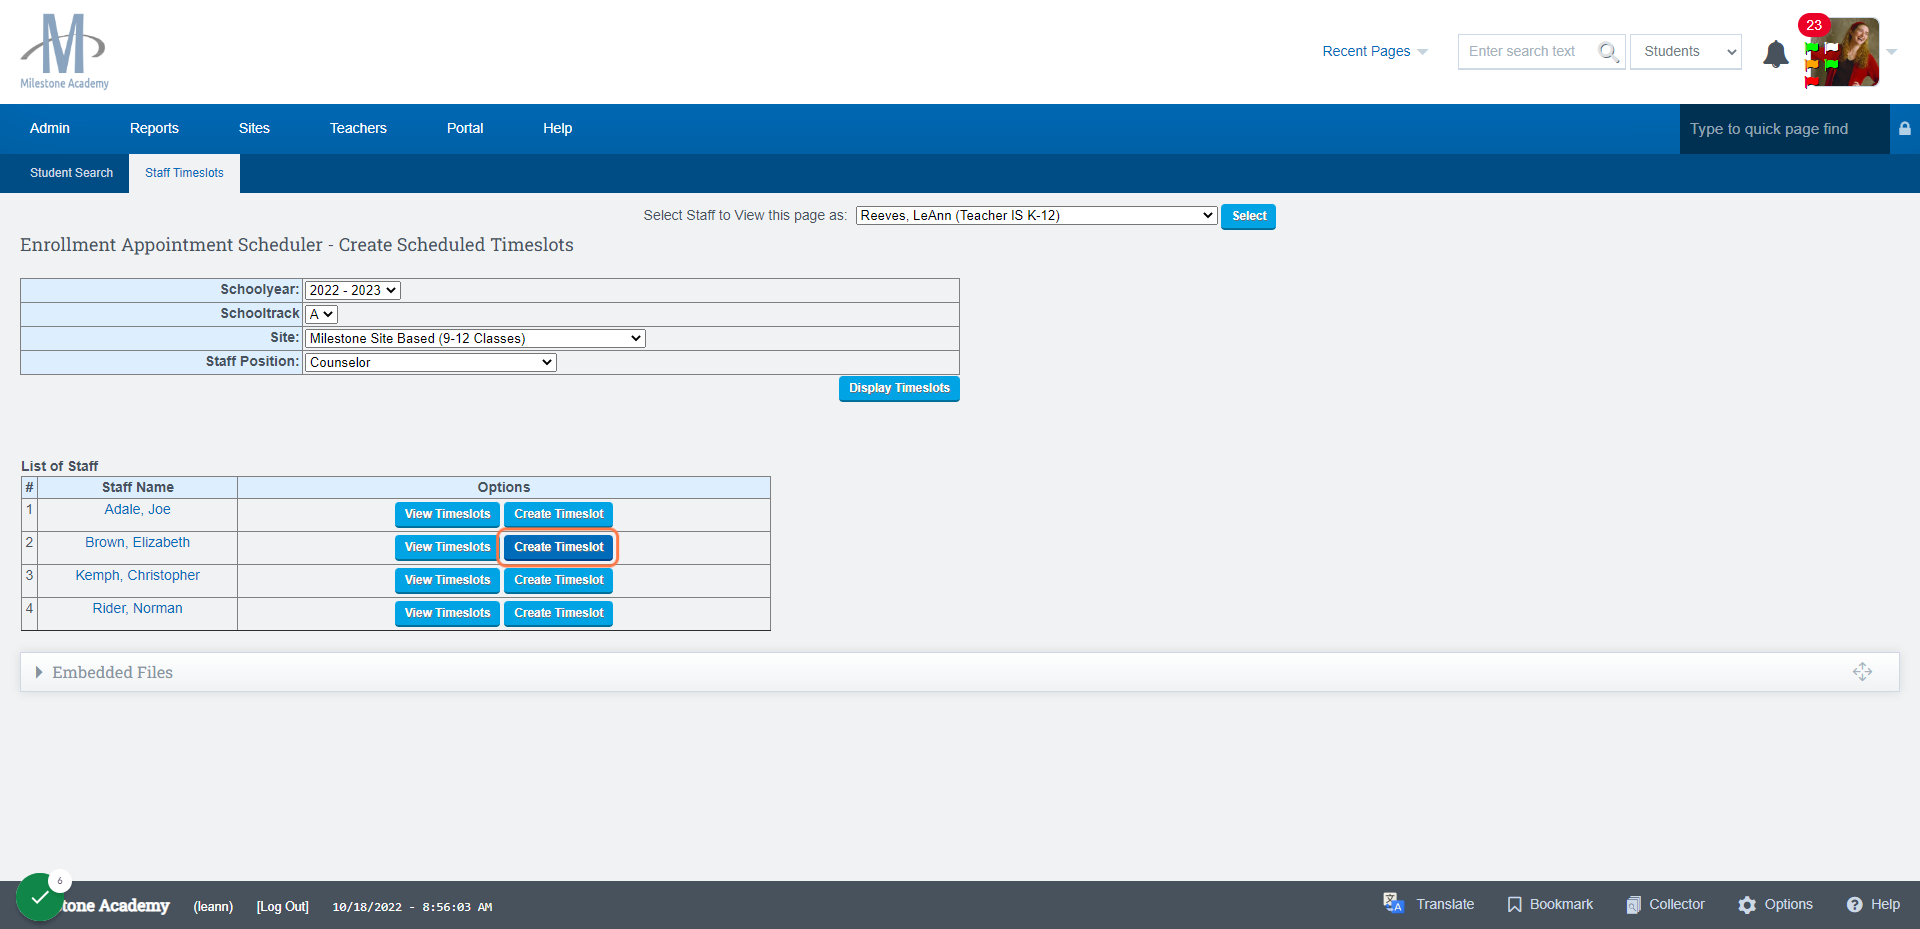
Click on Create Time Slot next to the teacher you desire
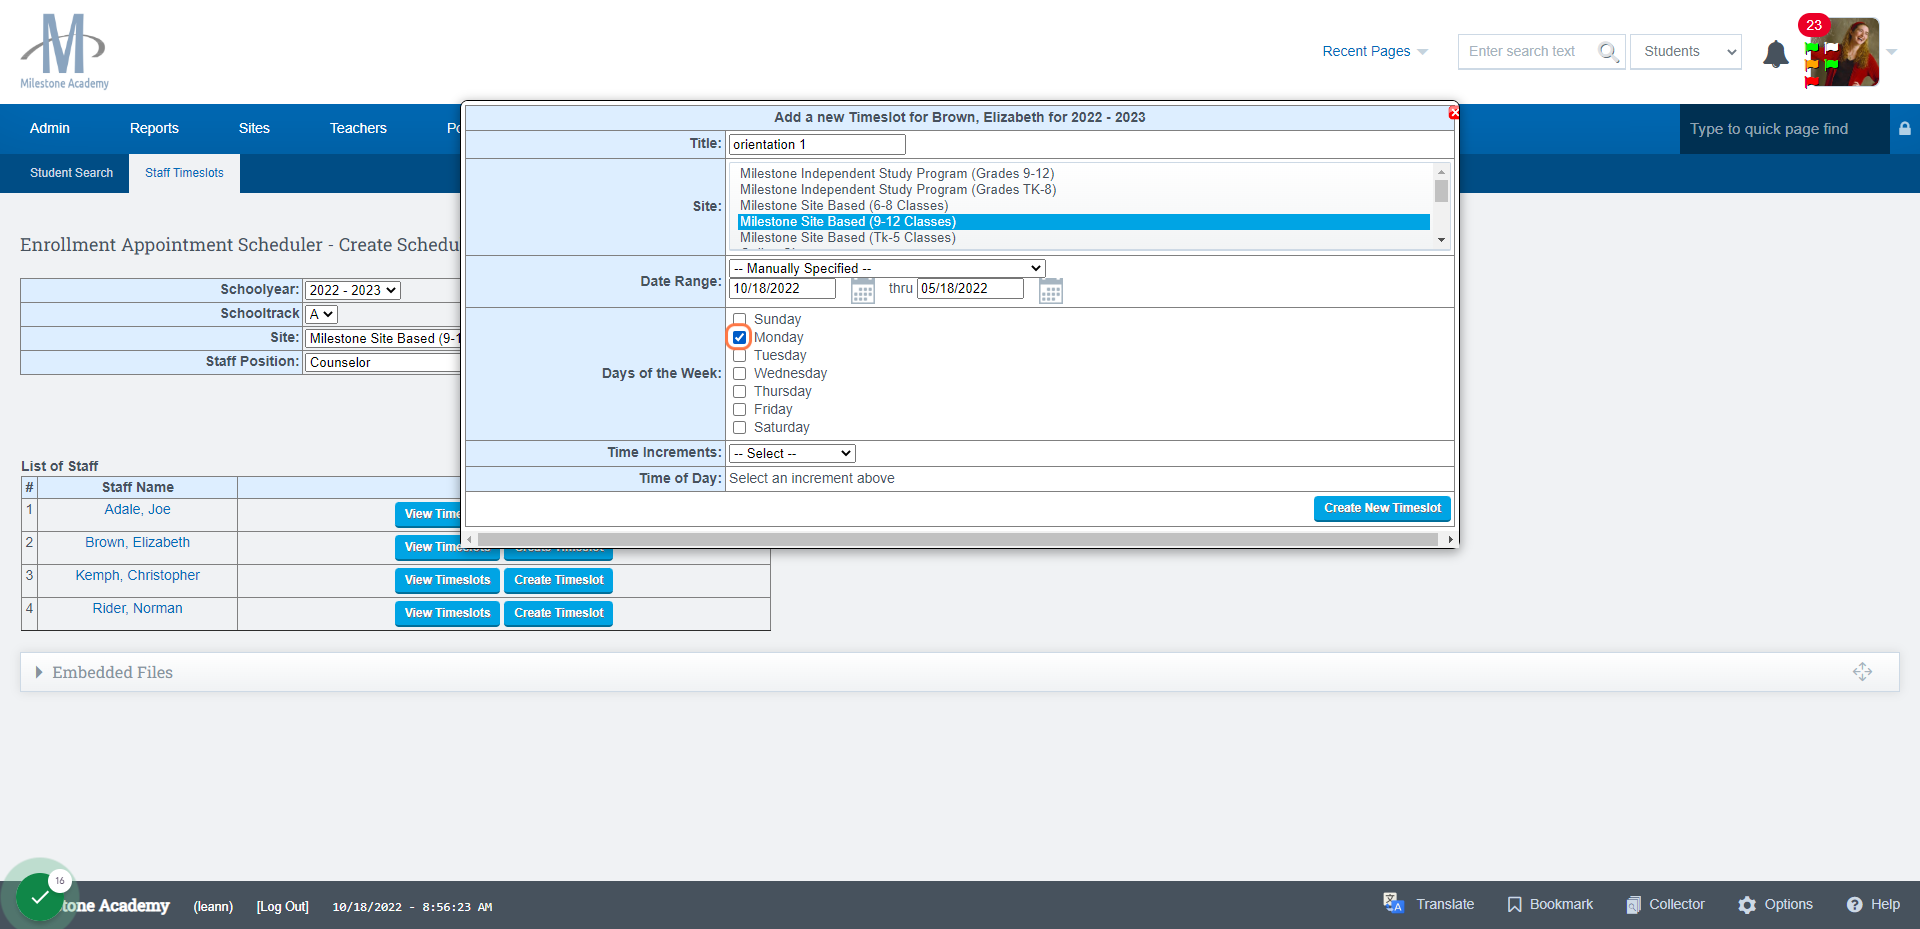
Give your Event a Name
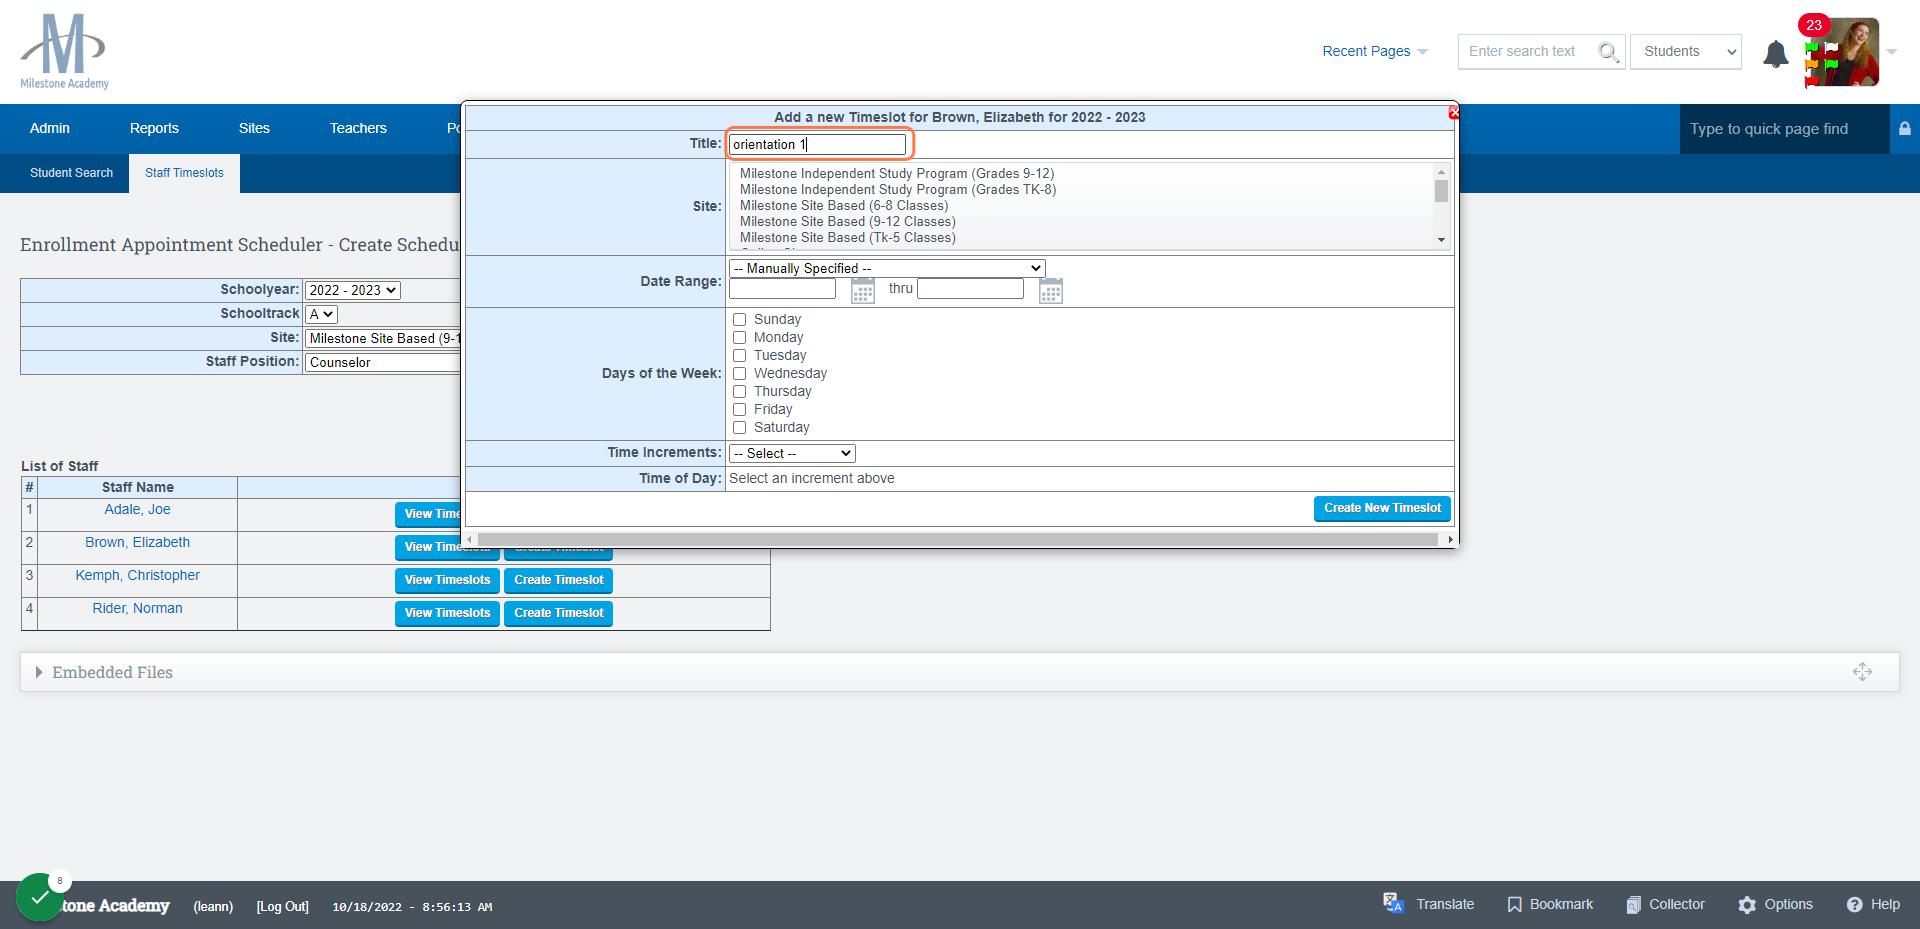
Select Your Site

Click on Pick date

Choose your Days of the Week the event will occur
You can choose more than one day if desired
Click on Frequency

Click on Time Desired for the event to occur
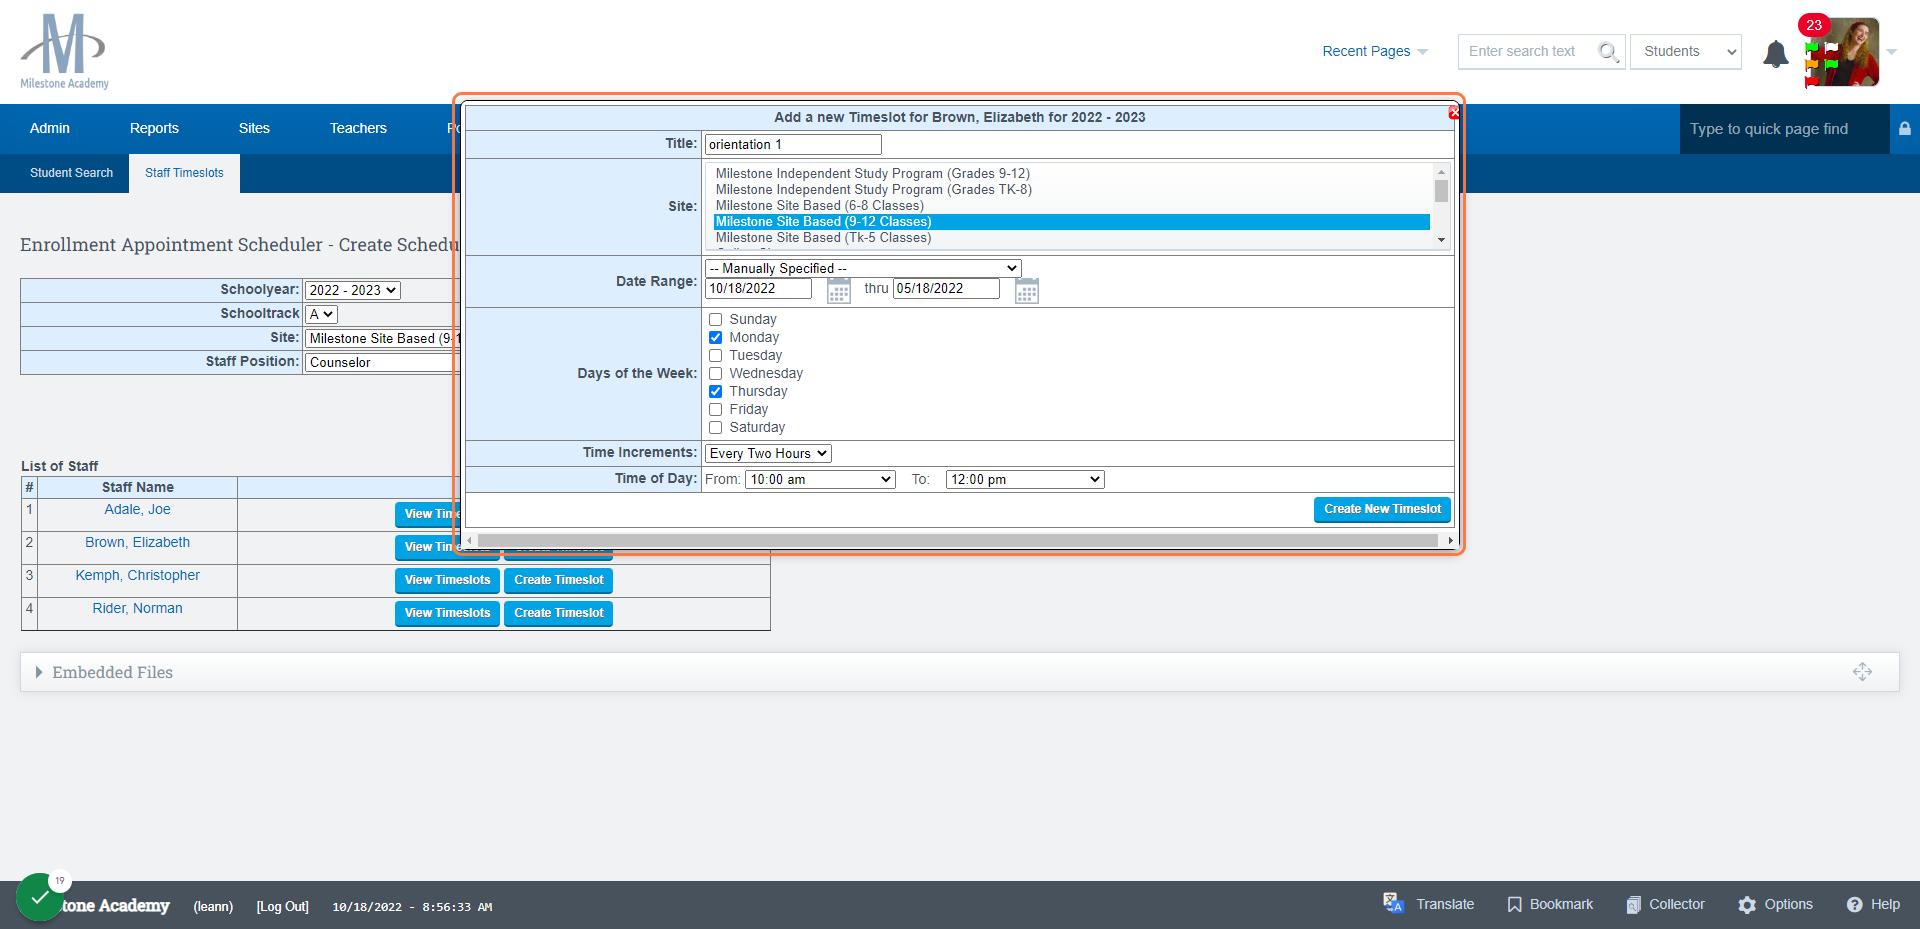
Click on Create New Time slot
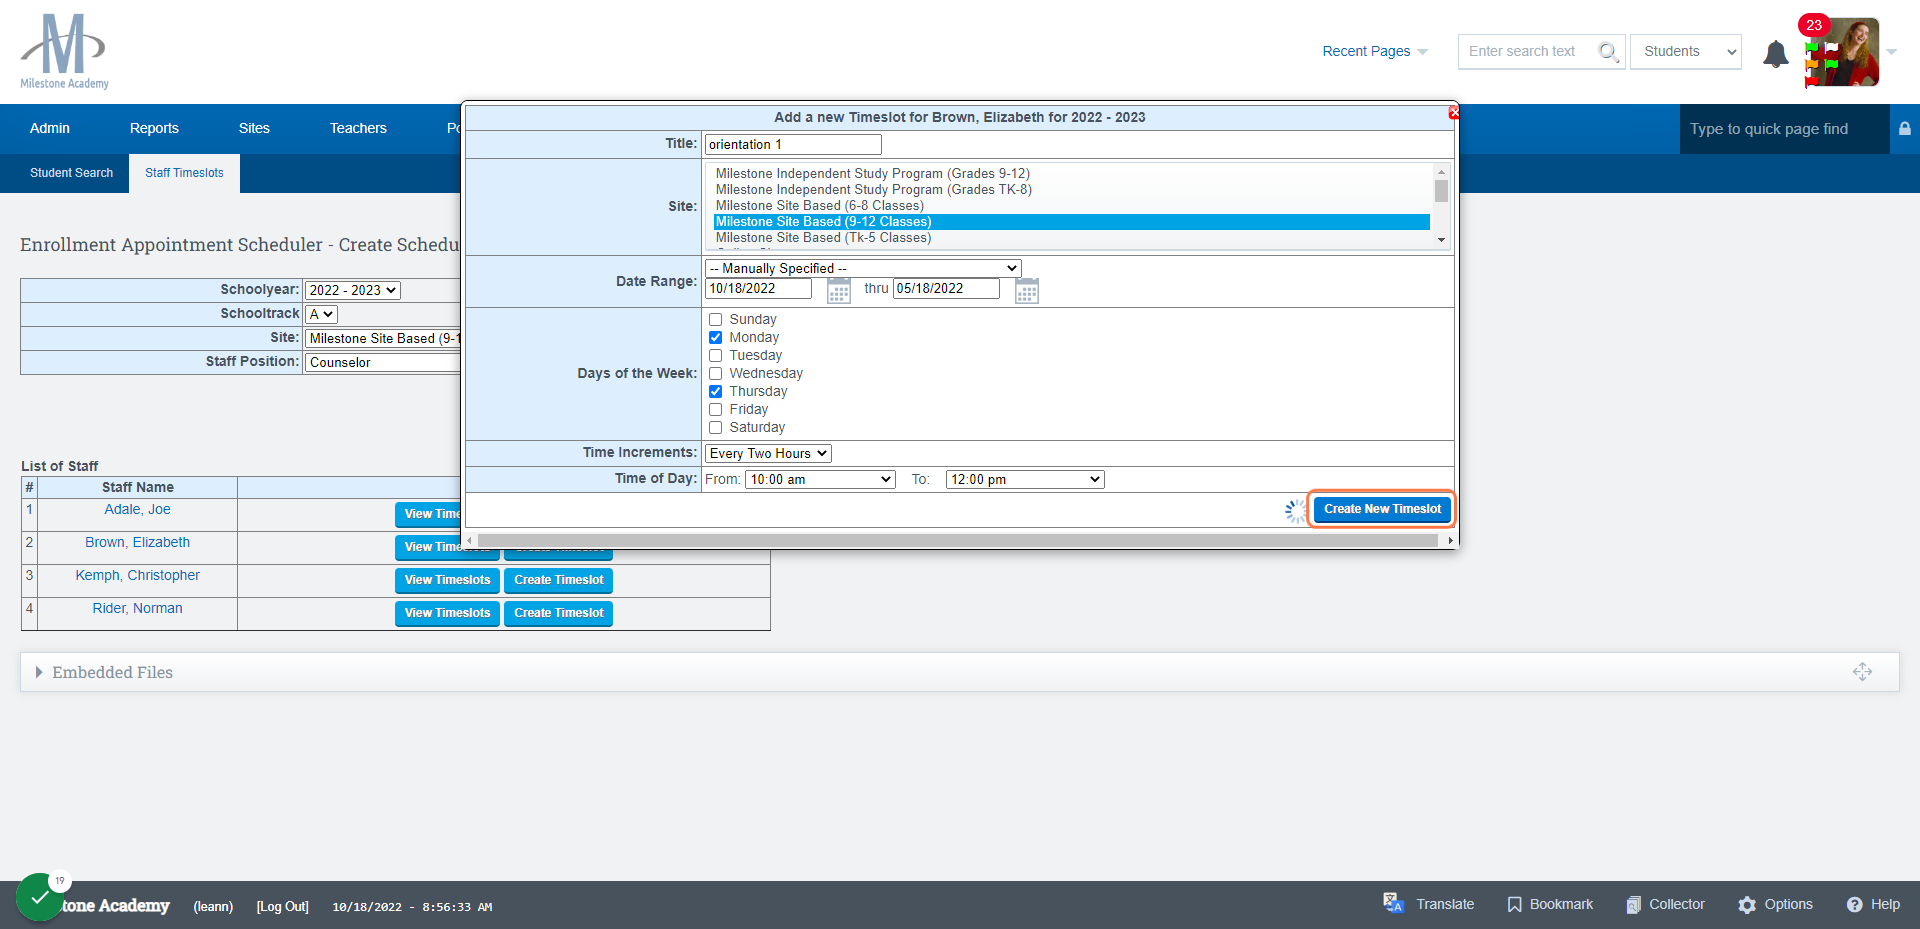
Your Event/Events have now been created!
Invite a Student to the Event:
For Teachers: Navigate to your Student roster to invite the students to the event:(the student needs to be pre-enrolled in order to be invited to the event)
For Admin: Go to the Student's Dashboard and click Enrollment Appointment Scheduler to invite a student to an event/scheduled appointment
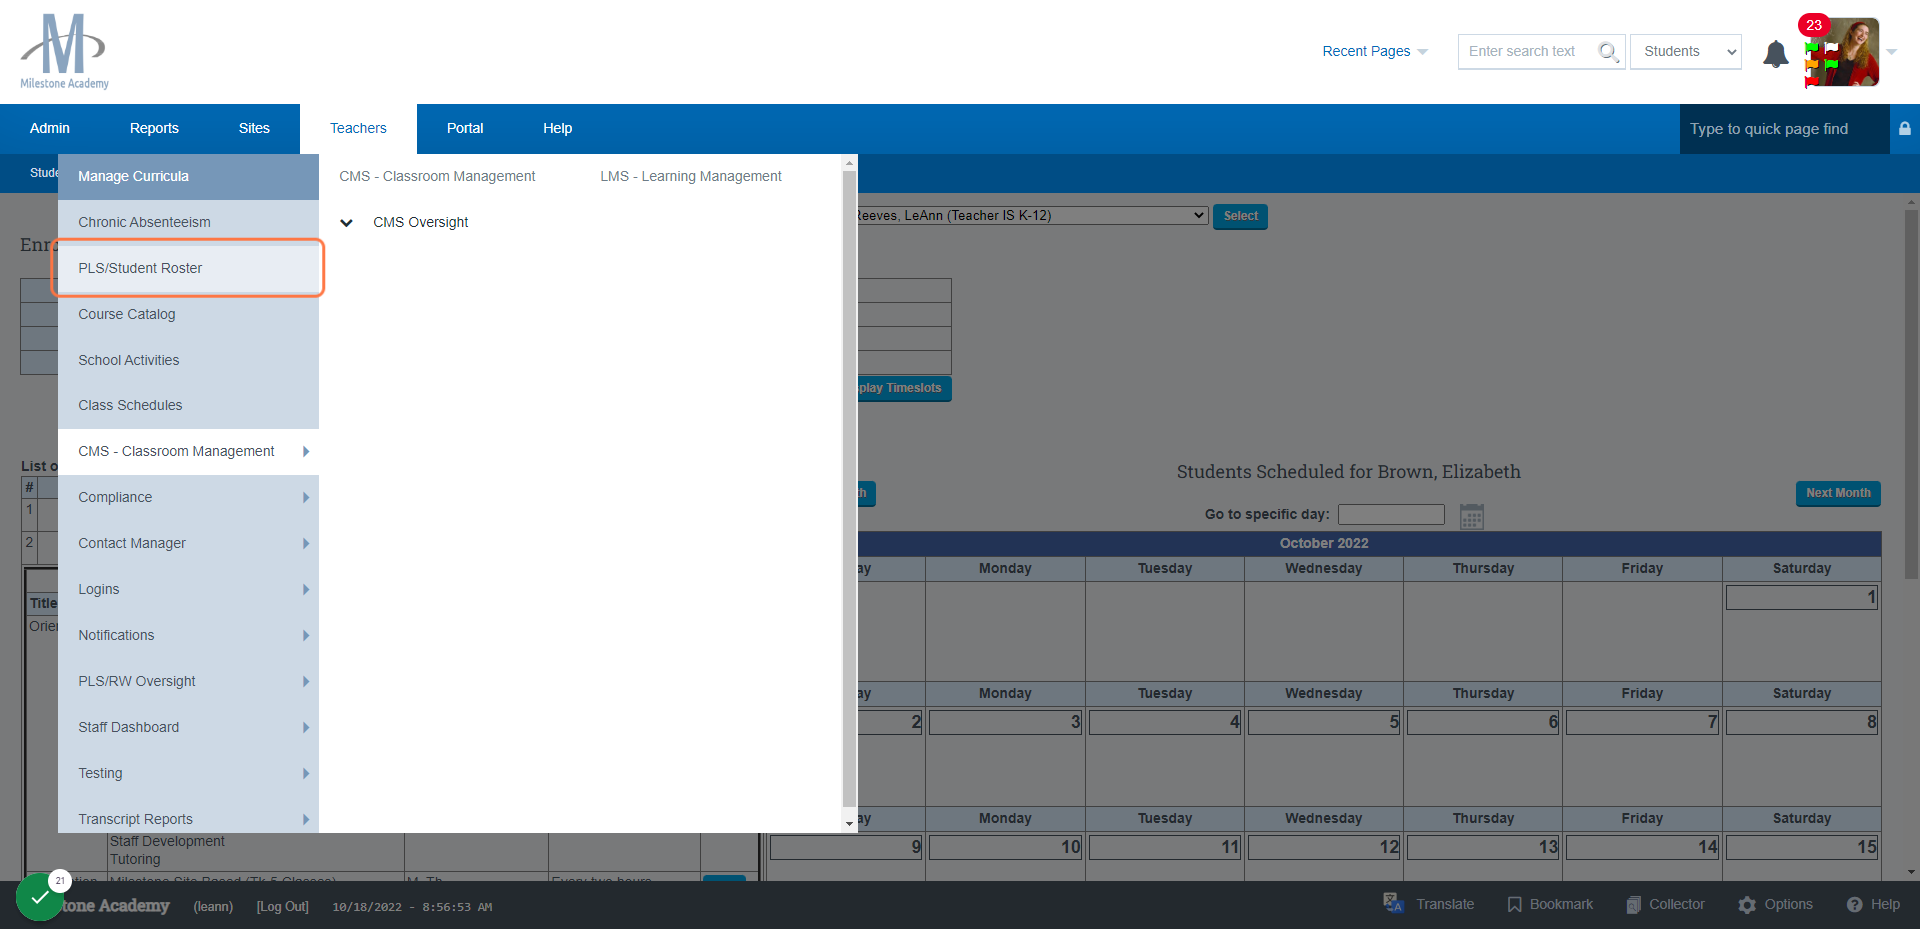
Click on Teachers
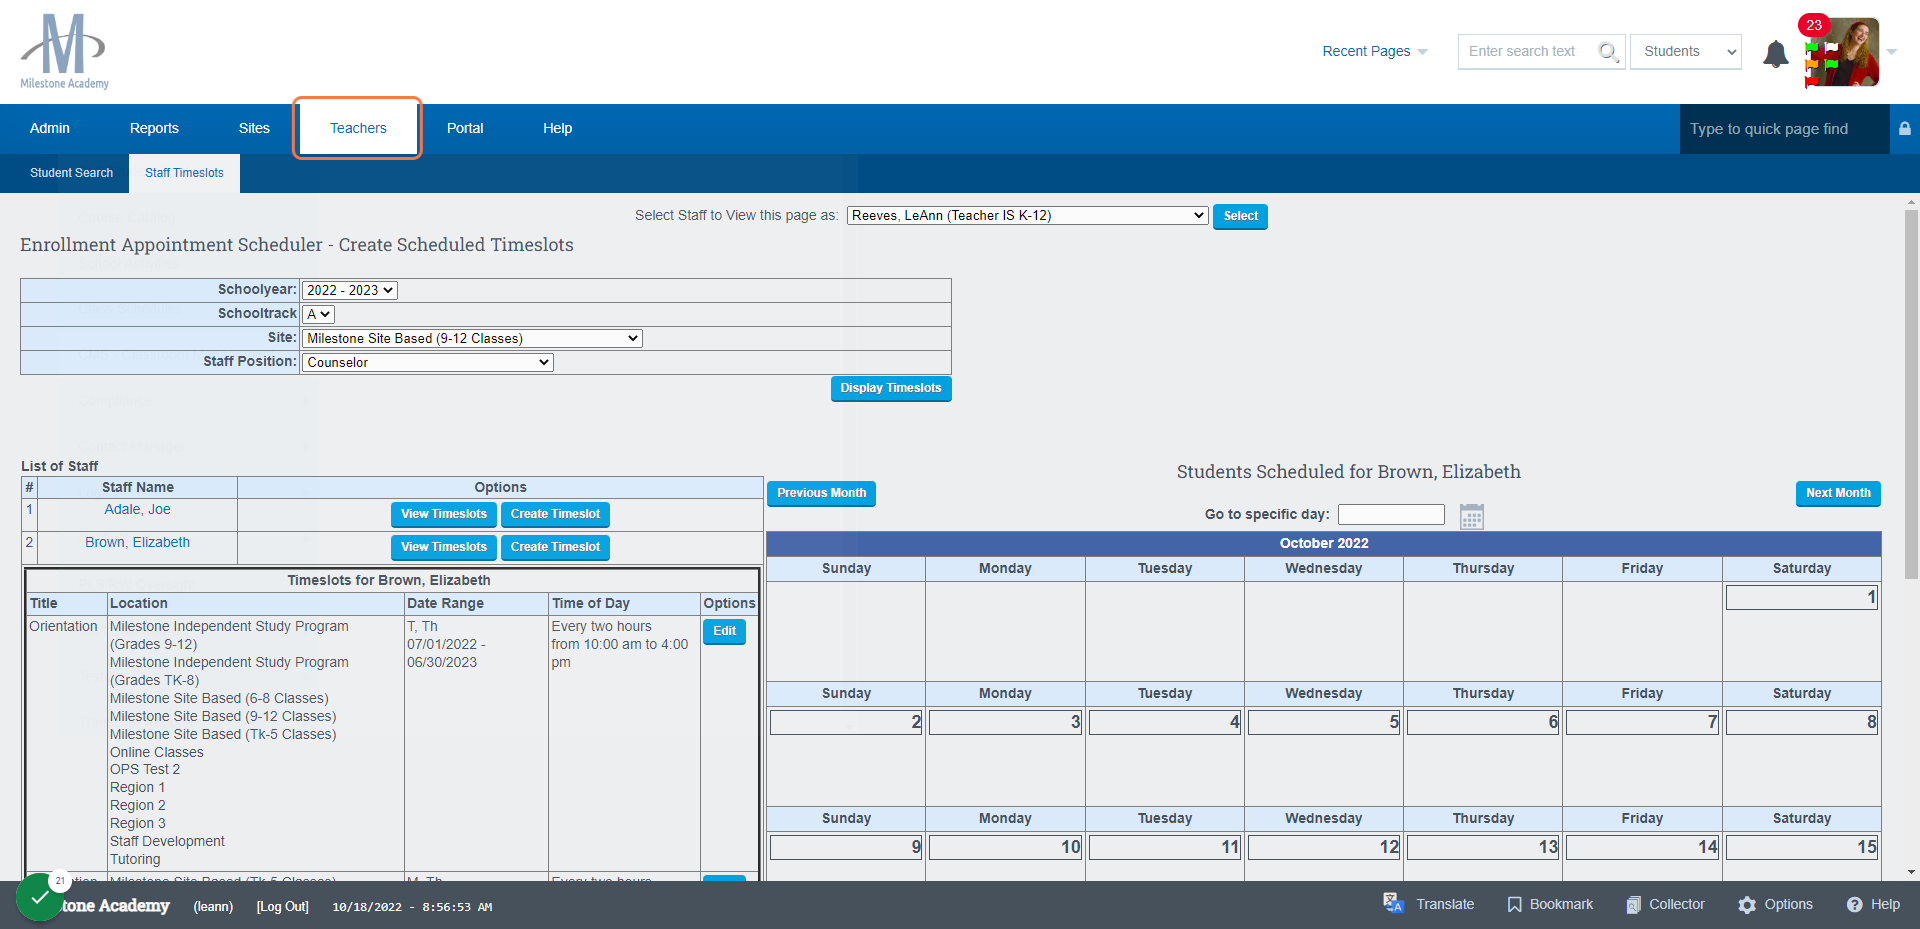
Click on PLS/Student Roster
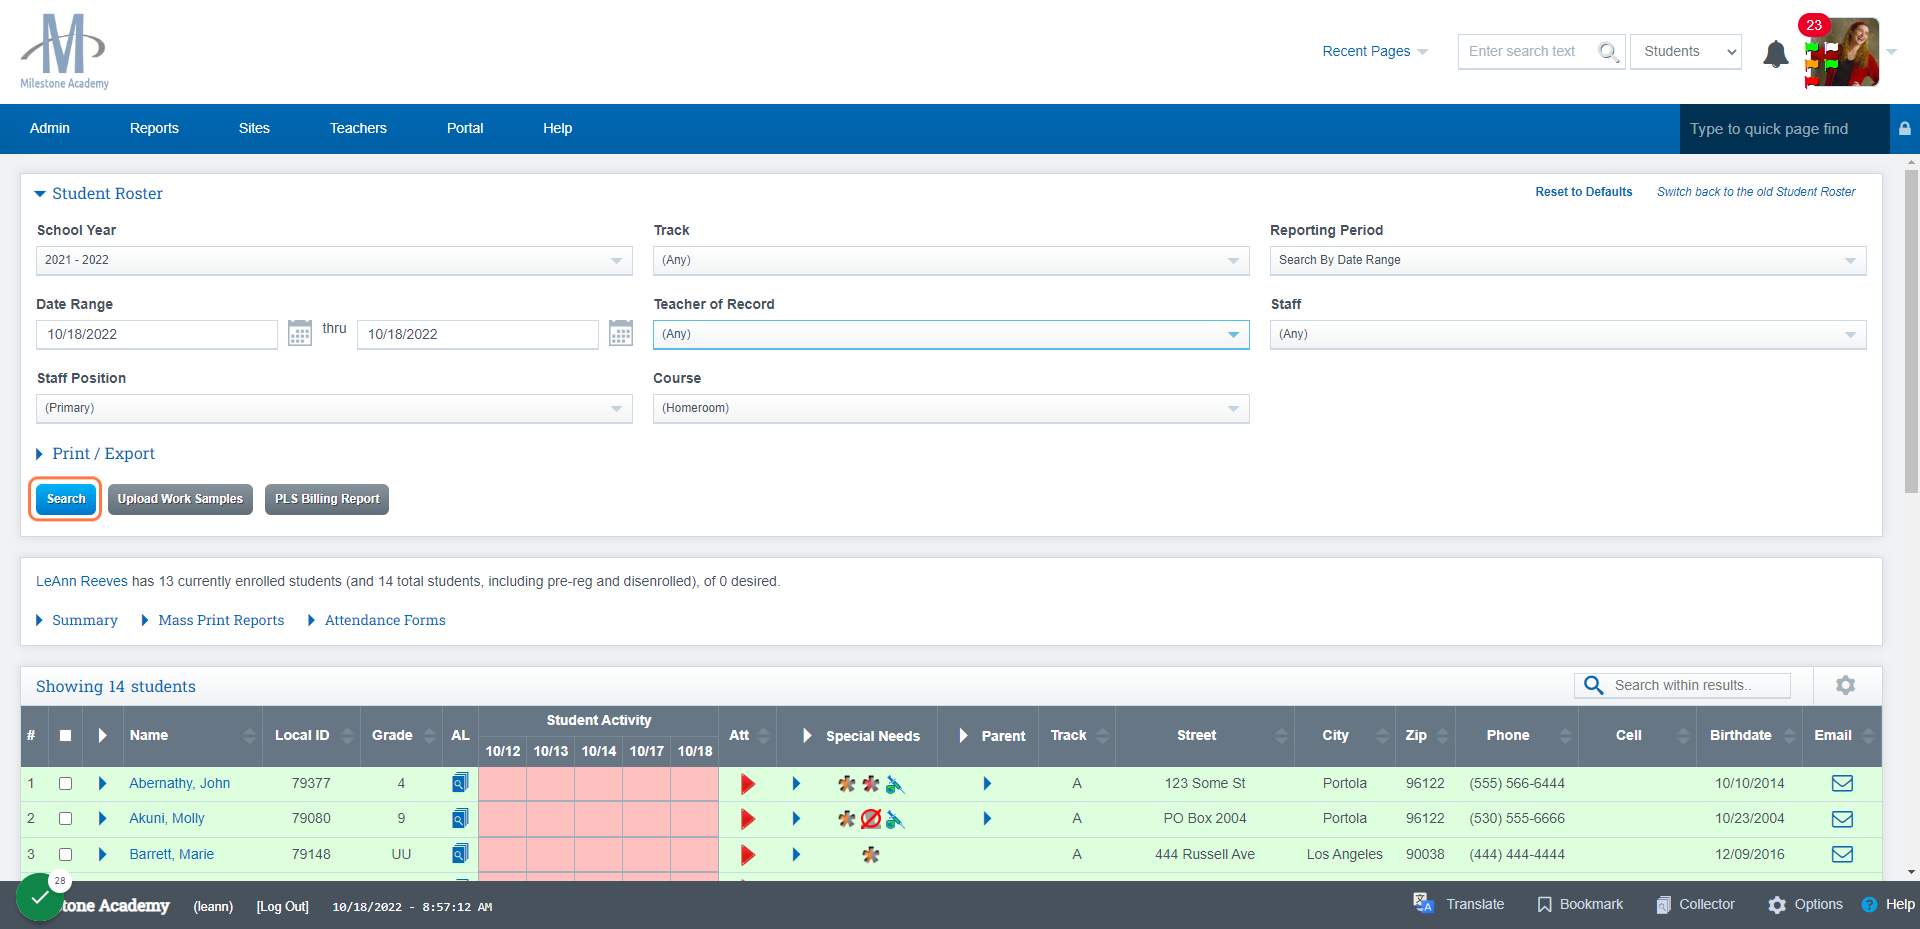
Click on Desired FIlters and Click Search
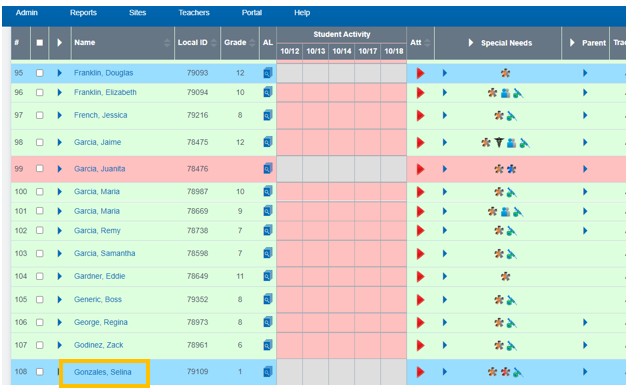
Click on the Students Name you wish to invite to the event
Click on Enrollment Appointment Scheduler

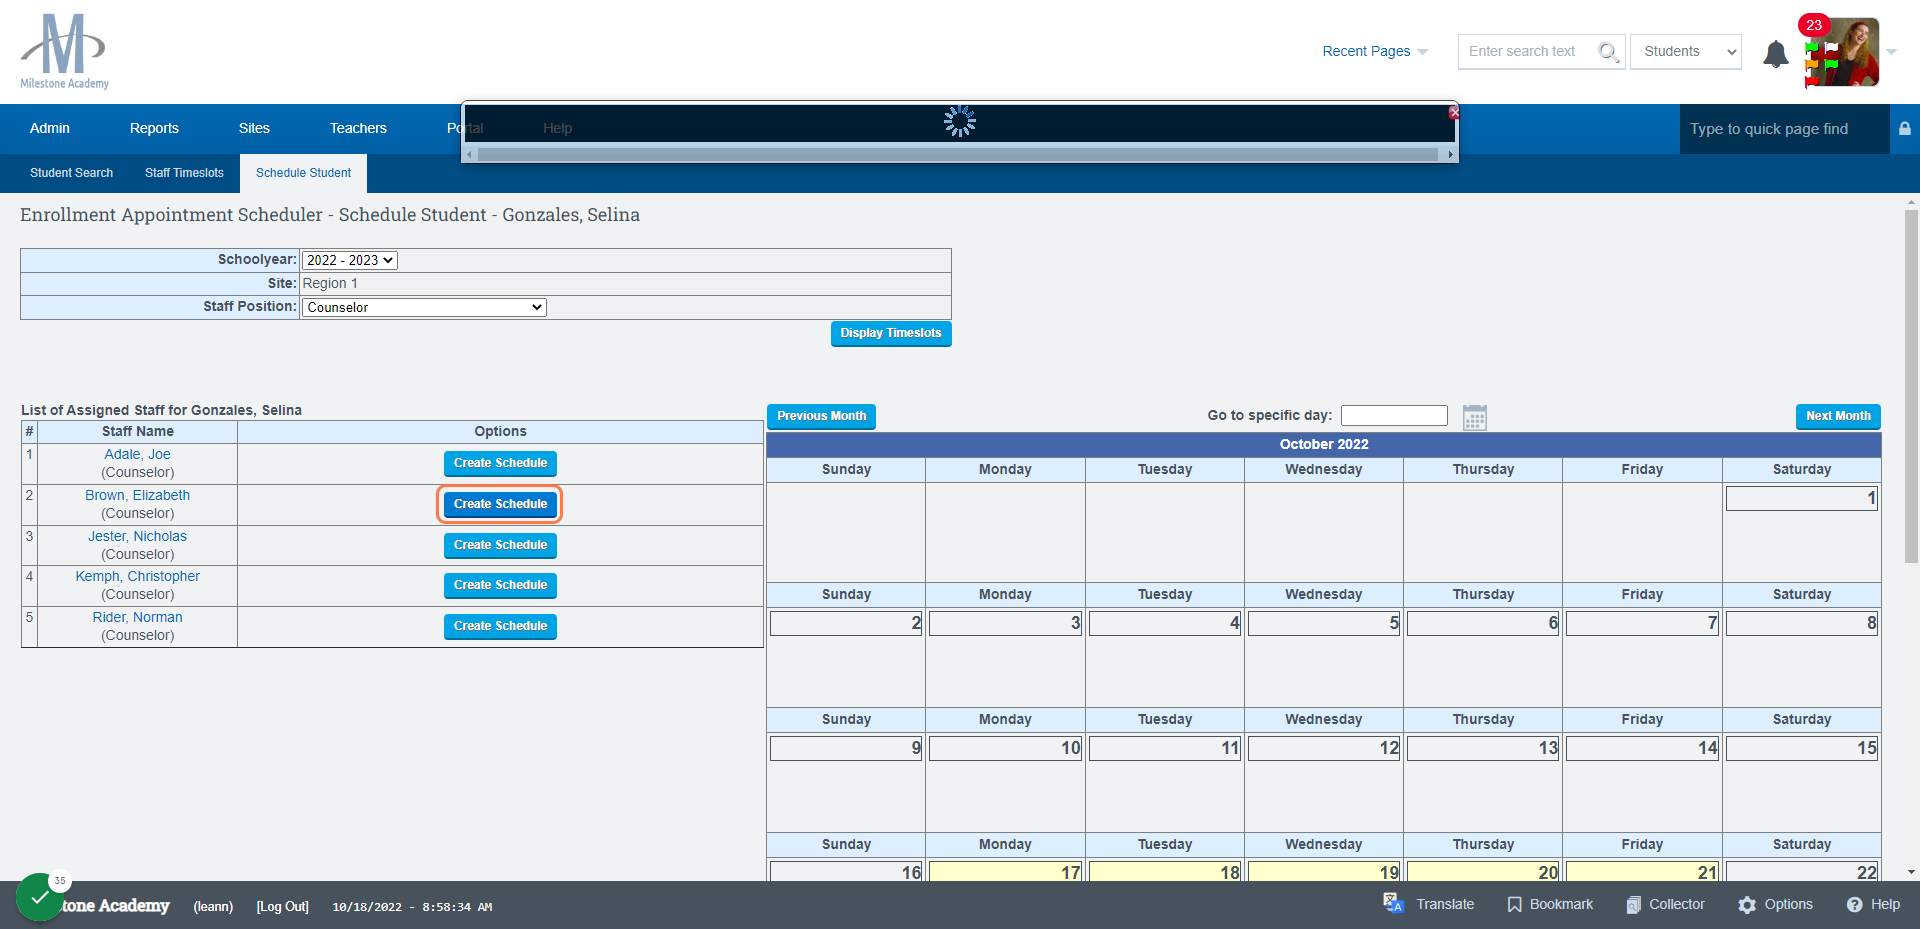
Click on Tab Schedule Student
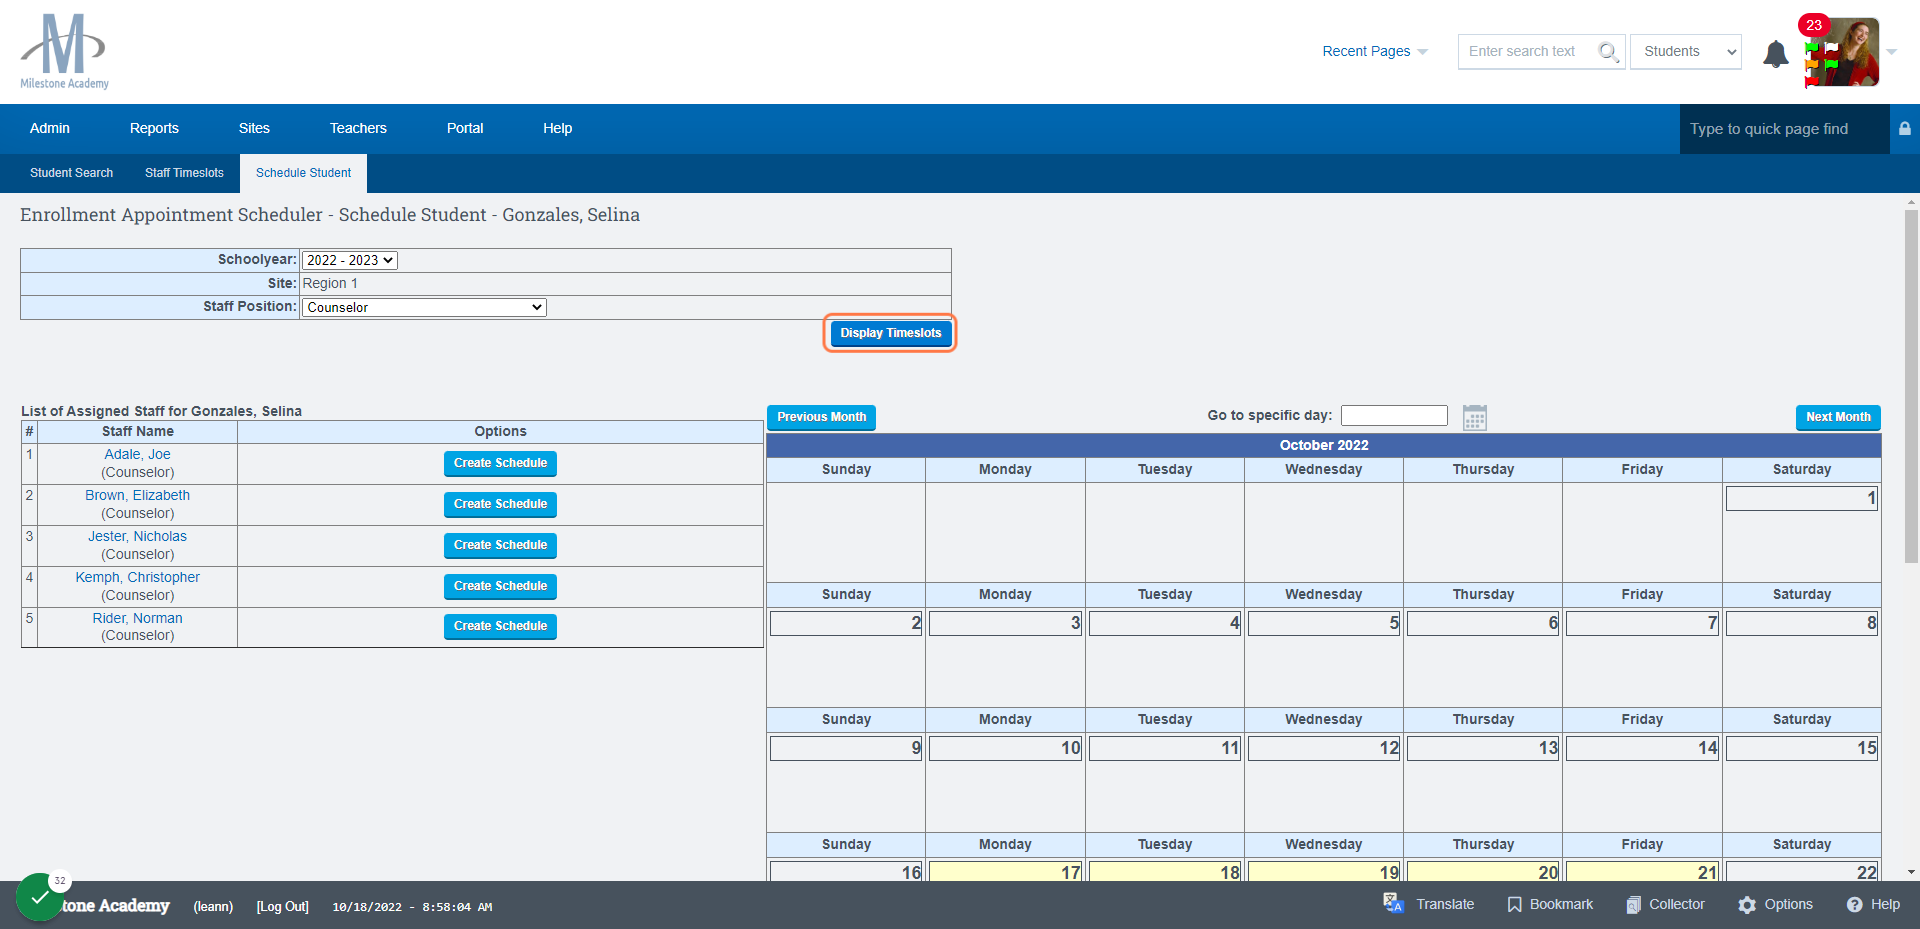
Click on Create Schedule
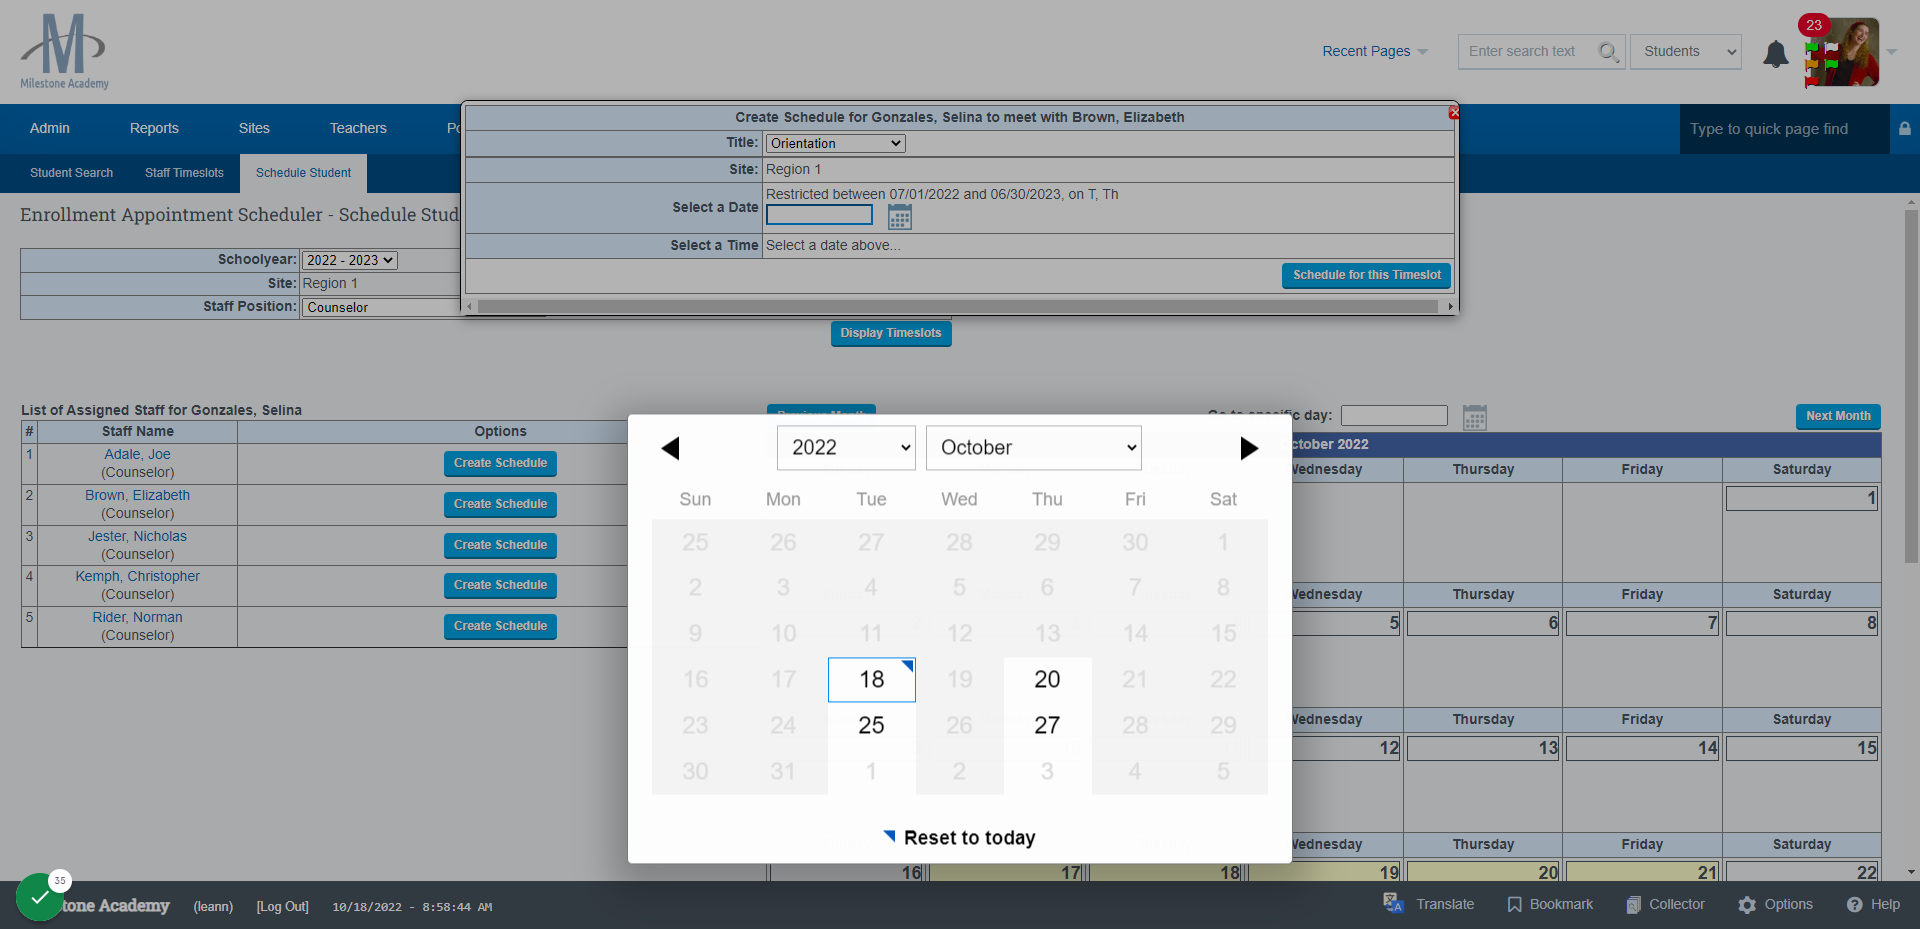
Click on the Dropdown and choose the Filters that you desire
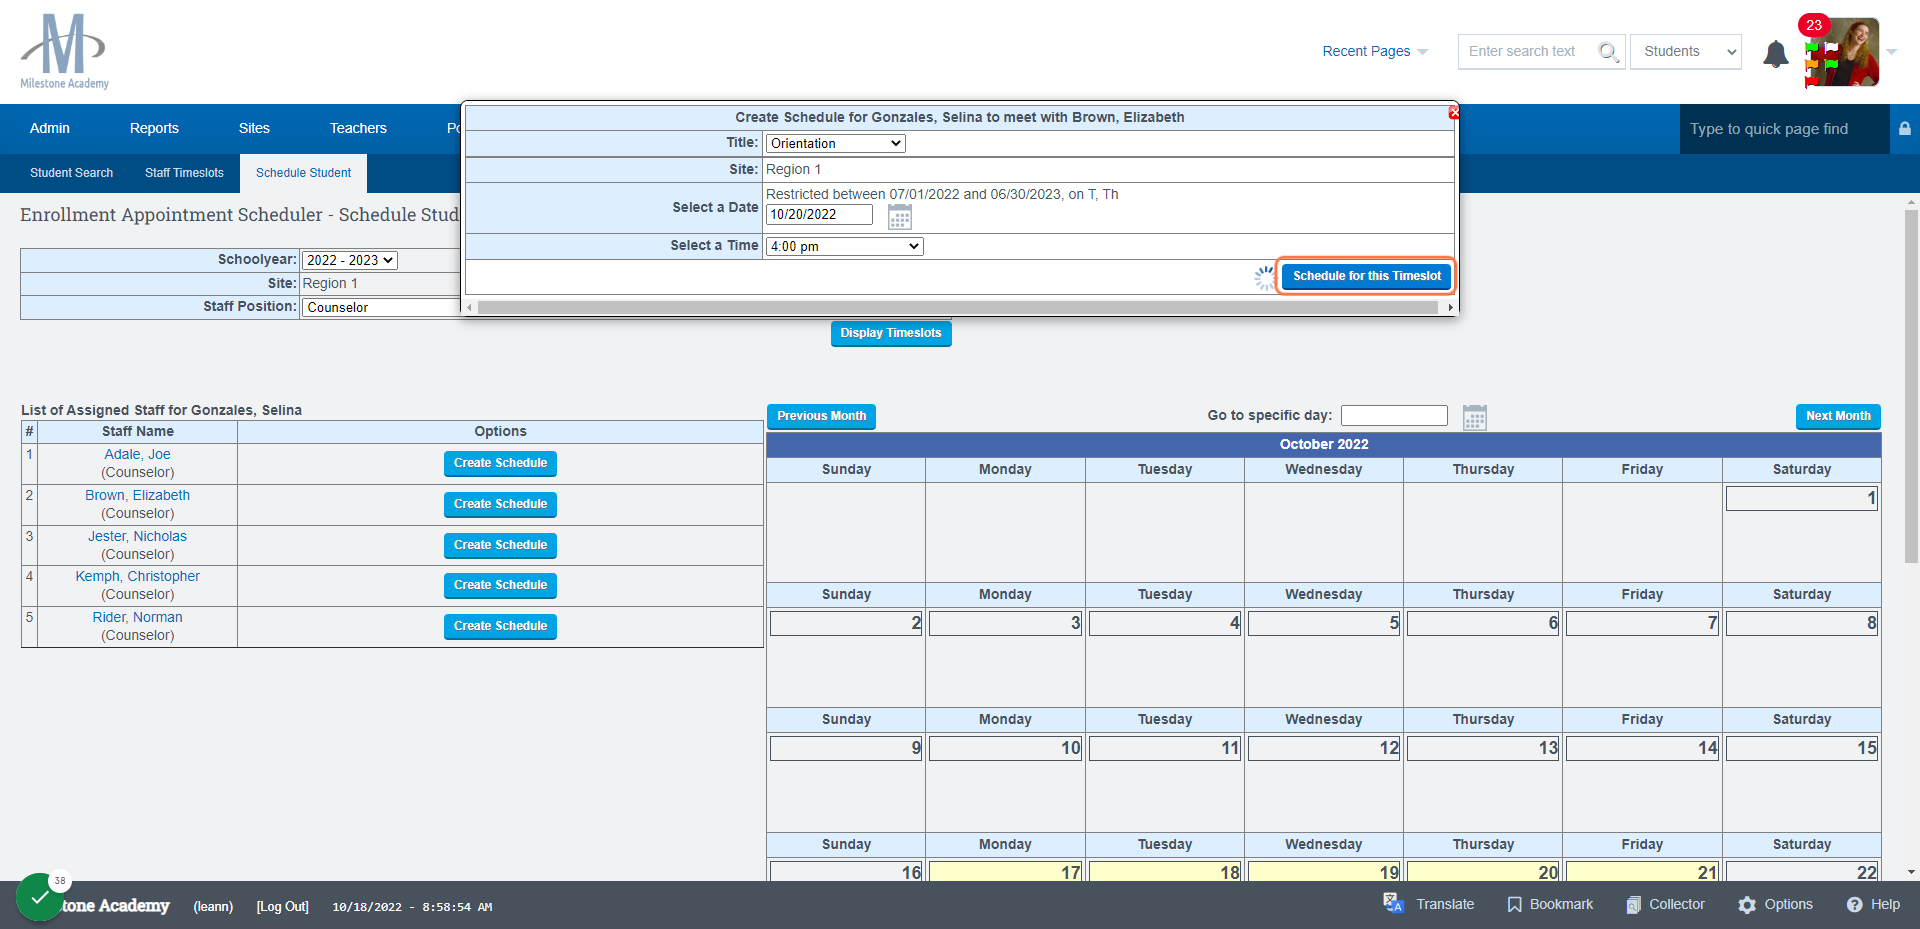
Click on Schedule for this Timeslot
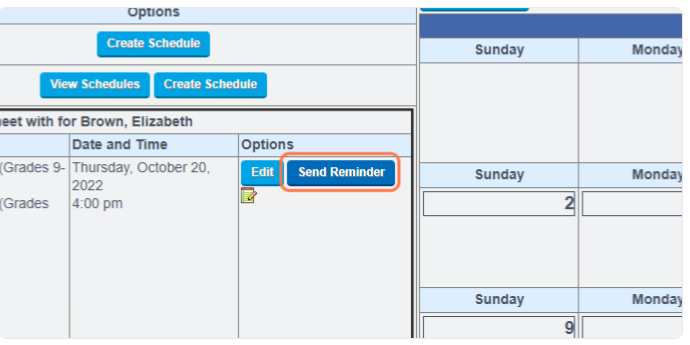
Send a Reminder to the Student if necessary:
Click on Send Reminder
You can Also click on the Paper Icon under Edit to see when the last reminder was sent to the Student/Parent