Synchronous Instruction for CMS Classes
If you have CMS classes and want to create Synchronous Instruction using our Engagement Calendar, this guide will walk you through the process.
Click on Teachers
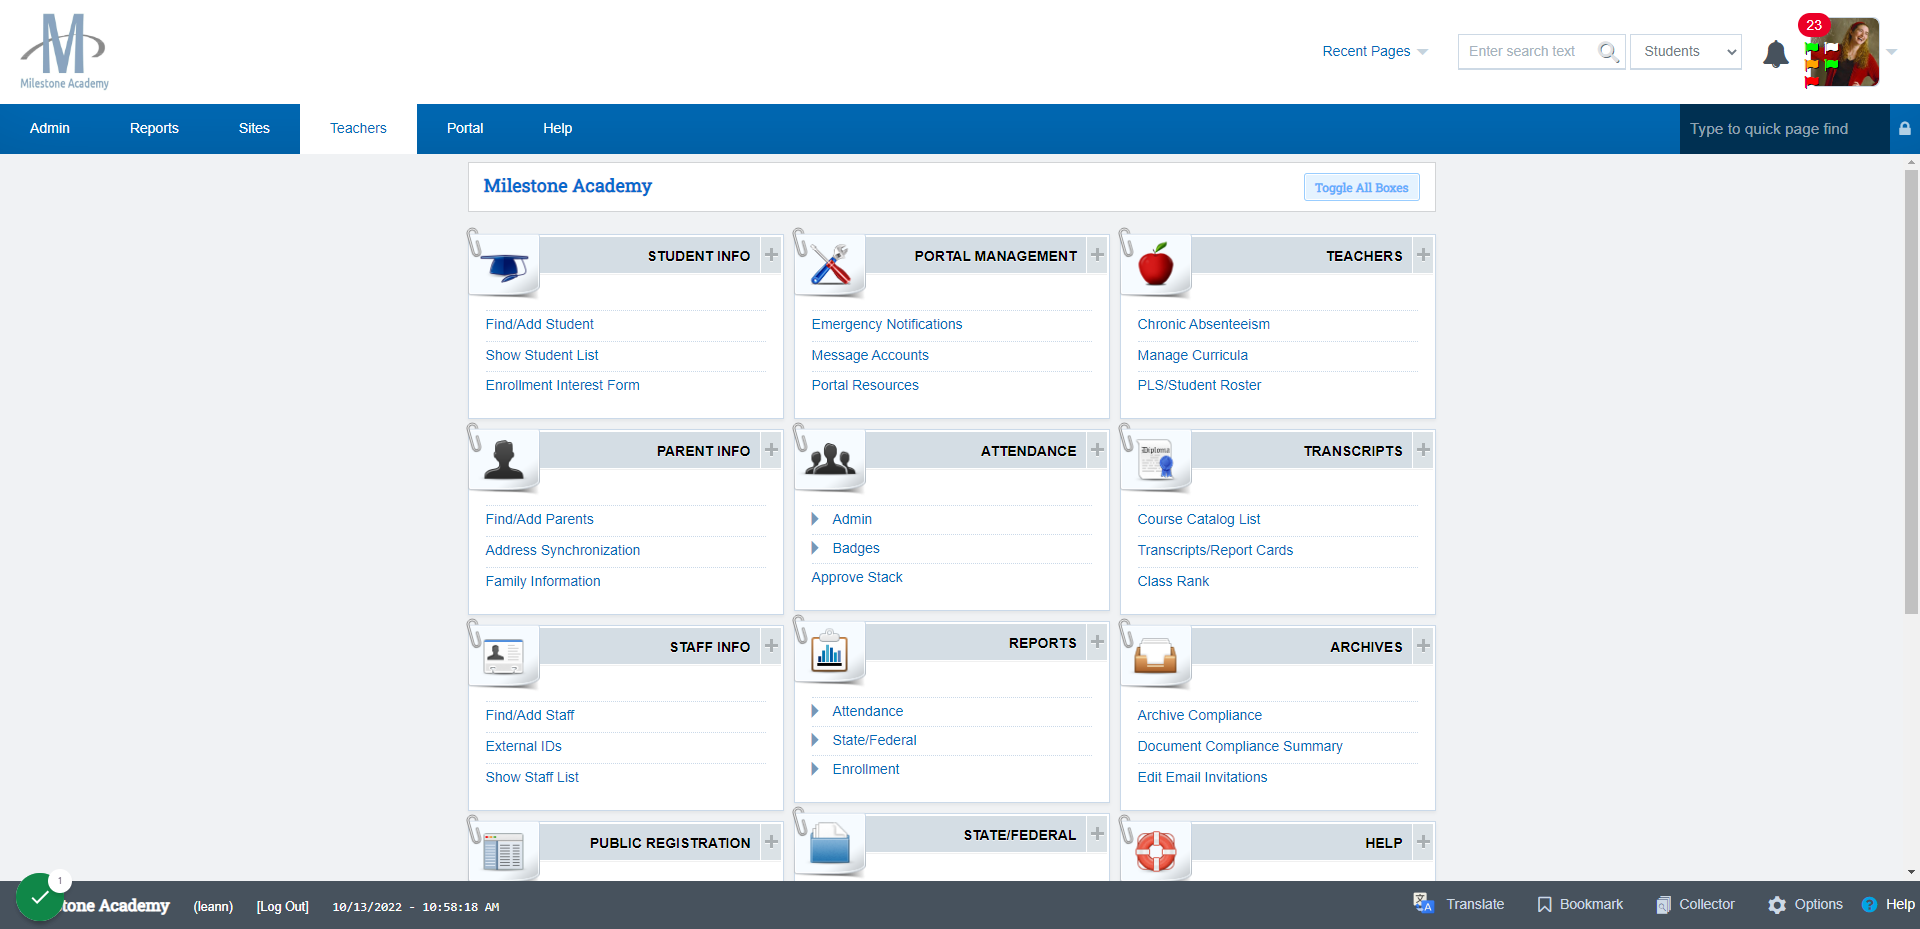
Click on CMS - Classroom Management
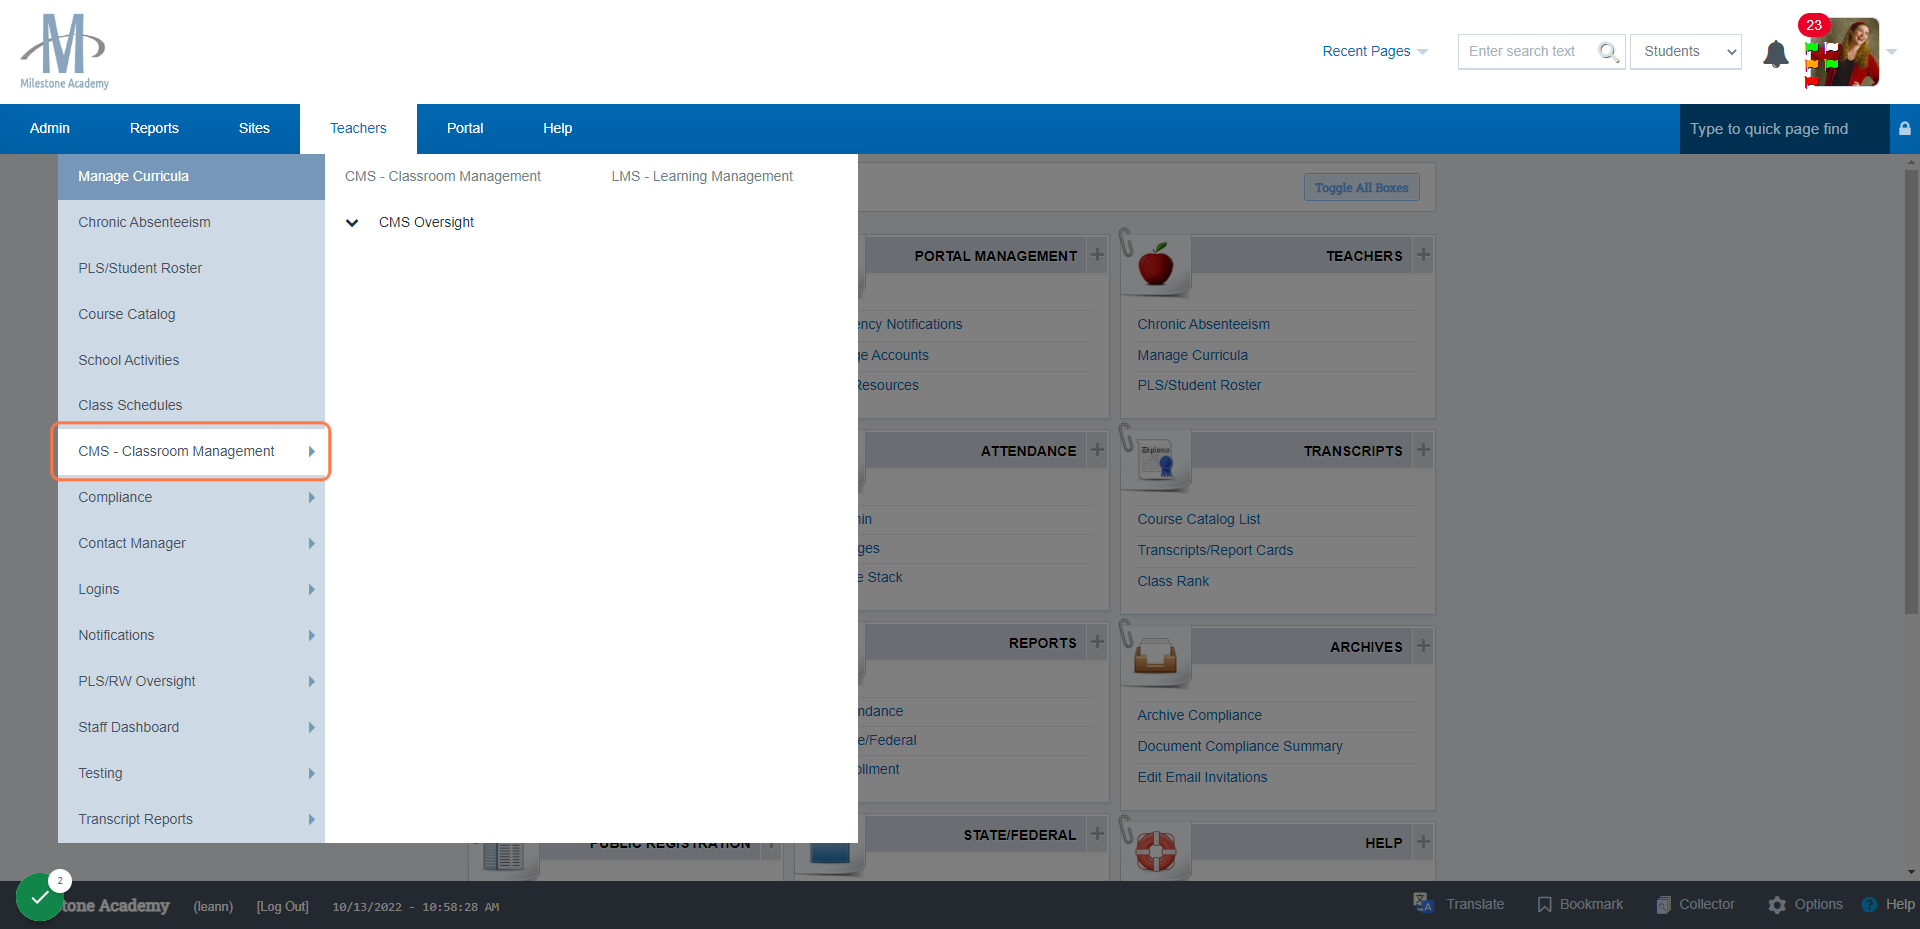
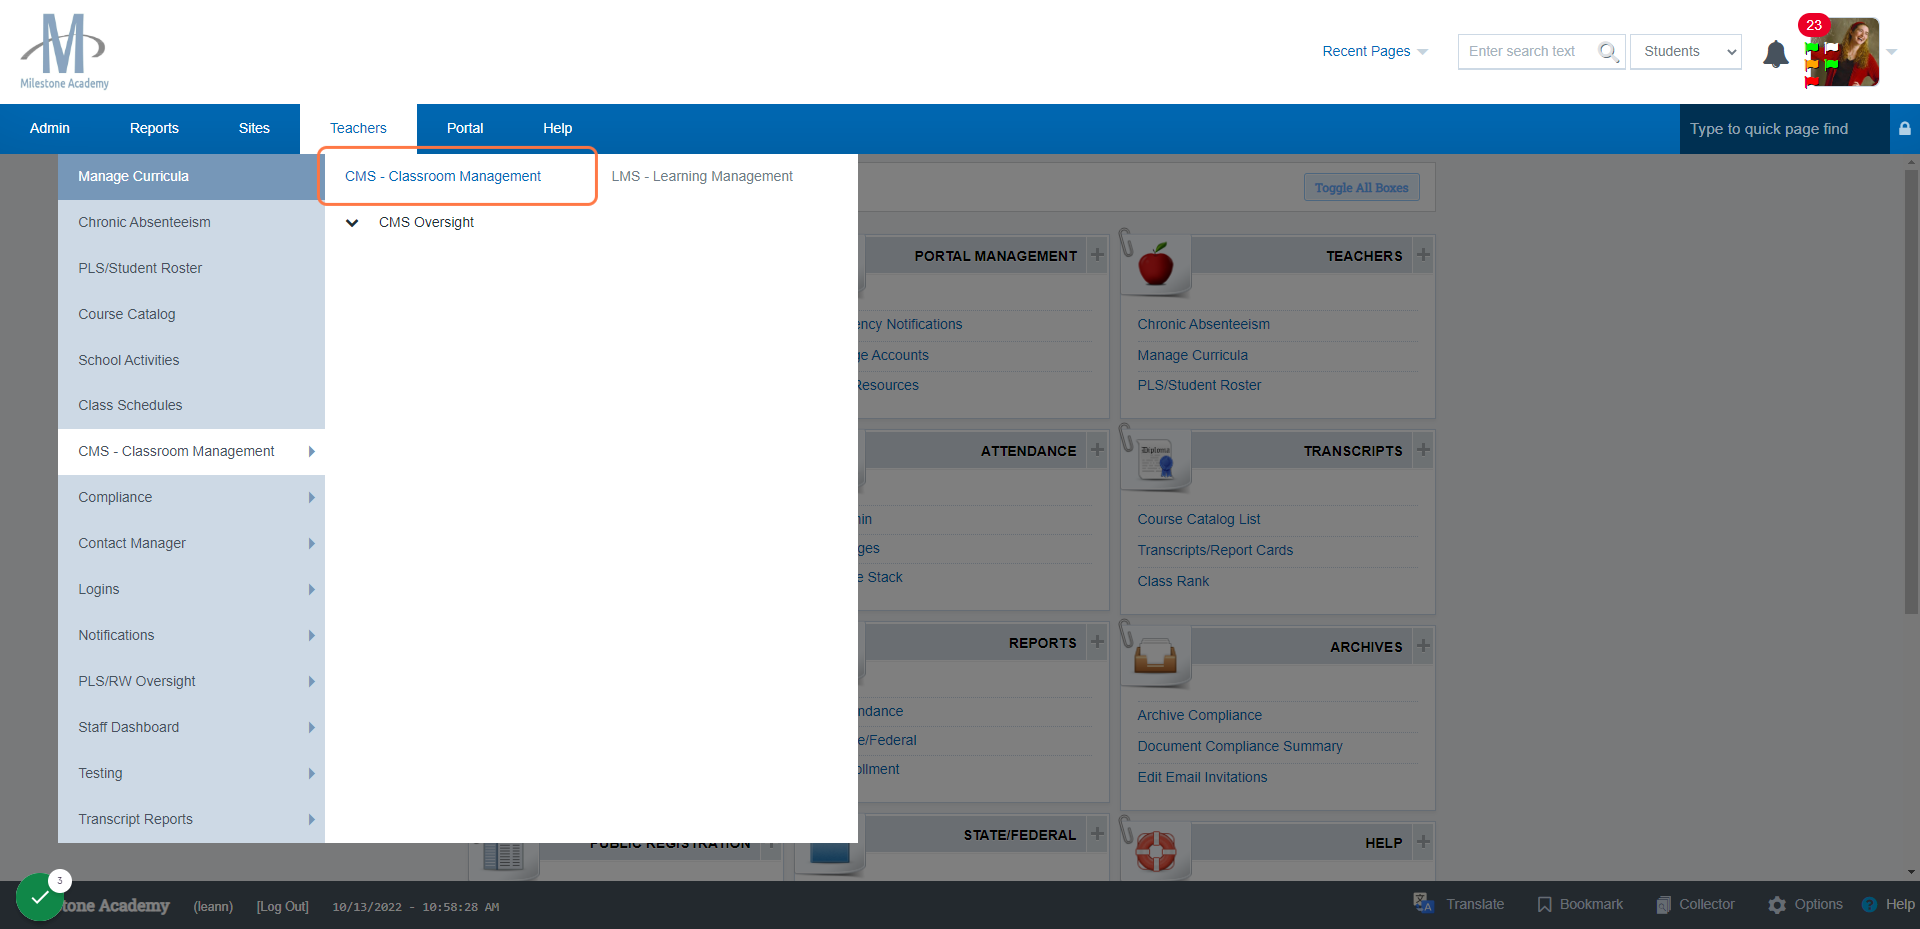
Click on CMS - Classroom Management
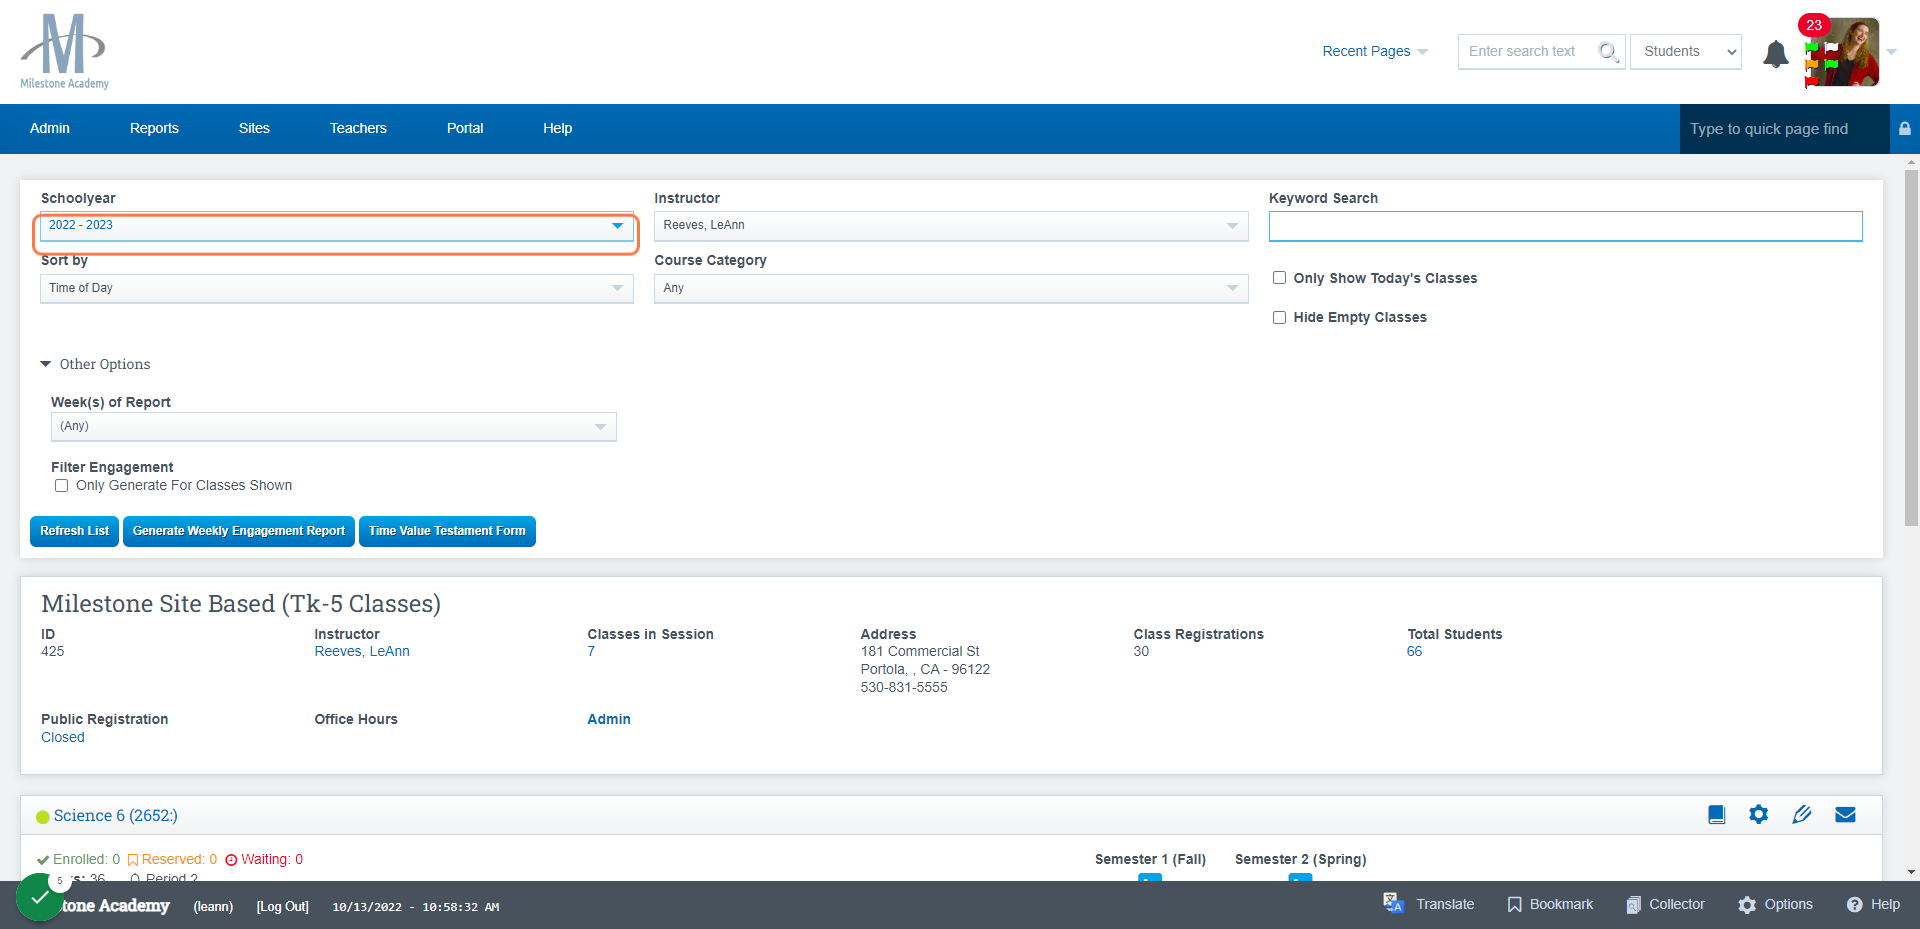
Click in the different sections in the Filter Section and choose what best fits your needs
Click on the class name to Schedule Synchronous/Engagement Instruction
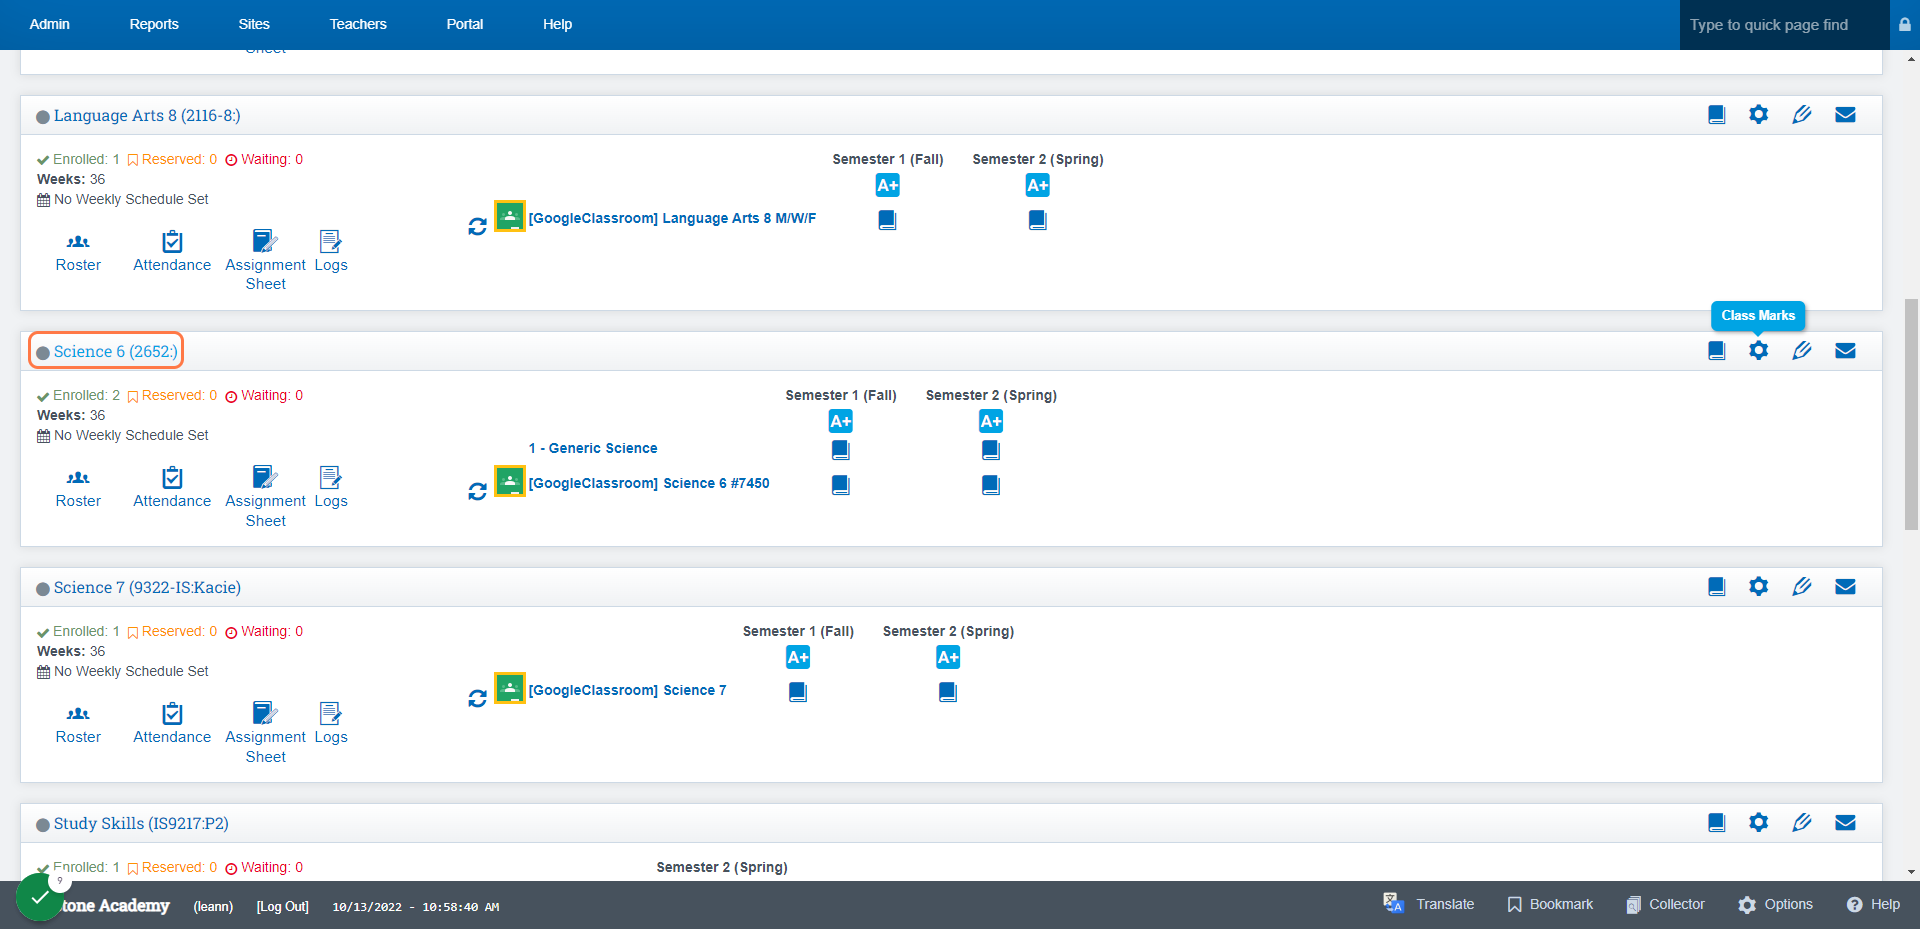
Click on View Synchronous Instruction tab
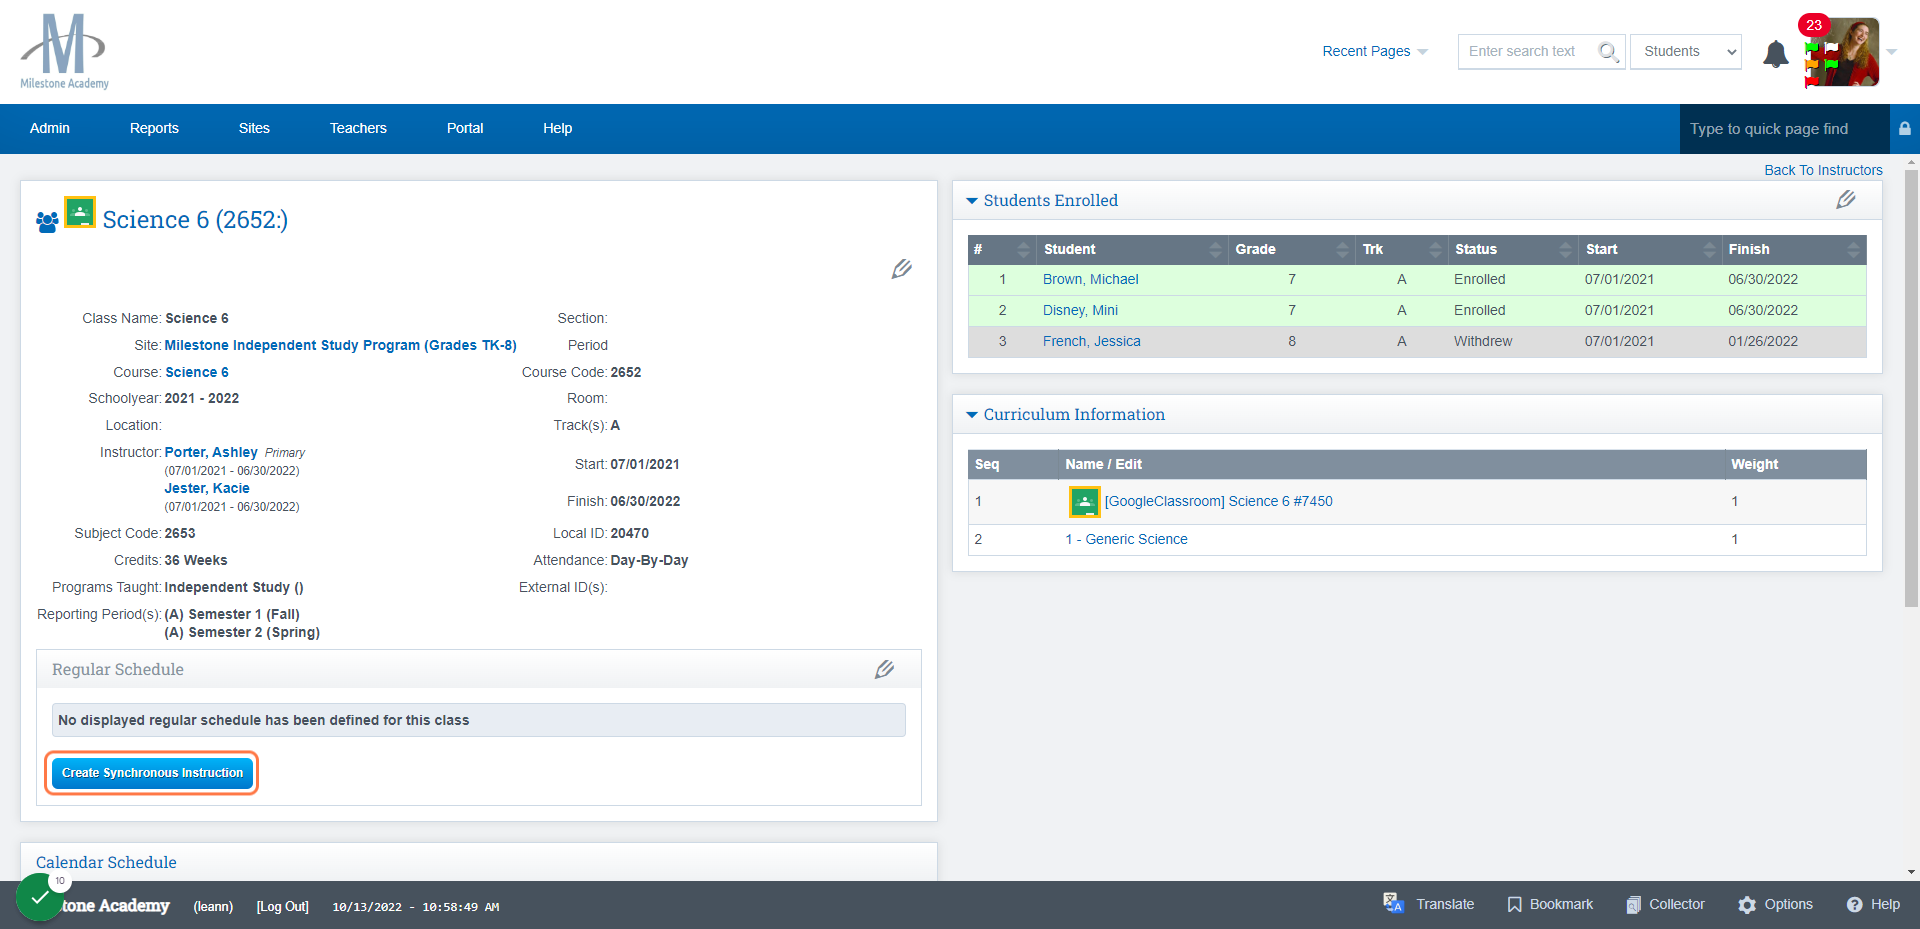
Click the Plus Icon to Add New Event
Choose the days of the week you desire for the Synchronous Instruction to occur
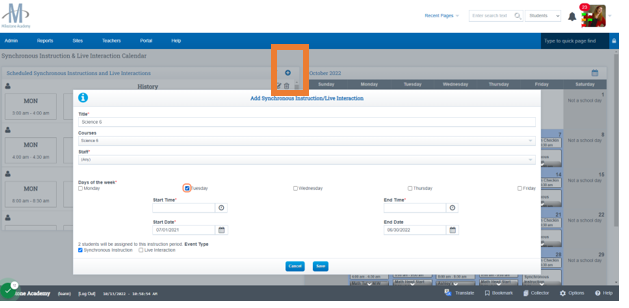
Choose your Start Time , Start Date, End Time, End Date
What type of event is this click the box to the left
Click Save once complete
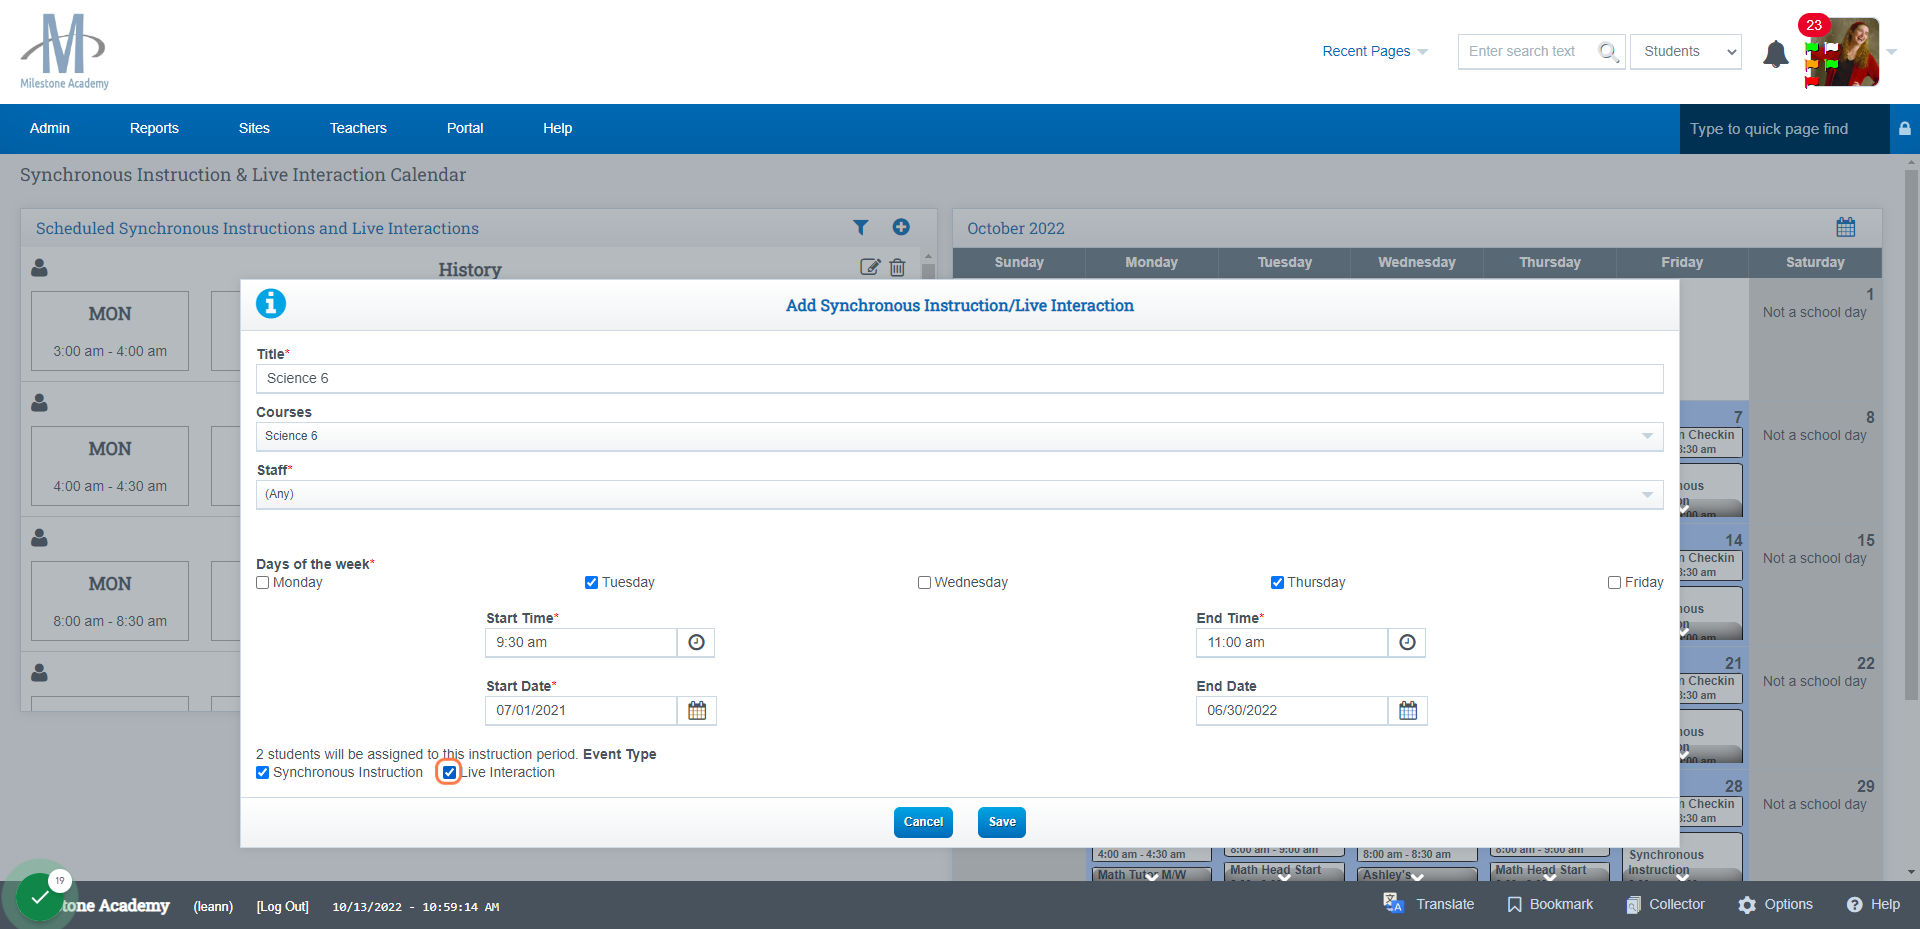
On the next screen,
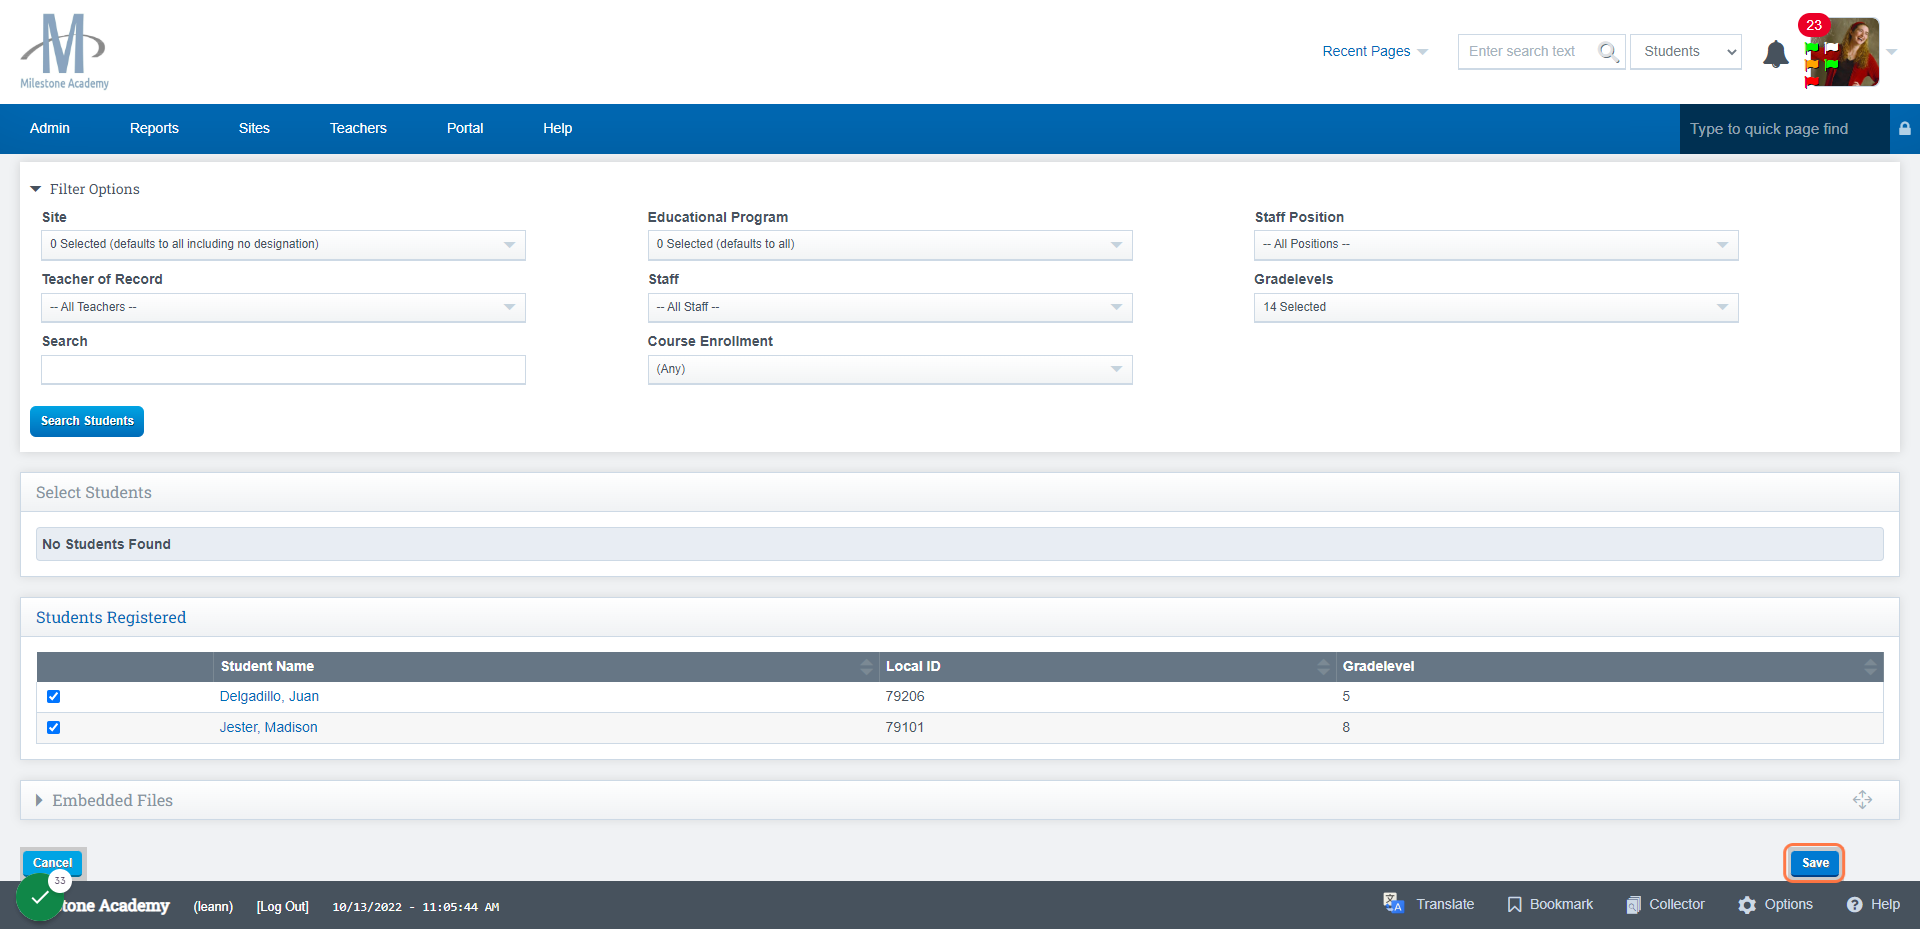
Students who are enrolled in your class will appear on the screen
Click the event to expand and see who is enrolled
Click Save
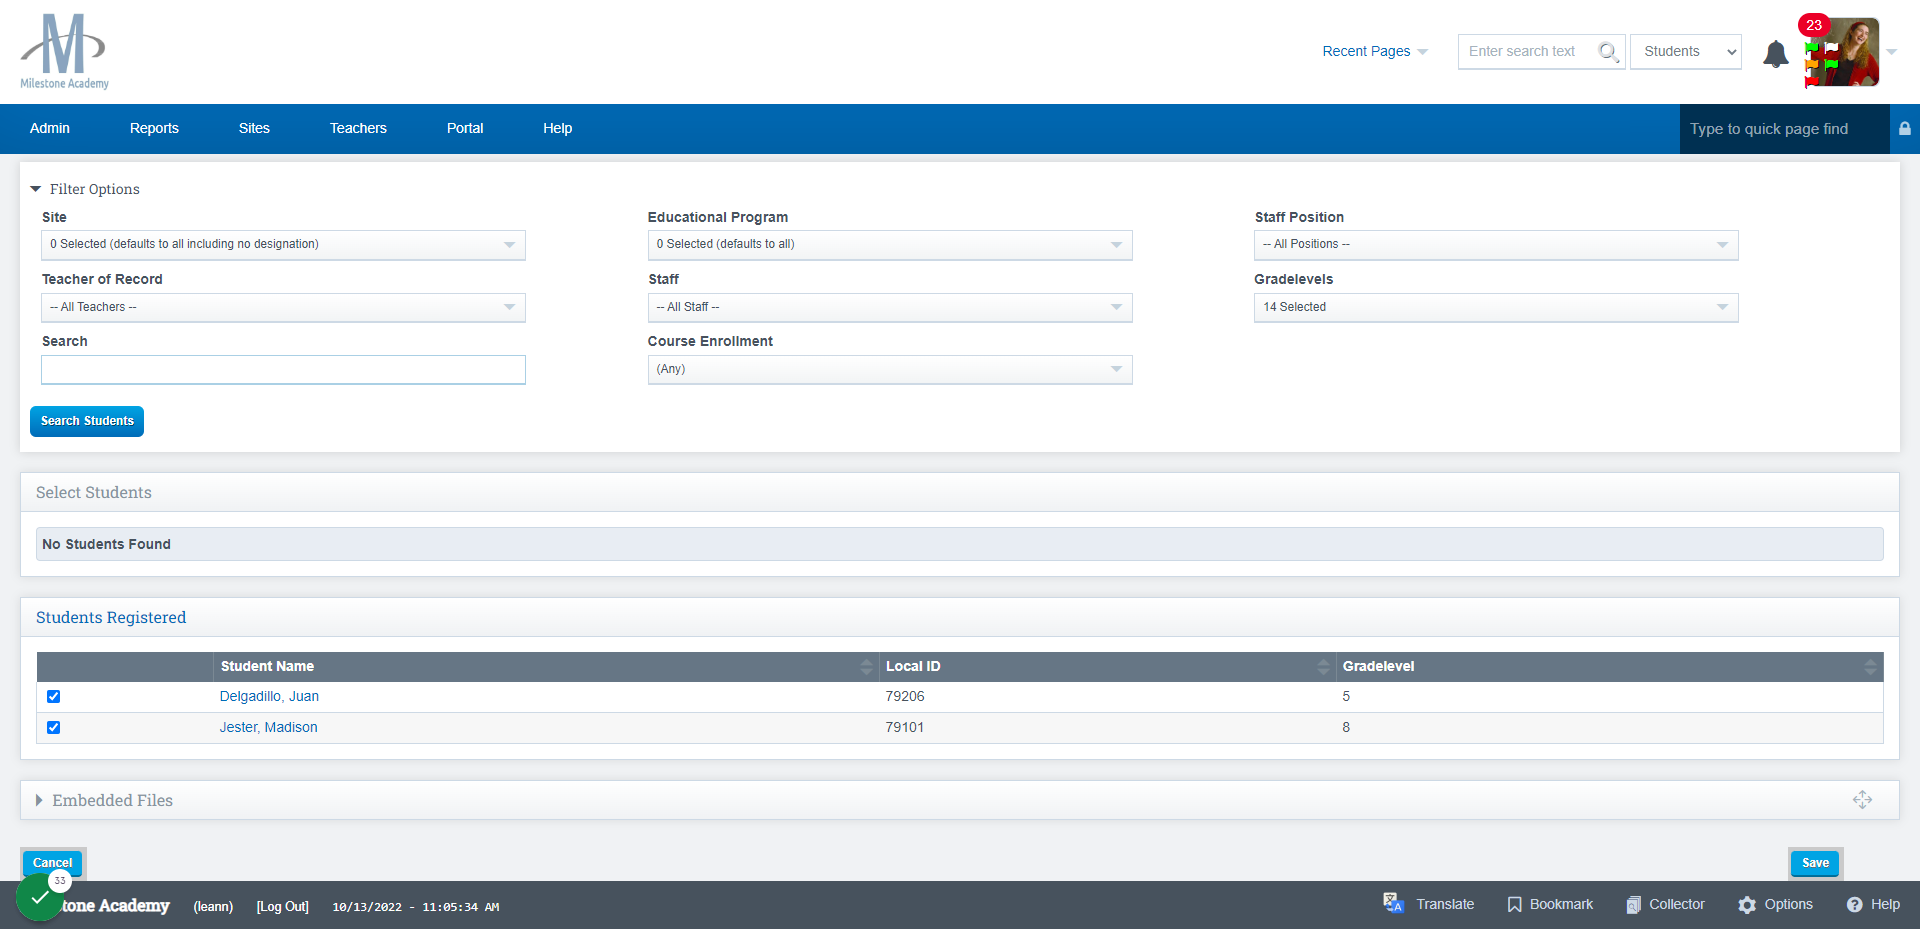
If students are added to the class at a later date, you will not have to add them manually to the Engagement calendar event if the event is linked from the CMS class screen. AKA: Linked to a CMS class
CMS Class Synchronous Instruction Bulk Creation
Learning Center > Learning Center Name > List Classes
Create multiple Synchronous Instruction events on the engagement calendar at
once from the CMS Class List page.
- Select the classes you wish to create Synchronous Instruction events for
- Click the “Mass Create Synchronous Instructions (selected classes)”
button, and the system will create a Synchronous Instruction event on the Engagement
Calendar for all students with the same schedule as the CMS class.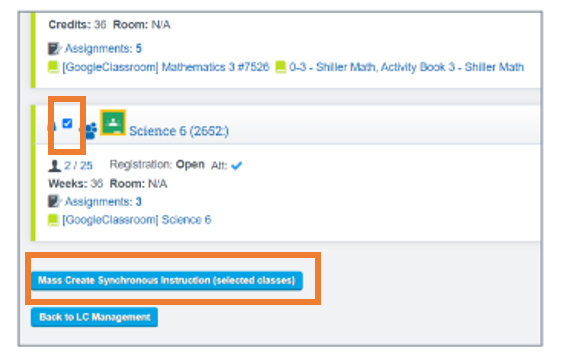
- Whenever attendance is taken in these CMS classes, participation will automatically be tracked for the corresponding Synchronous Instruction event on the Engagement Calendar.
How to View/Add Students to the Instruction
The event you created will appear on the Left Side of your screen
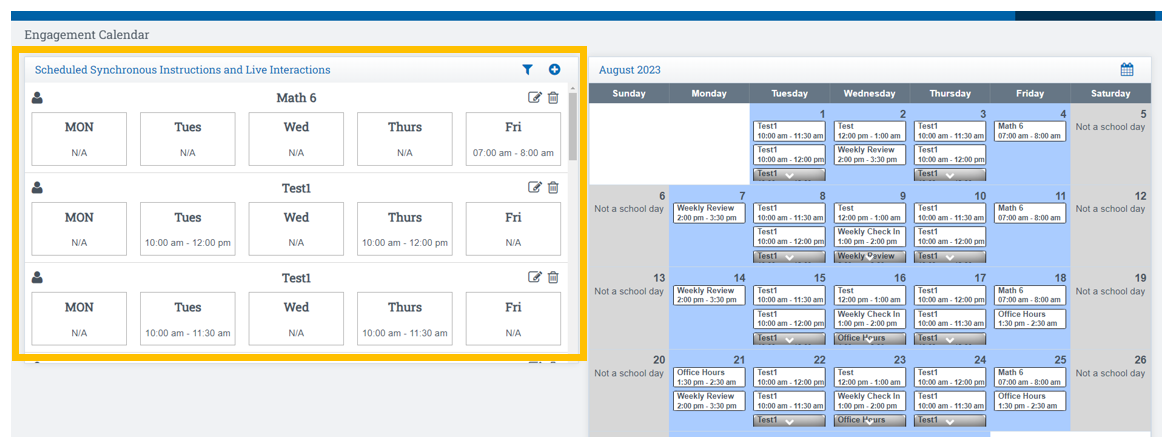
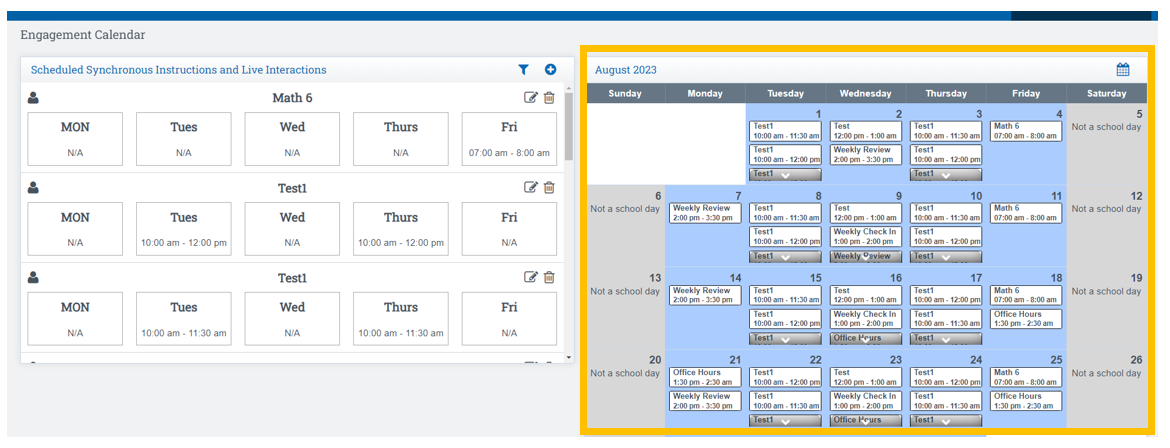
You can click on the event from the right side of the screen to open up a list of students on the left side of the screen (once the event is complete, you can take attendance in this screen)
Click Student Icon to Enroll New Students into this scheduled activity if you do not see a student in the list
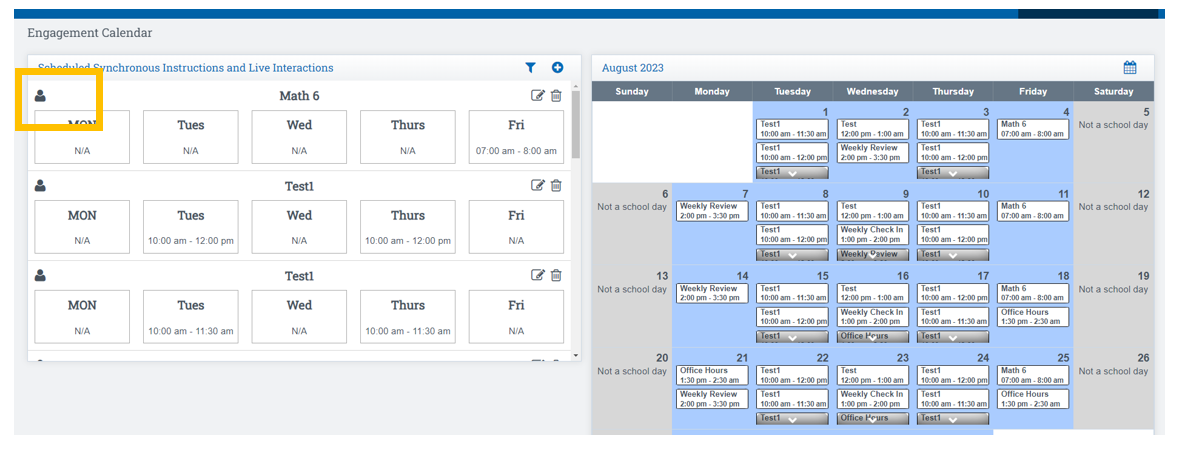
Once you have all students enrolled Click Save
How to Take Attendance so it will Appear on the Engagement Log
After the Session has taken place, You have two different places you can take attendance:
Teachers > CMS - Classroom Management > Attendance
If your school has your attendance to auto populate at Present you will not need to change anything on this screen.
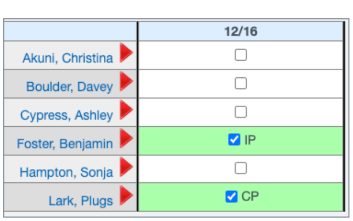
Taking attendance in the Engagement Calendar will mark students as attended on the Engagement Log
Navigation:
Teachers > Engagement > Engagement Calendar
On the right side of your screen locate the event you want to take attendance fo
Click on the Event in the Calendar
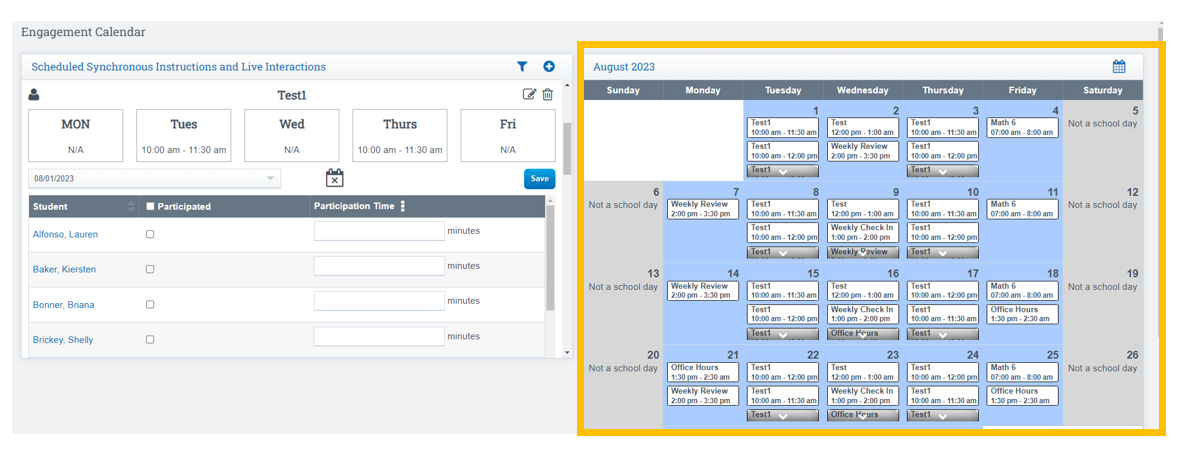
Left side of screen, all students who were invited to the event will appear on the screen,
Place a checkmark in the box next to the name of each student who attended
Click Save
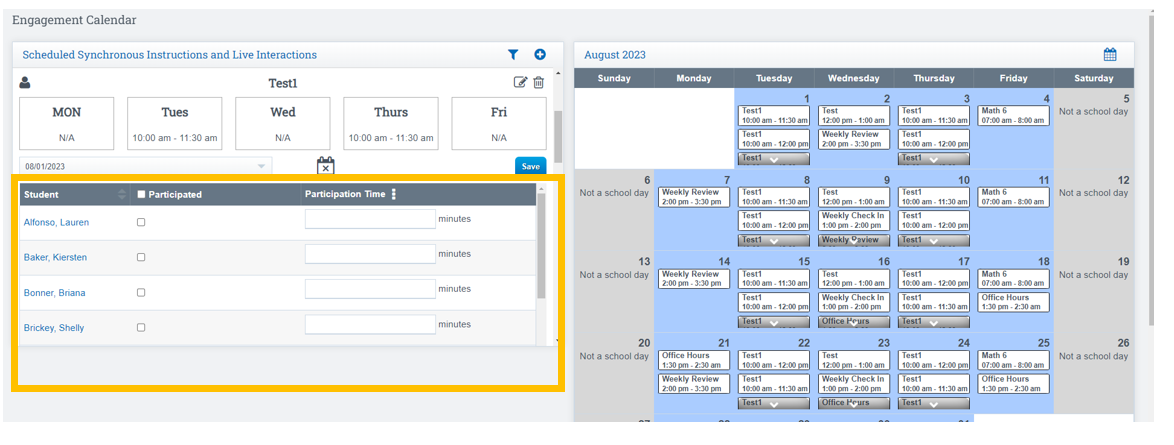
CMS Classes that have been used to create Synchronous Instructions can now use attendance tracking from the CMS class to count as participation for the linked Synchronous Instruction
To access the Engagement log return back to your Roster
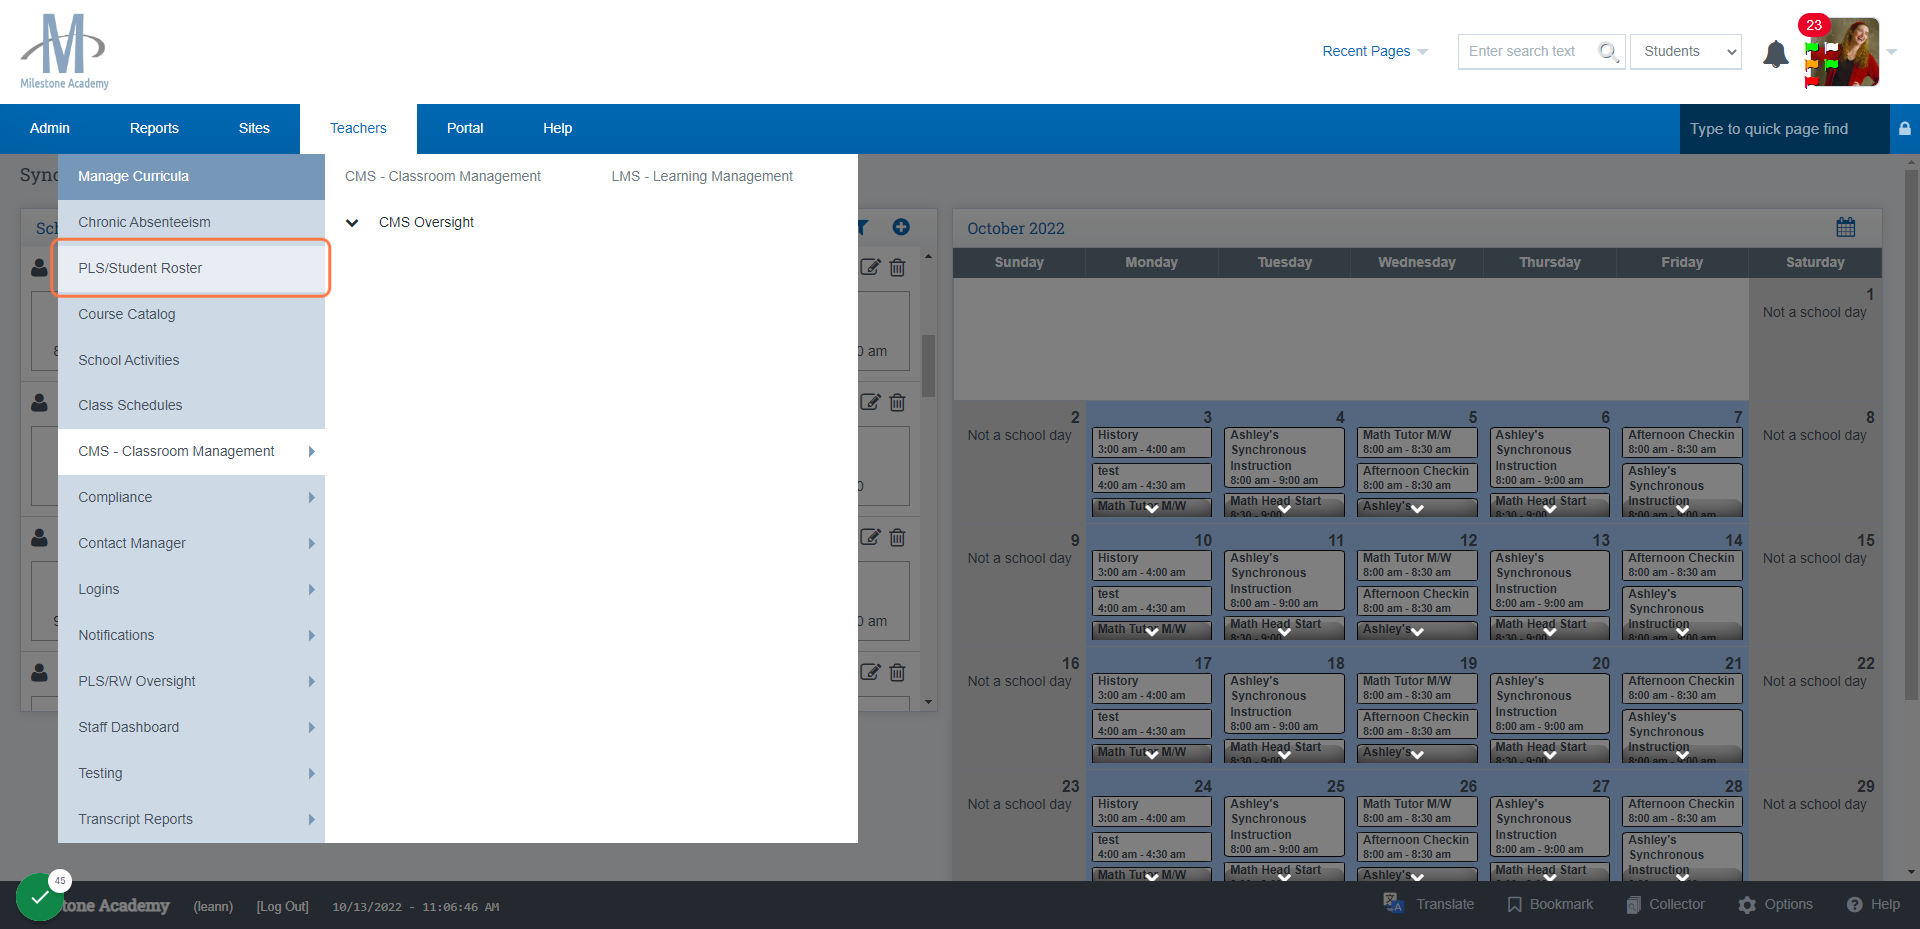
Click PLS/Student Roster
Click Mass Print Reports
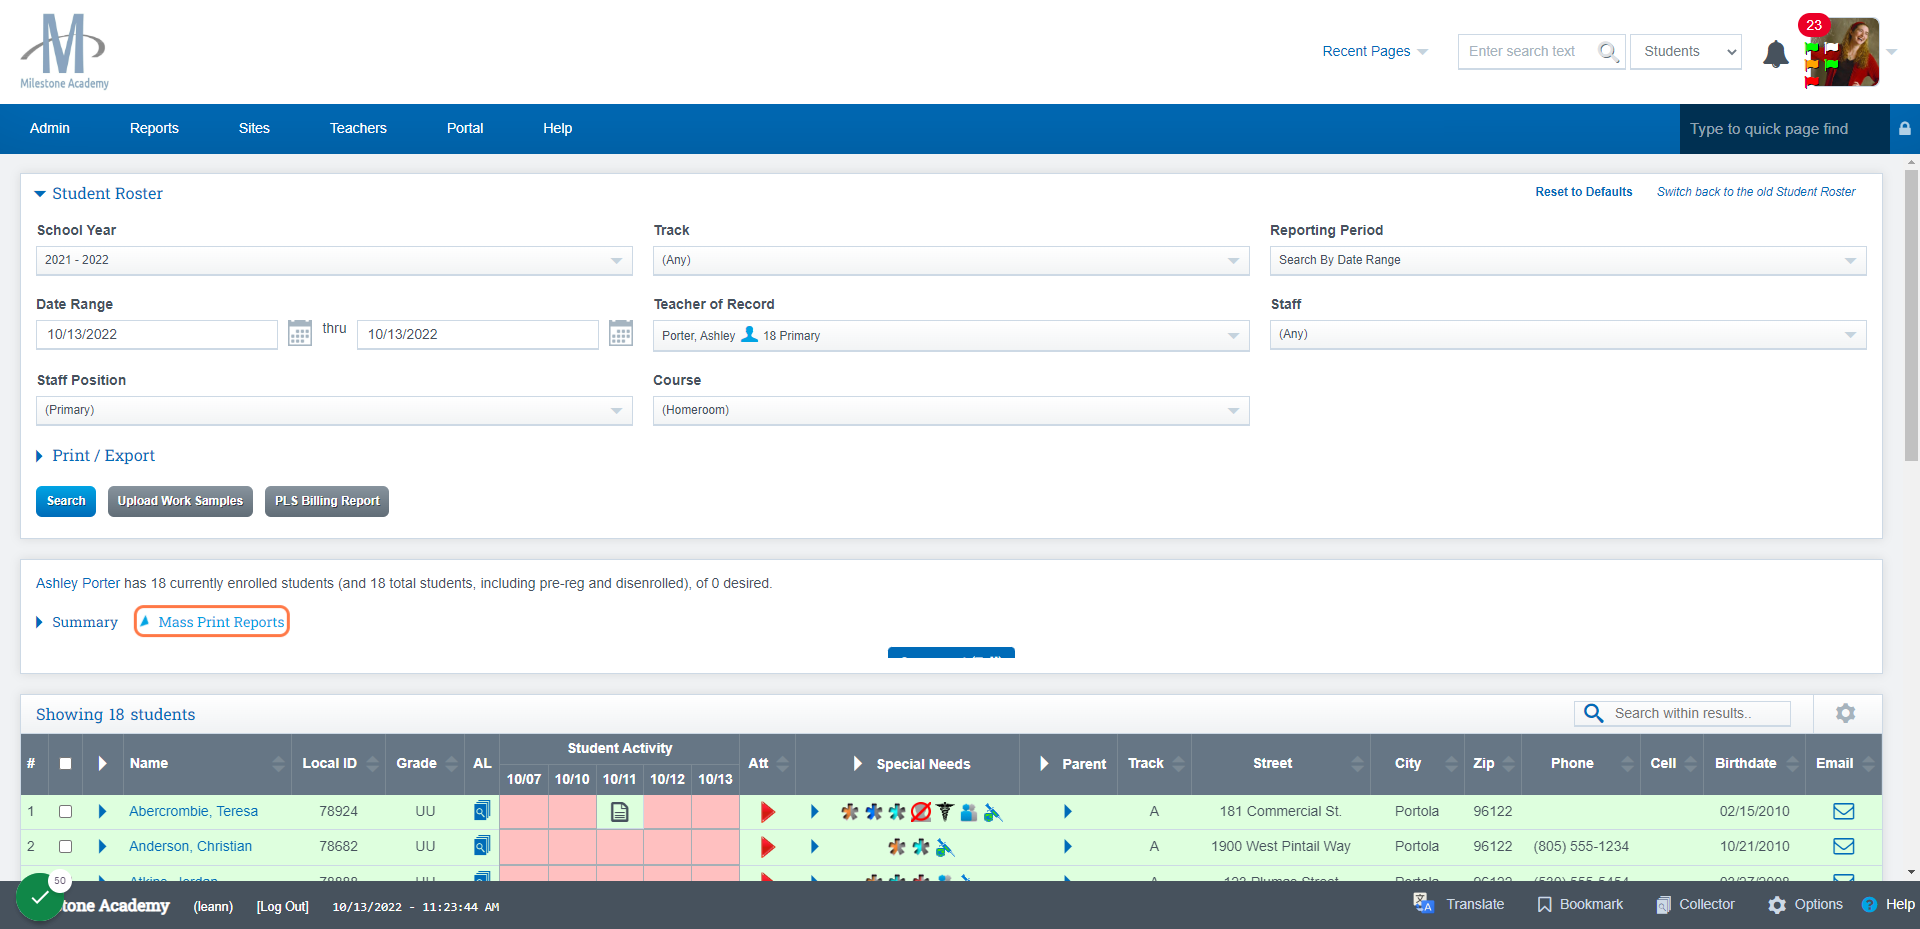
Click Engagement Logs

In the filter section click the LP you wish to view
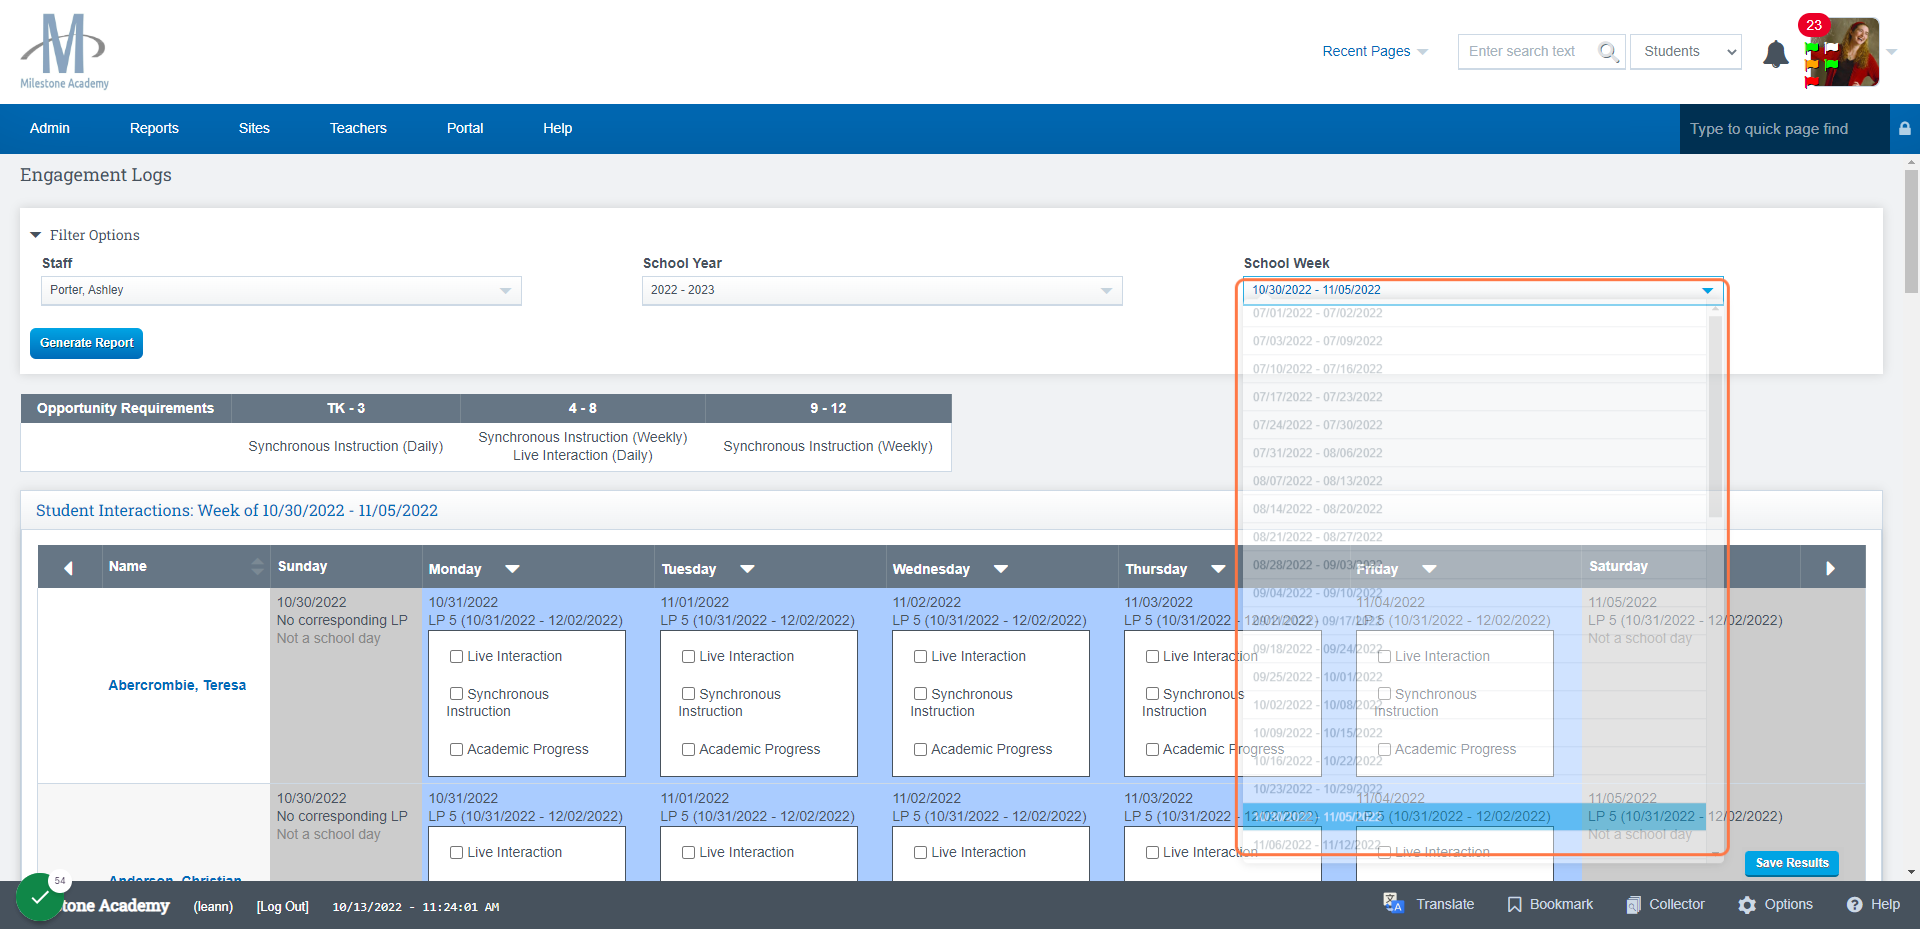
You will see Blue Check Marks next to the students for whom you took attendance for on the Calendar event
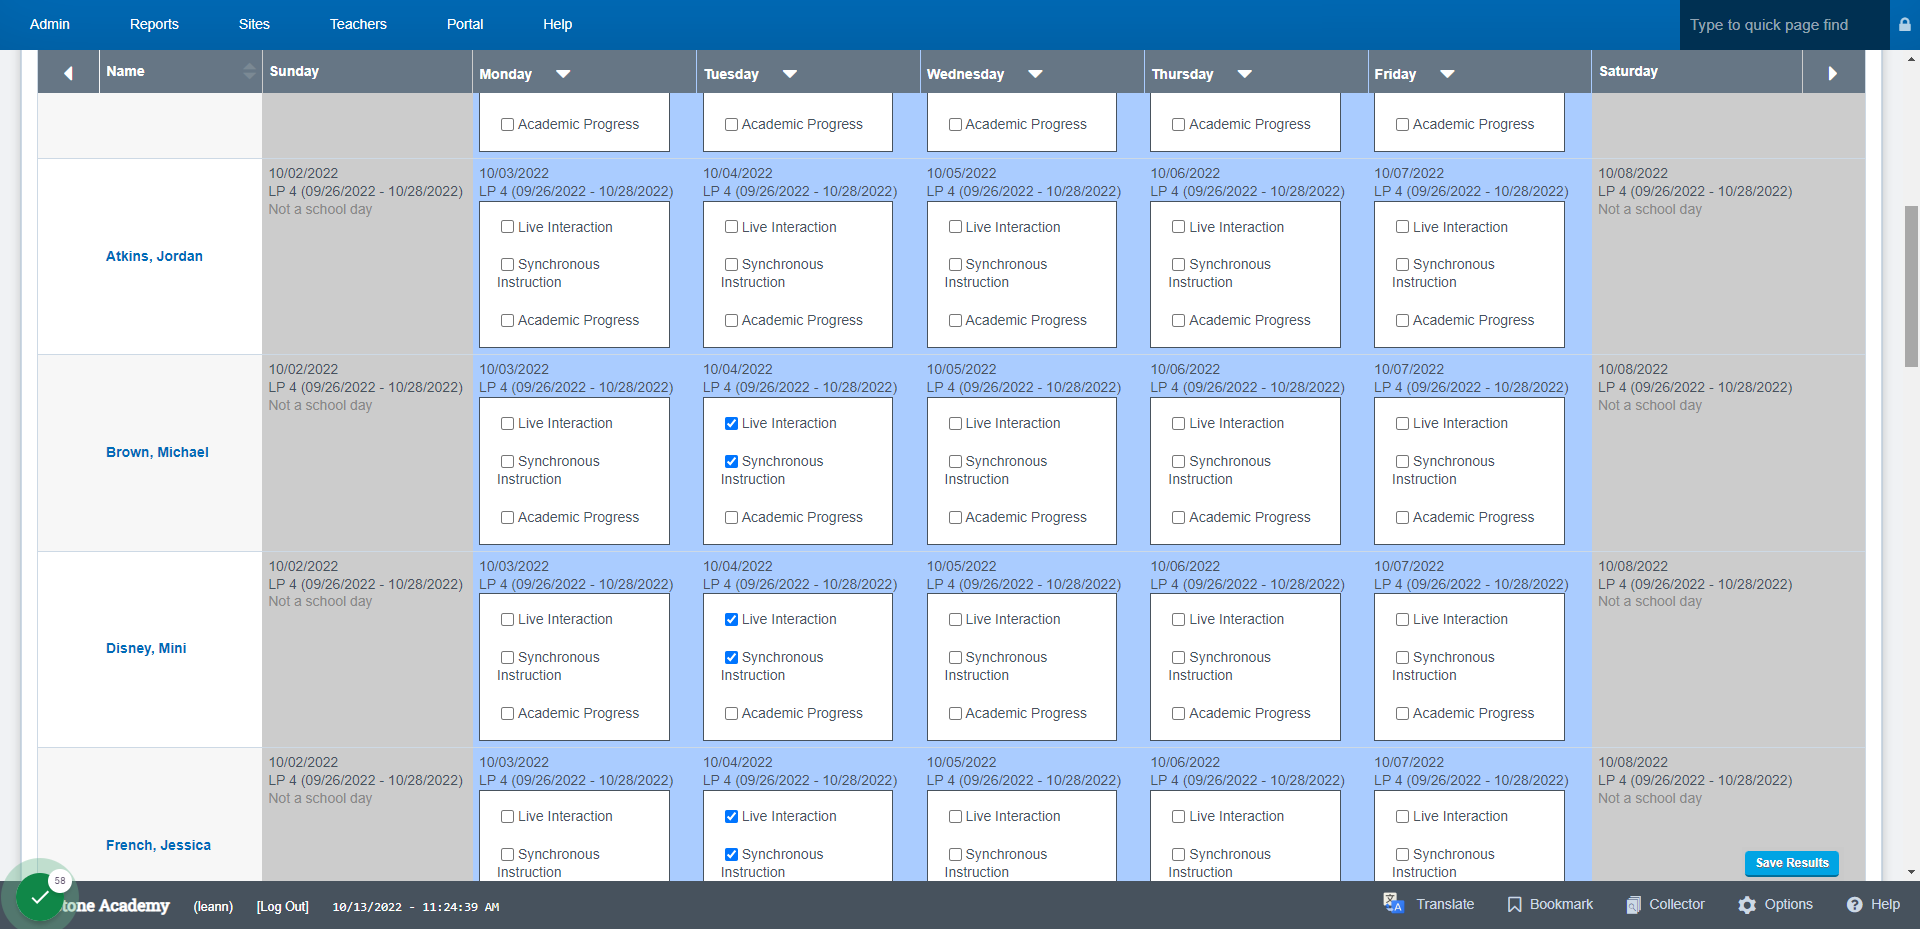
If for some reason the date isn't transferring over to the report,
- Check your Policies
- Log Defaults
- Be sure to turn on Synchronous Inst and Live Interaction
