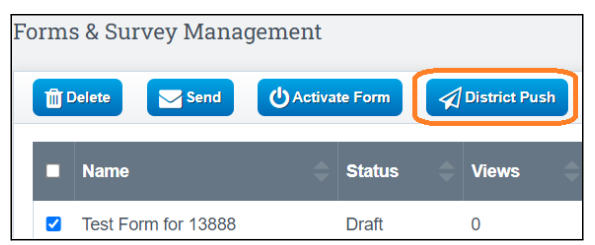
Note: You have the ability to create a Form or Survey within the District Scope and then distribute it to the Child scopes.
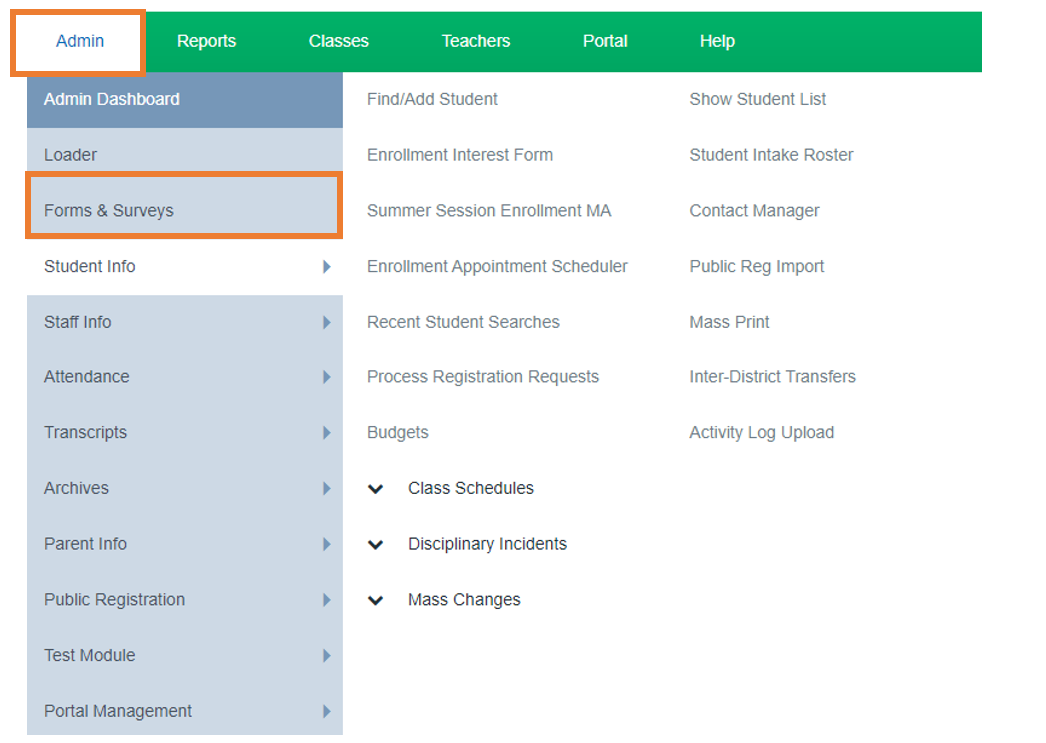
Navigation:
Admin > Forms & Surveys
Forms & Survey Management Things to know
- Form can only be distributed if the form is active(do not make active until you have completed creating the form)
Workflow :
Approvals
- You can add a final approval
- You can have a specific order of signatures and approvals
- If a form is rejected in the Workflow process, users can now elect to send the form back to the Student or Parent to redo or update the form.
Archiving
- You can Archive the form to a students archive by clicking the "Archive" section when creating the form, the form can then be found under the archive compliance report
- You can make a form "Repeatable" by clicking the section when creating the form
-
Forms sent to parents can be archived based on the student for whom the form is completed. In addition, any files uploaded to a Form can also be included in the Student Archive.

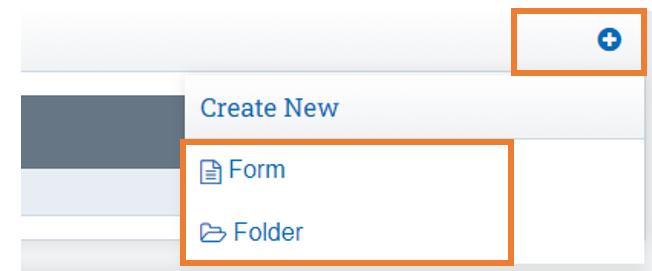
Add New Form
Click the Plus Sign to the far right of the screen
Click Form : One form
or
Folder: Organize your dashboard to locate forms easier, Store multiple forms for the same topic
Ex : Field Trips
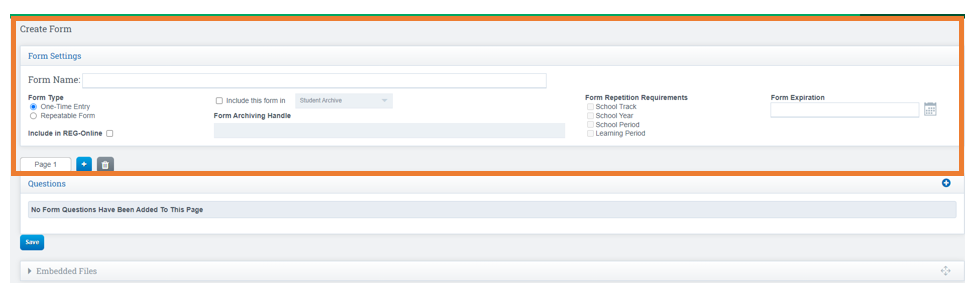
Create A Form(s)
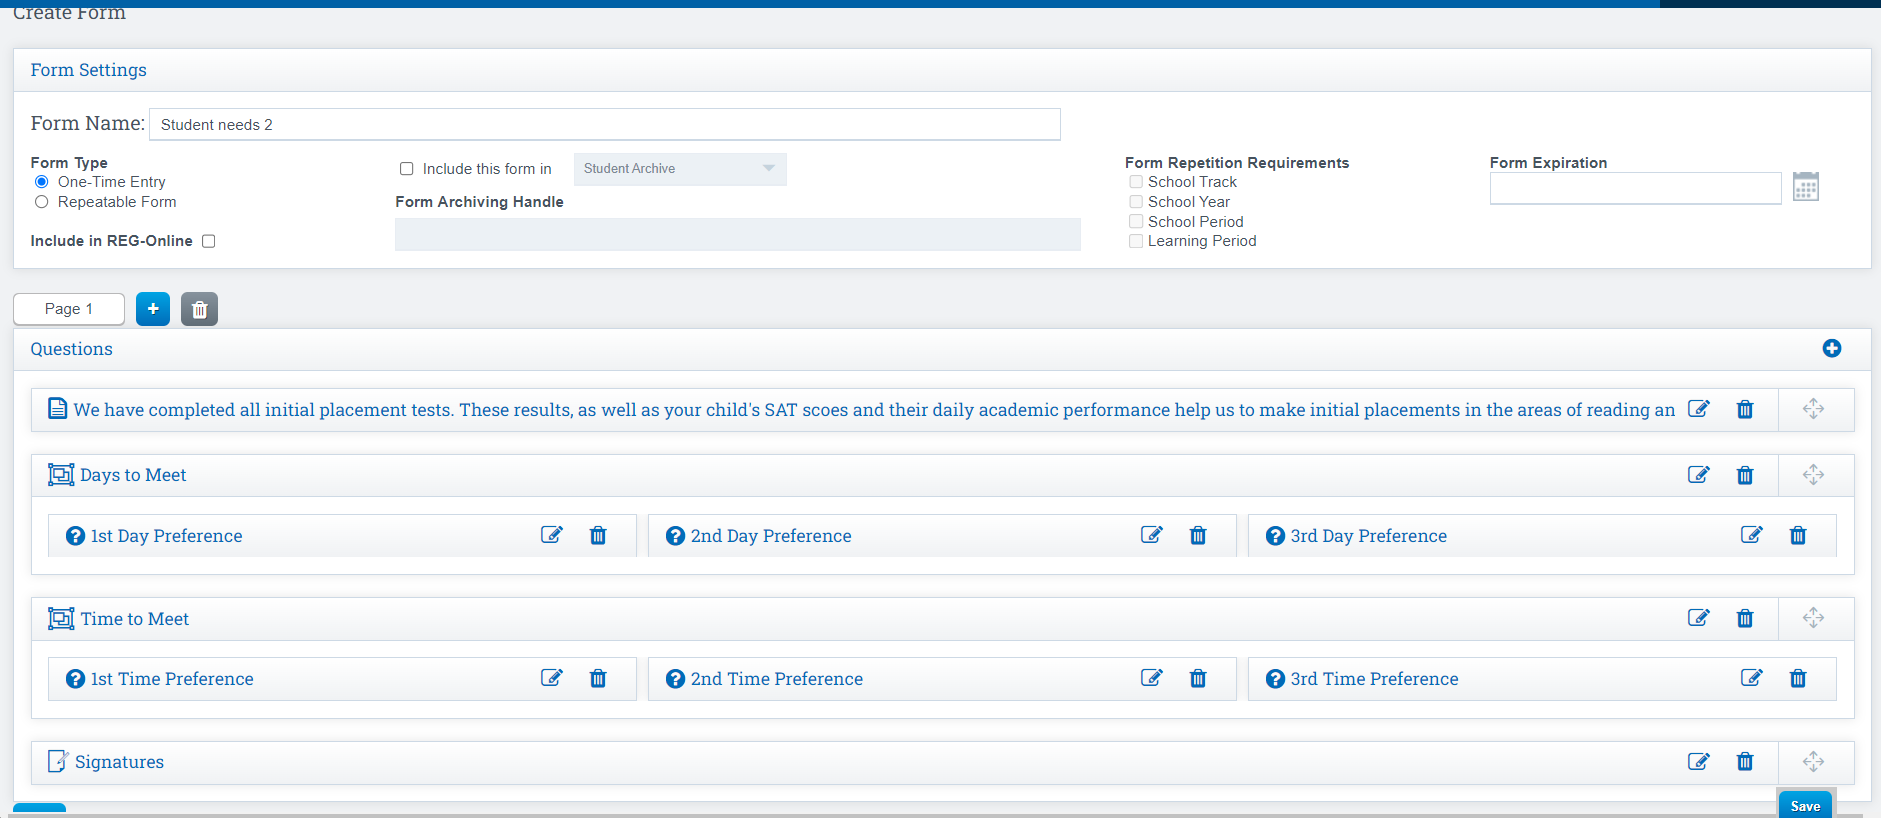
Choose your Form Settings:
Form Name: Name Your Form
Form Type:
- One time : You won't use the form again
- Repeatable Form: If this is a form the student will have to repeat on a regular basis
Include in Reg Online: If Marked, The form will be visible for use with Reg Online
Include this Form In Student Archive: If Marked, The form will go to the Zip File for Archive and can be found under Archive Compliance Report
From Archiving Handle: Create a new section to locate the archived form on your Archive Compliance Report
Form Repetition Requirements: Do you want this form to repeat its use? If so click in the box to choose the frequency
Form Expiration: After the date provided, the form cannot be completed any longer. It will still be there, but you’ll get an error if you try to open it to fill in
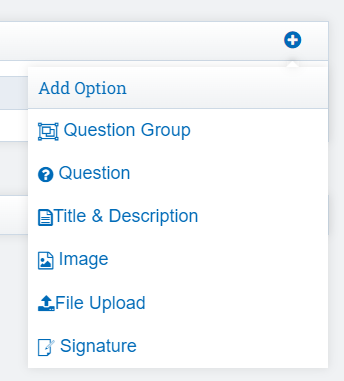
Options When Clicking the + Sign: This is how you Start of creating your form
- Question Group Option: Allows you to put more than one question on a row (groups everything together)
- Question Option: What data you want to collect on the form
- Title & Description: Allows you to have the title appear on the form, block of text format.Can add Hyperlink to add, user can upload a file.
- Image: Upload an Image to your form
- File Upload: Adds an option for the form completed to upload a file (such as a handbook)
- Signature: Add signature lines they can be made required if needed when form is submitted
You can choose the order of signatures if necessary.
Next Choose
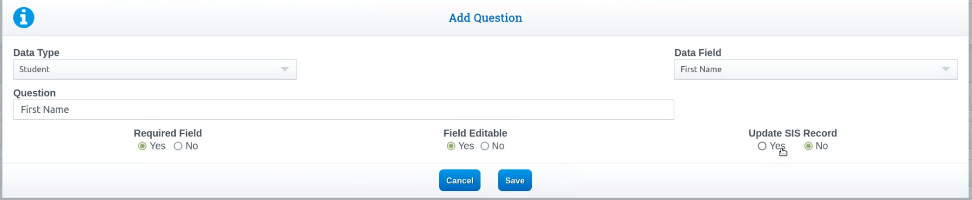
Data Type: Data Fields should be available. Students, Parents, or something you makeup
- Data Type you choose : Students Name
- Data Field you choose First Name
When the student opens the form in their student portal to fill out, the name section will automatically be filled in for them, if you chose to "update sis record" at the start of creating the form, the student can update their name information on the form and it will automatically update the student record in the SIS
Student: Is the form Directed to a Student
Parent: Is the form Directed to a Parent
Custom: Customize the Form to add dropdowns ETC (see examples of custom data fields below the screen shot)
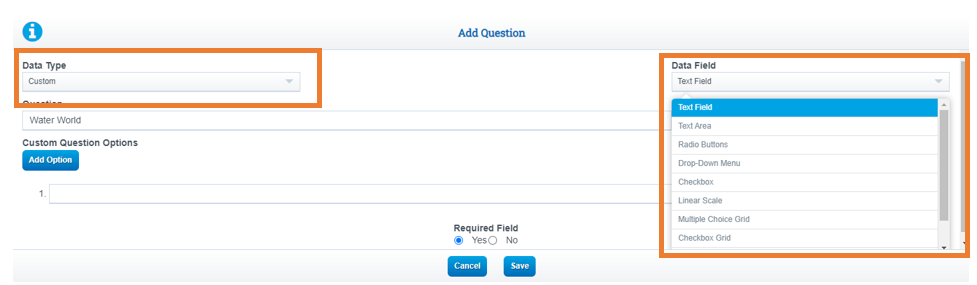
Data Field Preview:
Text Area: Allow the Students/Parents to Type in Paragraph Form
Radio Button:

Drop Down Menu:

CheckBox:

Linear Scale: Create a One Question Survey

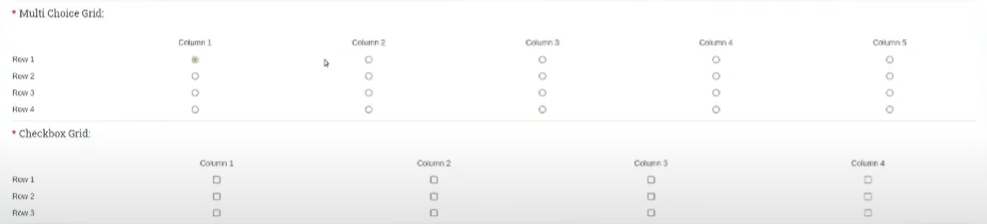
Multiple Choice: Create A Survey with Multiple Choice Rankings

Custom Grid: Don't see a format you need, create your own from scratch.
Important:
If when you add a question and you click YES to Update SIS Record, it will update name in the SIS. Our system auto defaults this particular question to NO!
- First Name
- Last Name
- Street Address
- Cell Phone number
- Home Email
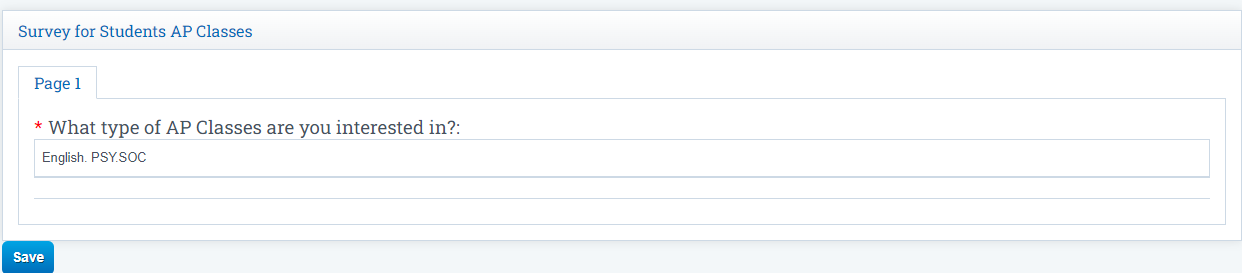
Sample Completed Survey
Click Save once you are complete with the form
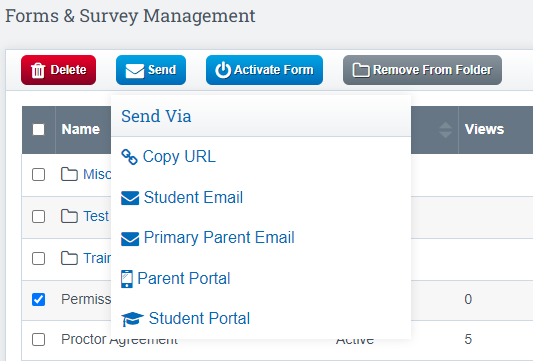
How to Activate and Send out the Form
Place a Checkmark in the box next to the form you want to activate
Click Activate if you are ready to send the form out to your audience
- Once you Activate the form, you will not be able to edit the form, you can copy the form and make edits on the new form if needed

Choose the dropdown under Send to choose who and how your recipients will receive the Form & or Survey
Copy URL: You can send the link to fill out the form from an email or post the URL on a website
Student Email: Students will get a link in the email in the SIS to complete the form
Primary Parent Email: Parents will get a link in the email in the SIS to complete the form
Parent Portal: Parents will have a form on the Forms & Survey Tab in the portal to fill out
Student Portal: Students will have a form on the Forms & Survey Tab in the portal to fill out
More Guides to Assist, click the links below to navigate to the User Guides
Forms and Surveys can be created in the District scope and pushed to a child scope