- Help Center
- Internal User Guides
- KB User Guides for Internal Use Only
-
Internal User Guides
-
Frequently Asked Questions
-
Customer Webinars/Recordings
- 2024 Release Notes Review
- 2023 Live Webinars
- 2023 Release Notes Overview
- Attendance Anomalies/ Video
- Cume File /Video
- Curriculum Vendor Integrations /Video
- Distance Learning / Videos
- End of Year Checklist for Classroom Based /Video
- Enrollment Interest Forms / Video
- SEDS Bridges: SEIS and SIRAS/ Video
- Reg Online Registration Windows/Video 12-22
- Admin Report Card Settings
- Zoom Linking Paid Feature
- 2024 Webinars
-
Admin
-
Archivable Documents
-
Attendance
-
Bridge Questions/ Solutions/Procedures
-
Budgets
-
Cal Grant
-
CALPADS
-
CMS - Attendance /Classes/ Report Cards / Work Records / Grade Books
-
Course/ Curriculum
-
Custom Tools
-
Discipline
-
District Info/ Oversight
-
End of Year SIS Processes Checklist/Videos
-
Enrollment Registration
-
Forms & Survey
-
Getting Started with the PLS SIS
-
Google Classroom for SIS Clients
-
Gradebook
-
Help Tab
-
Login/Security
-
Master Agreements
-
Mobile App for School Pathways
-
Onboarding Checklist for Clients
-
Online Student Registration
-
Policies
-
PLS Basics
-
PLS Class Options
-
PLS Product/Independent Study
- PLS - EOY Process
- PLS - Admin/Teacher Overview of System
- PLS - Admin
- PLS - Admin Archiving & Audit File
- PLS - Admin Master Agreements
- PLS - Admin Policies, Permissions
- PLS - Archive Reports
- Create New Class/Import Curricula from Bridge
- Google Classroom Set Up /PLS Standalone
- PLS - Attendance/ Grade Export
- PLS - Engagement Calendar
- PLS - Gradebook/ Attendance
- PLS - Master Agreements
- PLS - Report Cards/Progress Reports
- PLS - Student Progress Documenting/Learning Logs
- PLS - Teacher Archive/Sign Documents
- PLS - Tiered Reengagement Links to User Guides
- PLS - Work Samples
- Links to More Resources
-
PLS Xpress
-
Rest API Product
-
Report Cards
-
Reports
-
School Calendar/Bell Periods/Learning Periods Setup/Rollover to next School Year
-
School Pathways Basics
-
Special Programs
-
Staff Dashboard
-
Staff Records
-
Student Dashboard
-
Student/Parent Portal
-
Students
-
Synchronous / Live Interaction.... Engagement Calendar
-
Testing
-
Tiered Reengagement
-
Transcripts
-
Zoom
How to Create a New Category in the KB and Change the Appearance for External Clients.
This guide will walk you through the process of creating a new Category on the KB. You can change the color scheme, font, what the categories look like on the client side all from this dashboard.
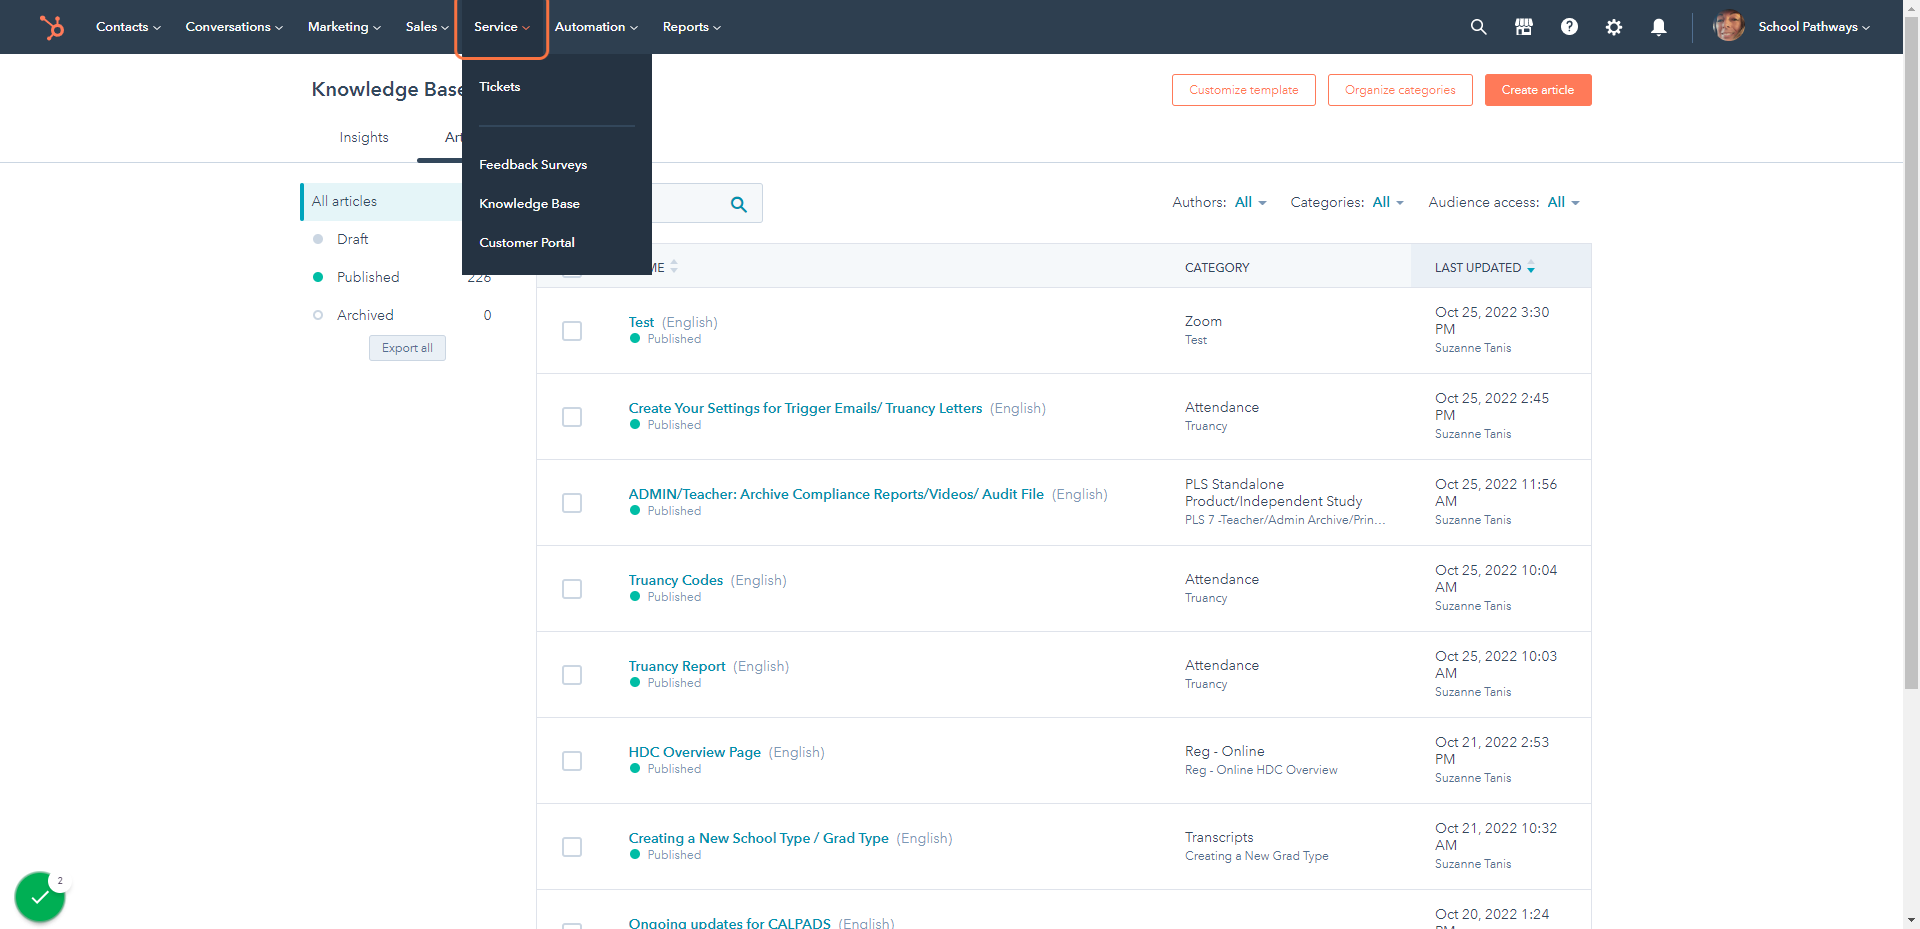
HubSpot Home Page
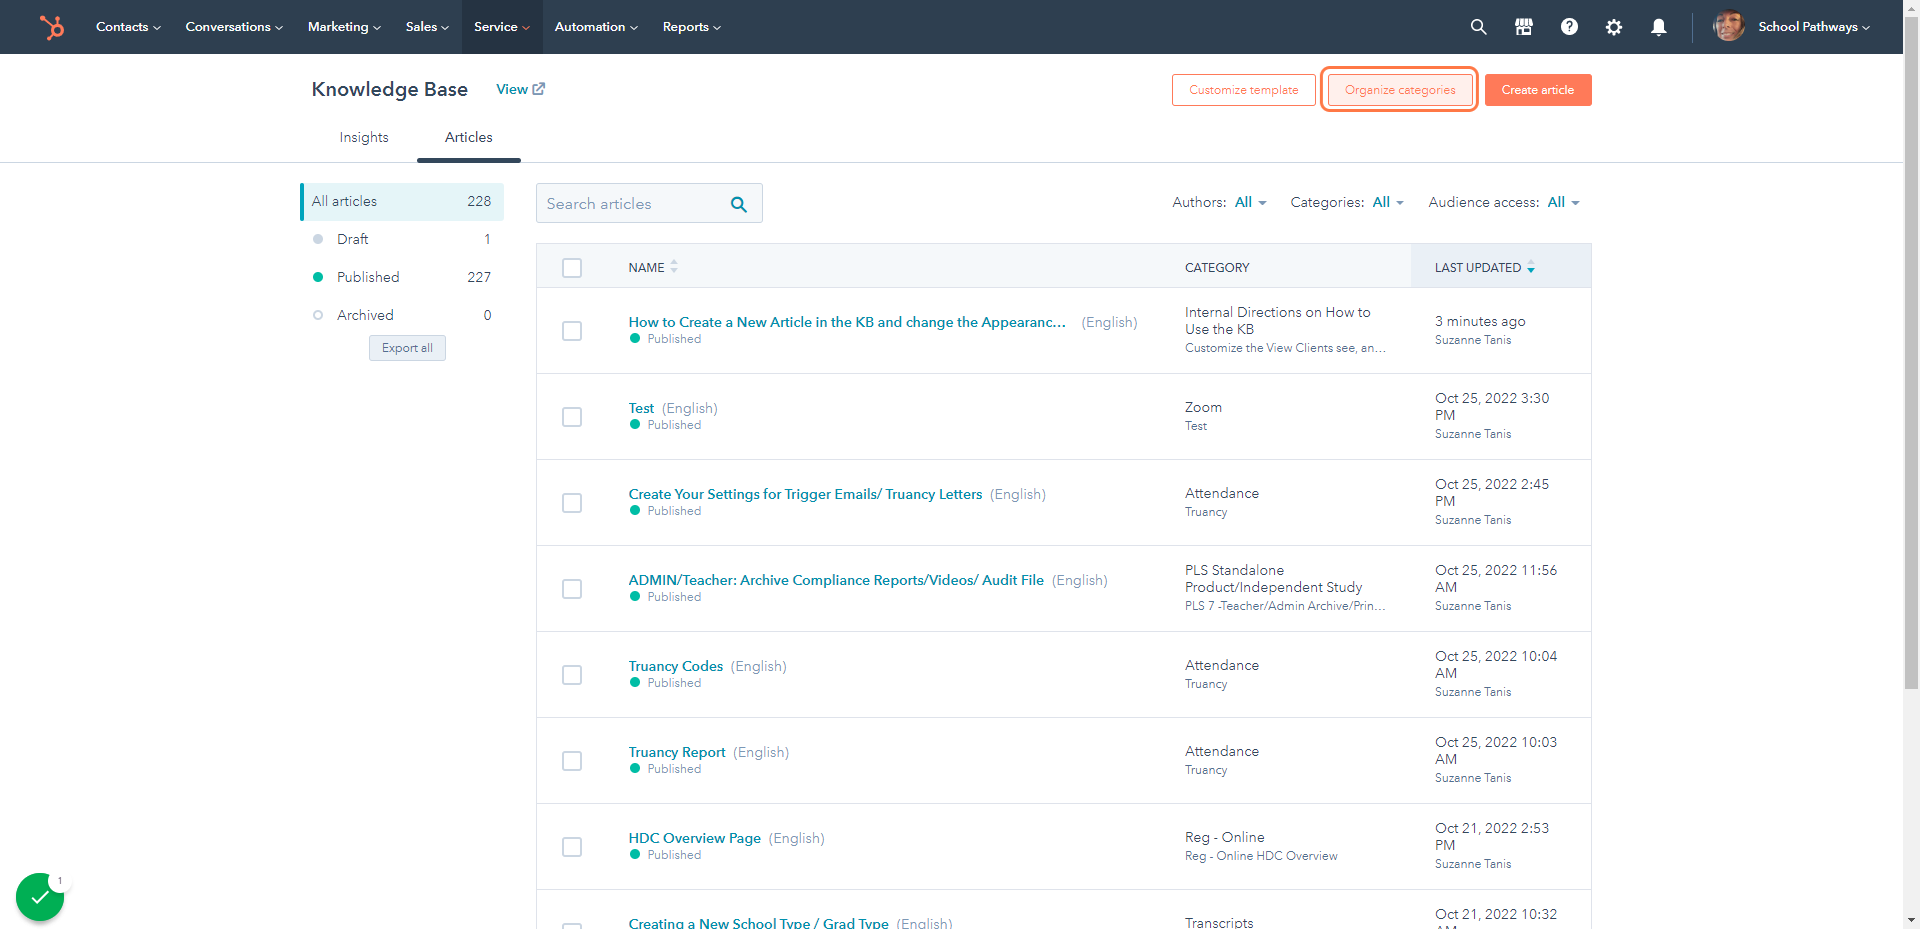
Service > Knowledge Base
Click on ServiceTab
Click on Knowledge Base
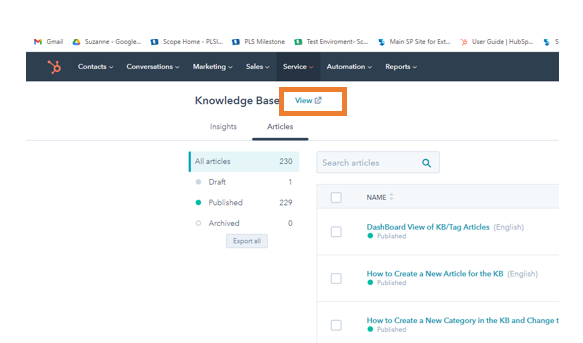
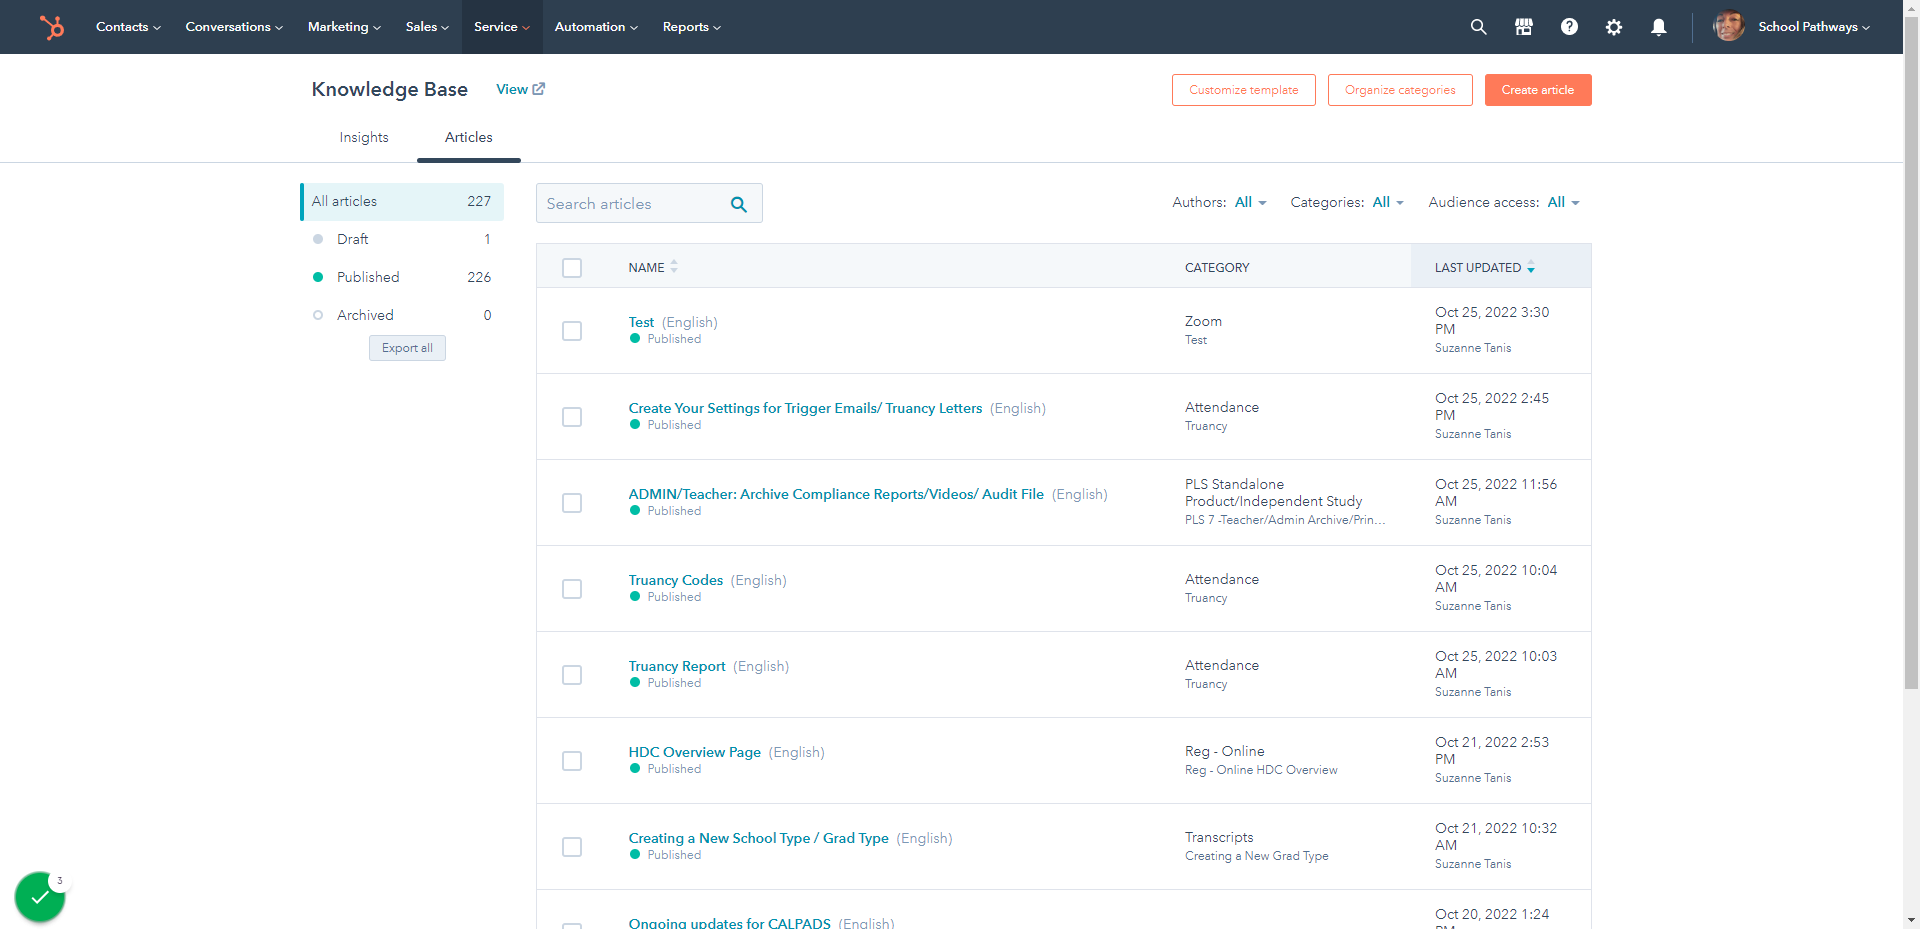
This is Our Home Page for the KB
Our homepage looks different from the clients homepage, we can make lots of edits of our KB from this dashboard.
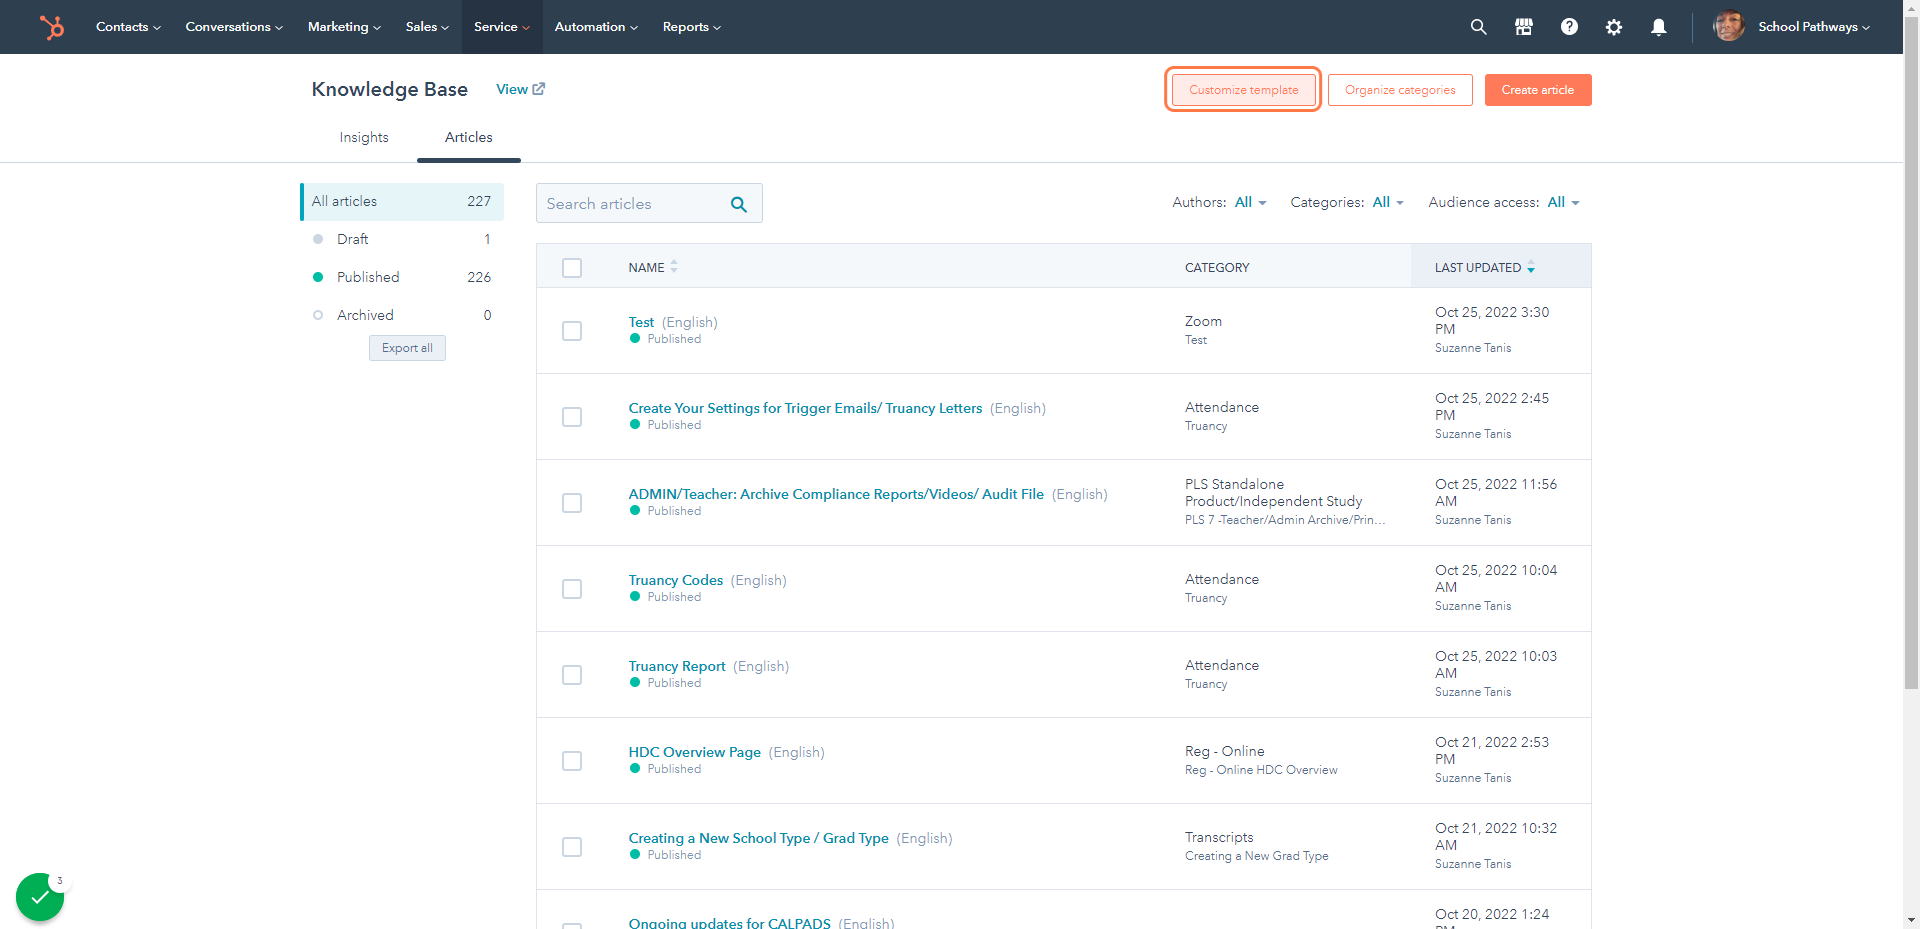
Click on Customize Template
This is the area where you can Change the Appearance of the KB for our Clients
The Box to the left of your screen will have different Categories for you to Update
I am going to show you how to update the Category Section because this is the area we will be updating frequently.
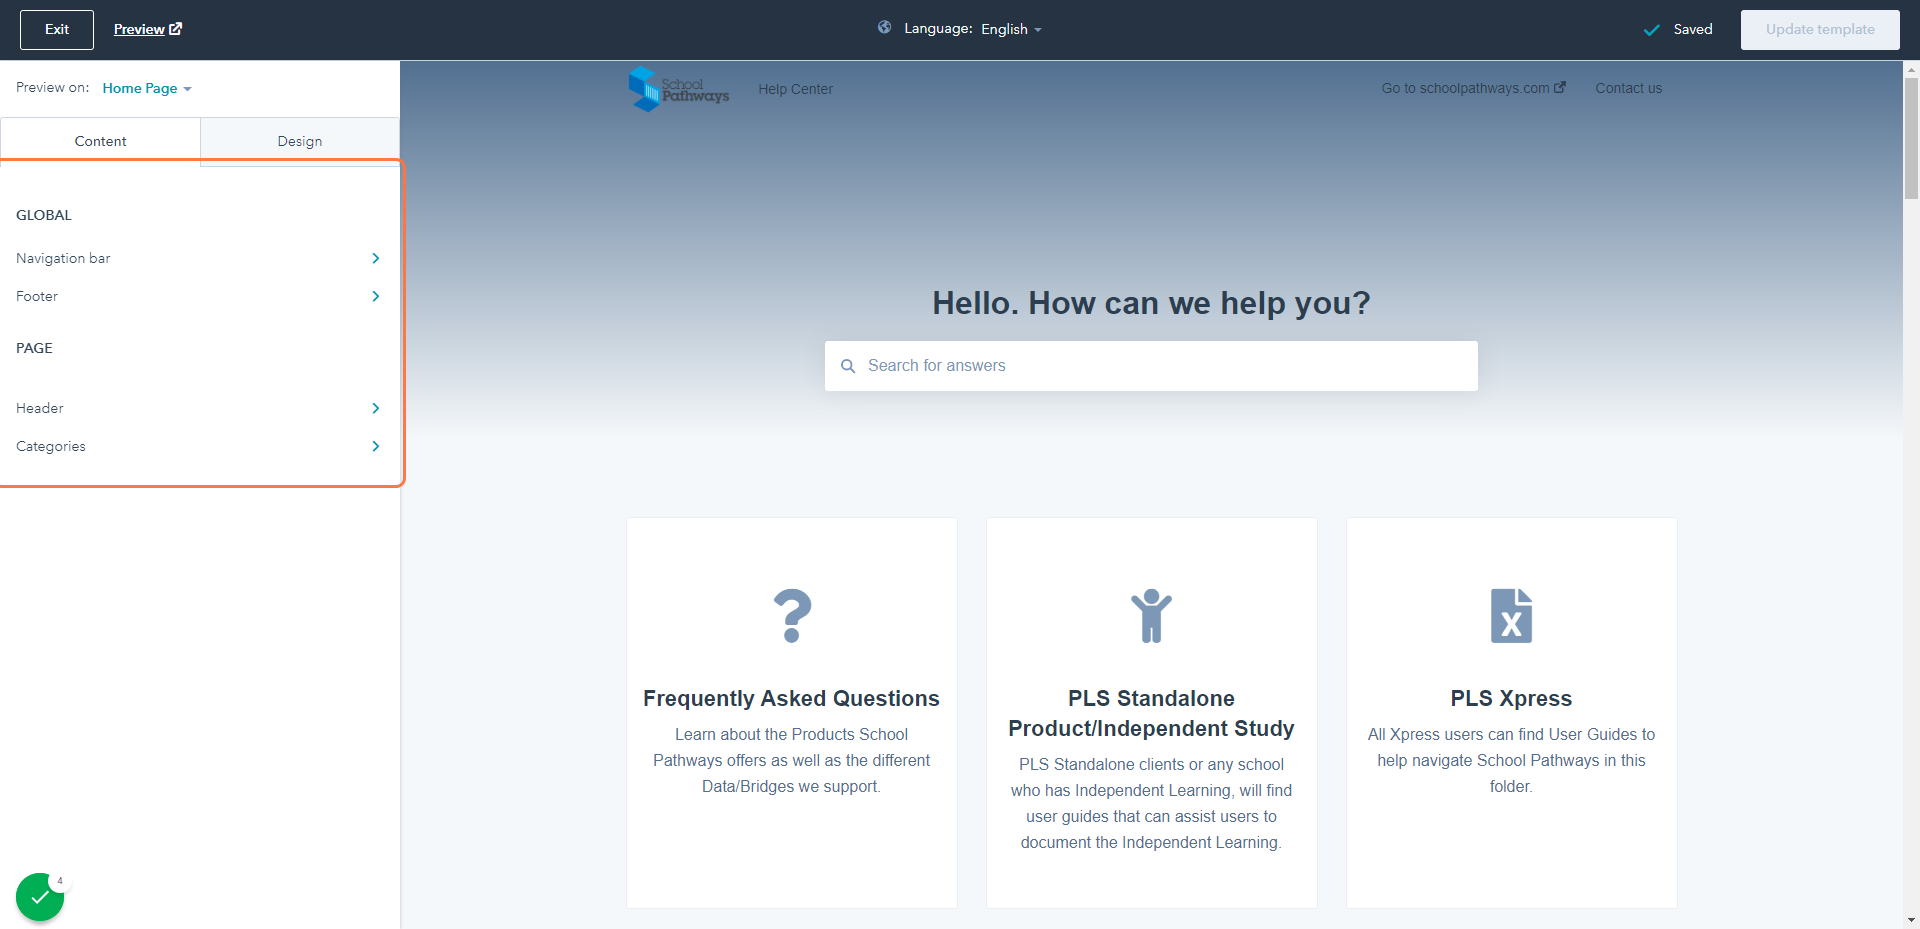
Click "Categories"
This will allow you to add, update and or delete existing Categories
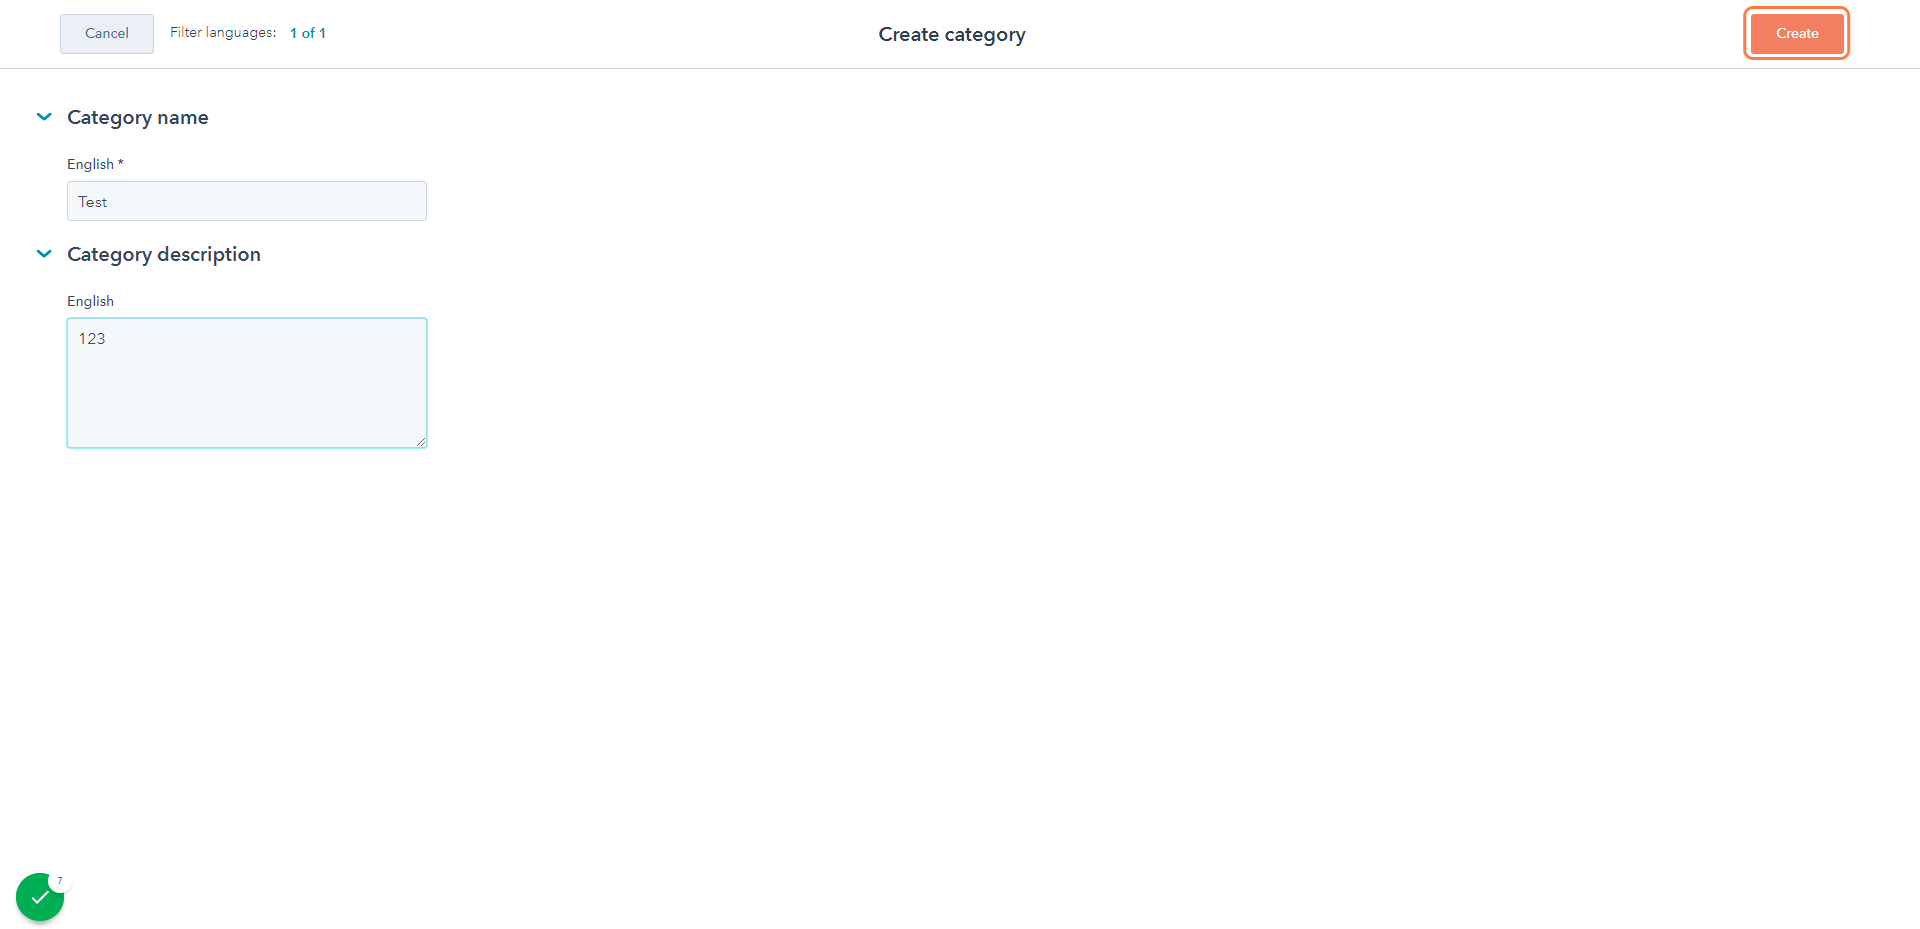
When you Create a New Category, it is important to give it a Title and Description, this way clients know what type of user guides can be found in the new Category Folder.

Once your category is created, Click Create in the right hand corner
This will save the new category. Refresh your screen to view the new category.
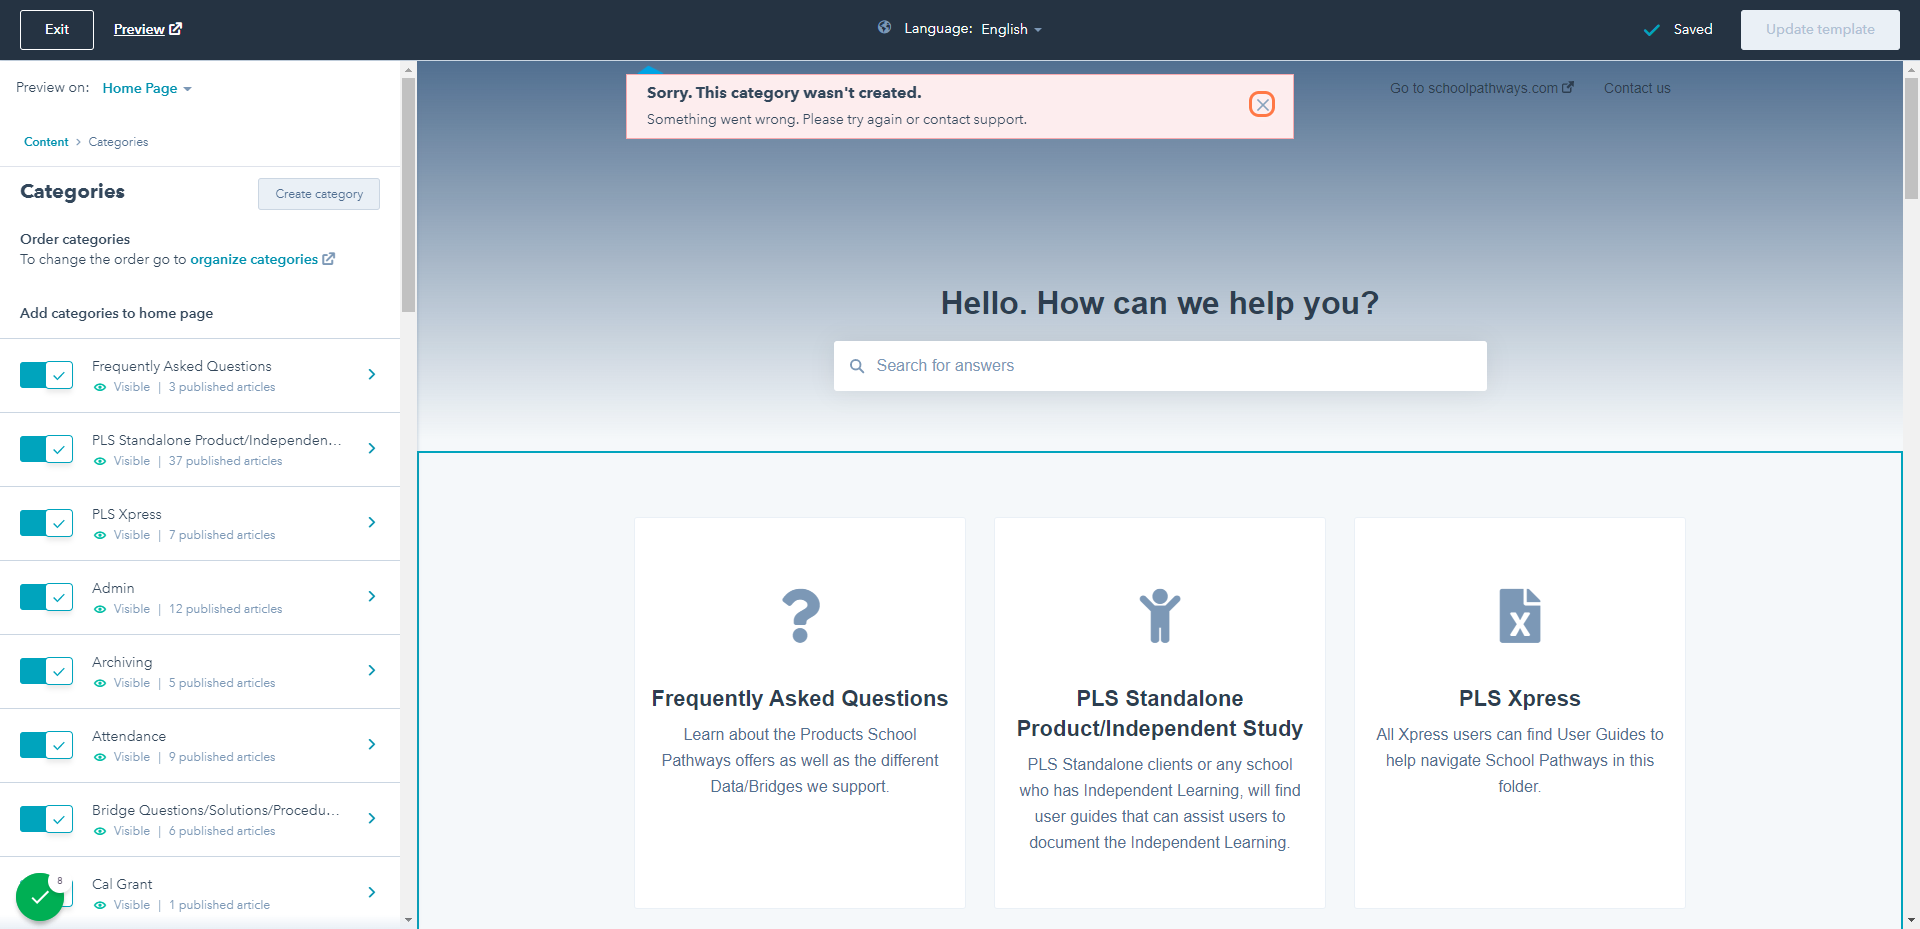
To view the New Category look on the Left of the screen
Scroll to the bottom of the Category list to view the Category you added
For internal use the Category says Not Visible( this means it isn't visible on the client side)
Step for Making the New Category Visible:
- When you create a new Category for the Clients, you will want to click in the box next to the category name to make it visible on the client side.
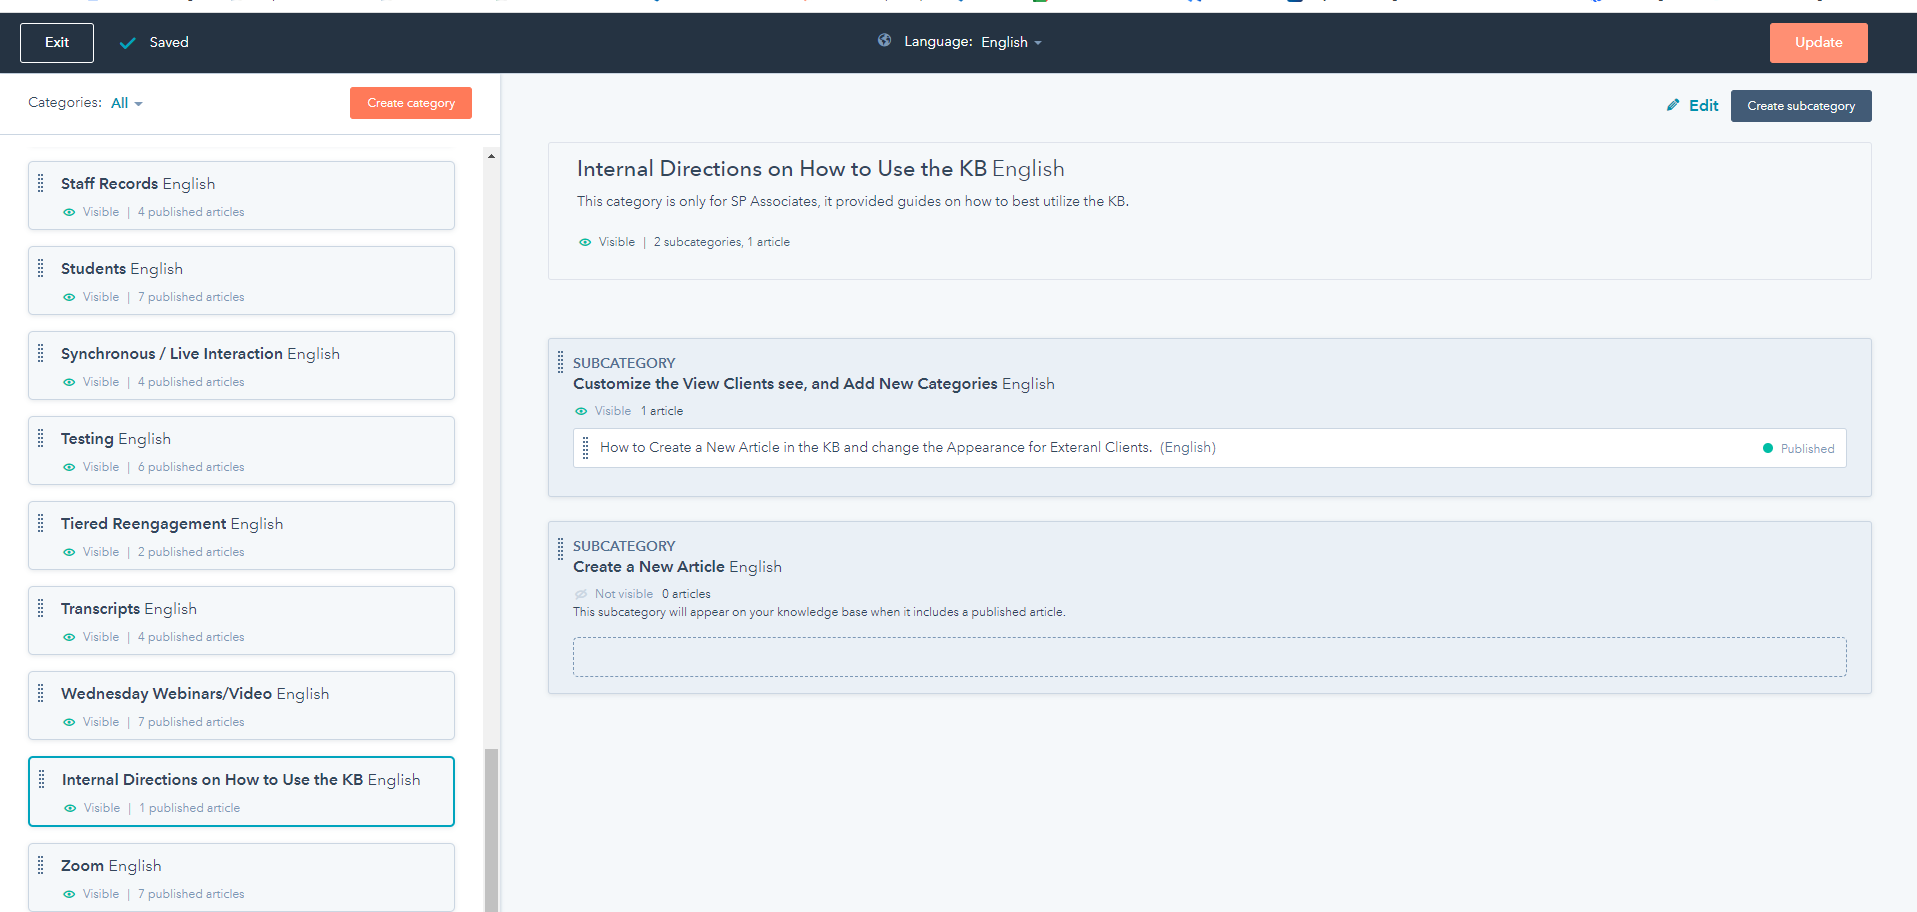
Click on Organize Categories
-
This will allow you to view and move/edit the Category anywhere in the Category list to the left
- You can click on your new category, a hand icon will appear, this will allow you to drag and drop the new category in a different place in the list of categories.
Currently our list for clients in Alphabetized, minus the top 3 categories.
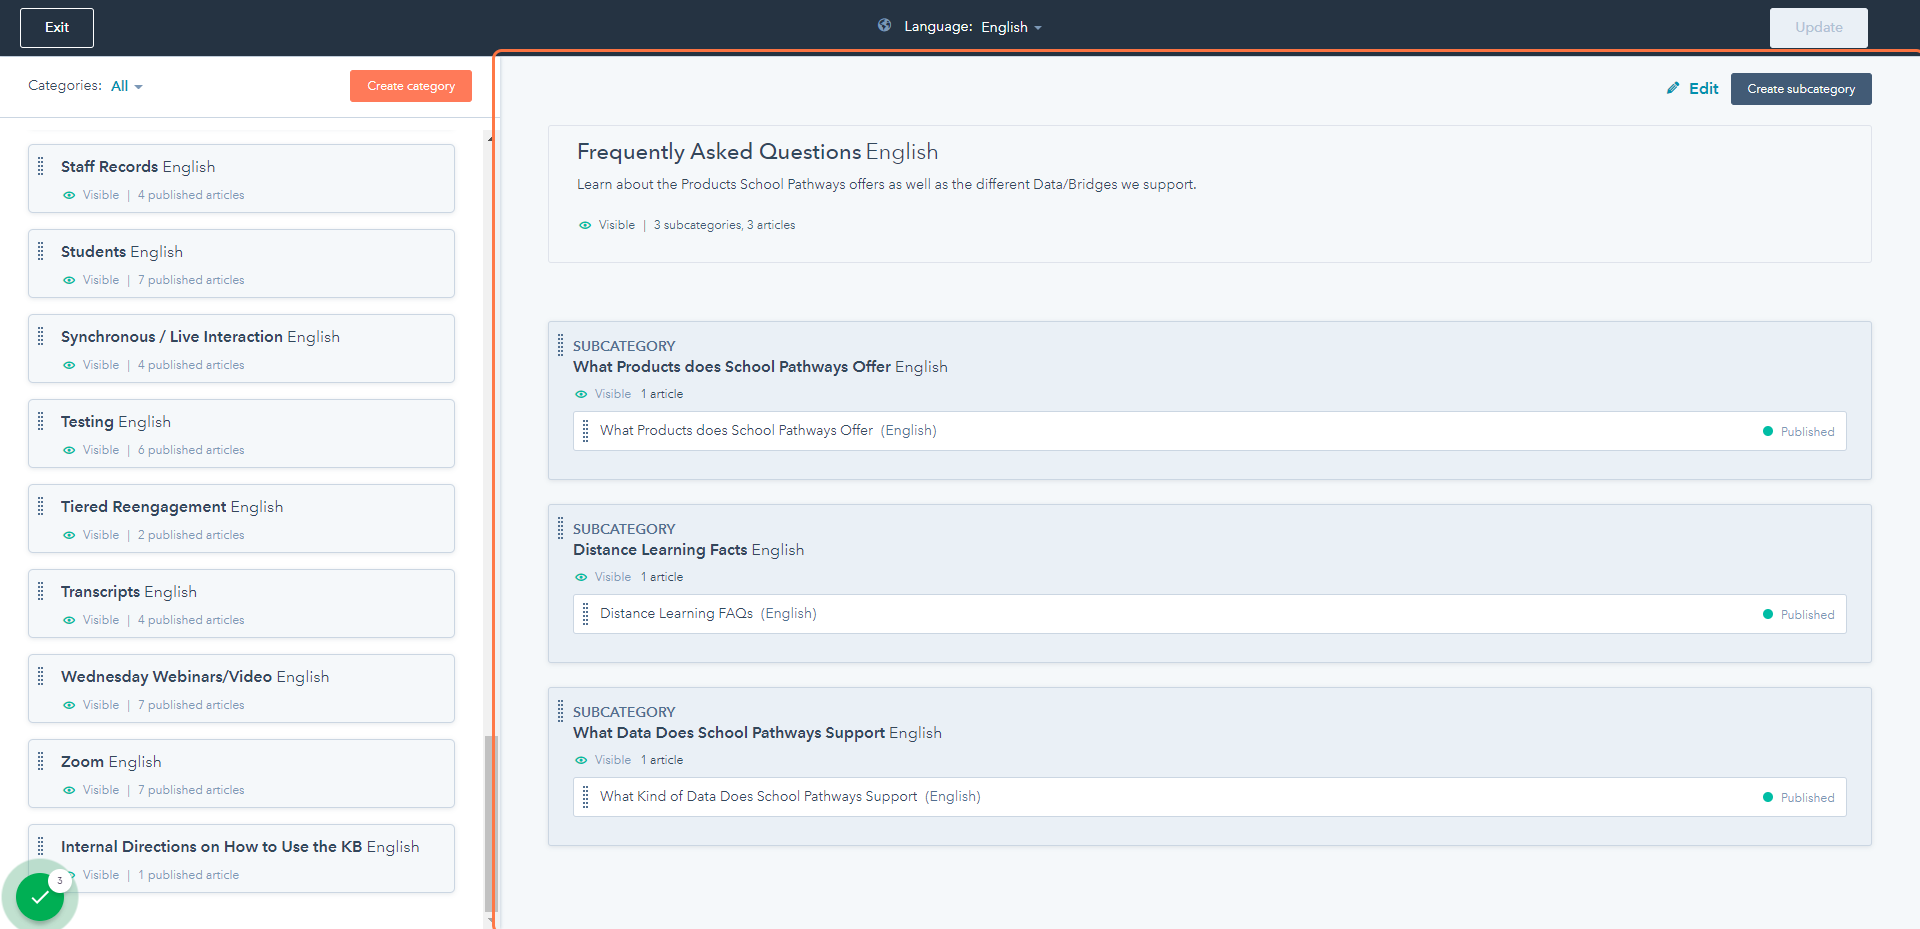
- Once you have the Category in the desired position in the list click Update in the upper right hand corner of the screen.
- Always refresh your screen when you have updated anything so you can view what you updated.